Hey guys! It’s time for another monthly favorites post!
(Man, oh man, that was lame! I’ll work on a better intro!)
Anywhoo…I know I said it seemed like February flew by (it’s a short month, so yeah…) but this month is like, dragging it’s ass! Maybe because Mother Nature teased us with spring weather, and now it’s a balmy like, 48 degrees the day before Easter. No really, I took a screenshot – I’m not kidding.

I was totally getting into the ‘swing of spring’ and playing with spring colors and then it got cold again. Such is my life.
So while I’m inside, freezing my ass off, and taking a break from stuffing Easter eggs for my son, I was thinking of all the things I’ve been loving this month, and wanted to share them with you!
Let’s get started!
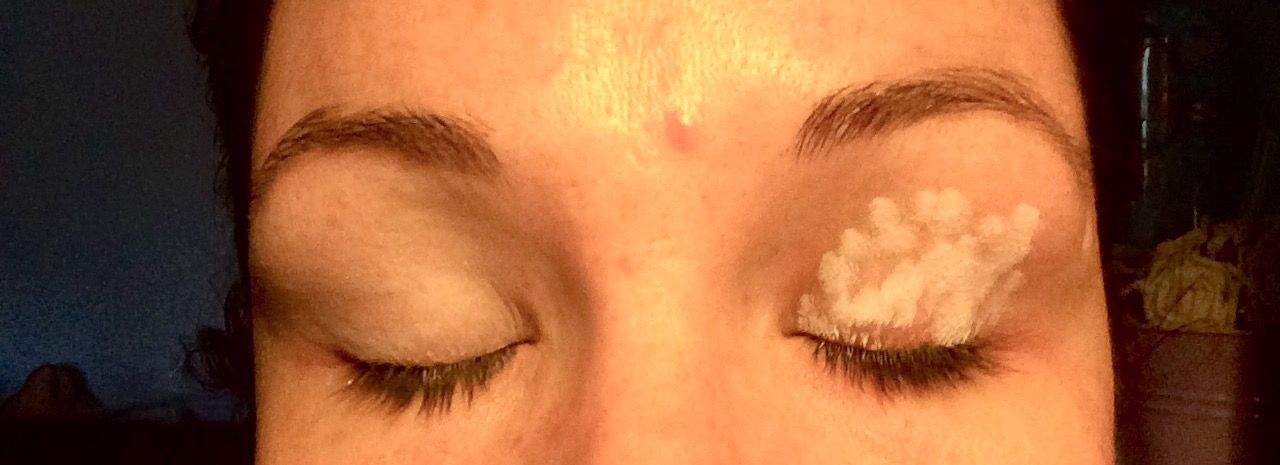
IT COSMETICS BYE BYE PORES SILK HD ANTI-AGING MICRO POWDER ($24)
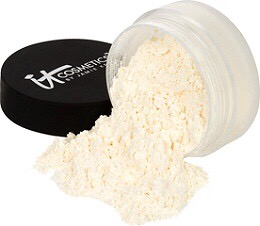 I feel like it’s too soon to put this in a monthly favorites because I haven’t even had it an entire month yet, but I am so in love with this powder! I just picked this up a couple weeks ago on the first day of ULTA’s ’21 Days of Beauty Steals’, which means I only paid $12 for it, and let me tell you, I would absolutely pay full price for this product. It’s amazeballs!! It’s a very finely milled setting powder that contains a host of anti-aging ingredients and blurs fine lines and pores. I’ve worn this over a full face of makeup, and today I wore it over a tiny bit of concealer and nothing else, and either way, it makes my skin look incredible! I highly, highly recommend this product!!
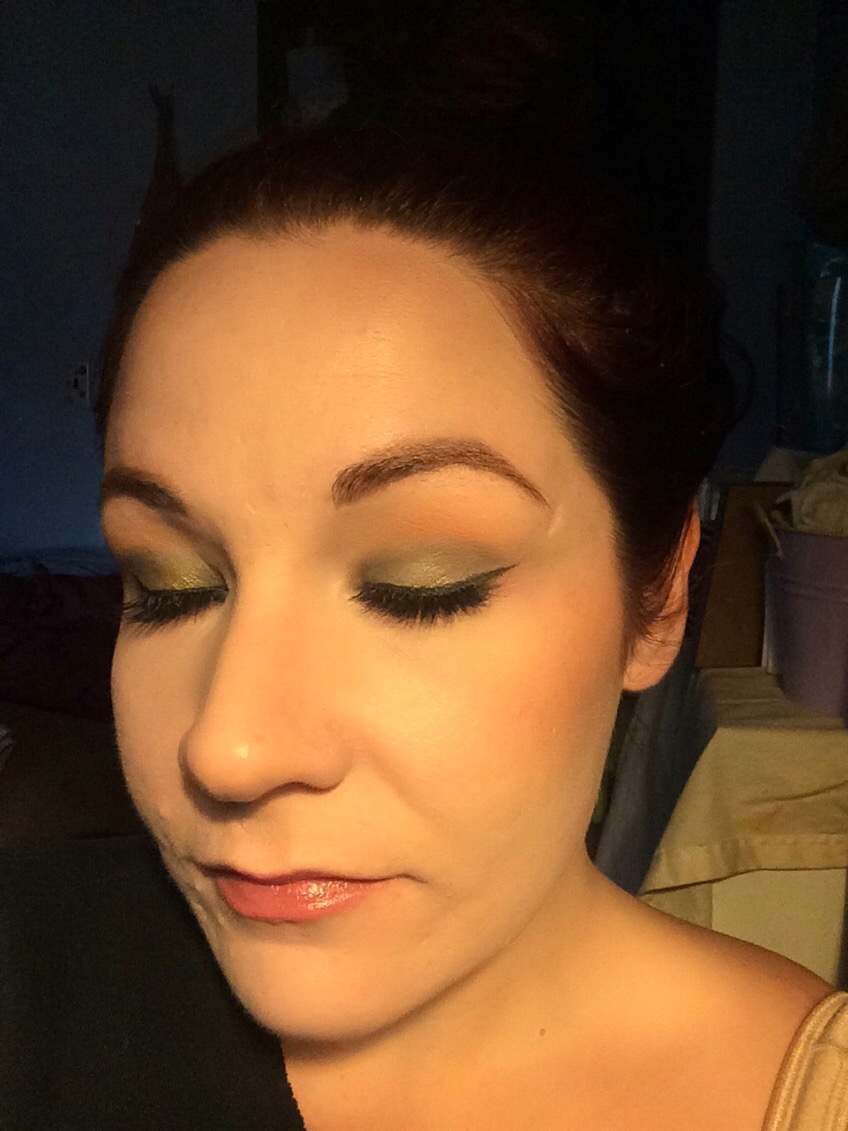
MAKEUP GEEK EYESHADOWS ($6/ea)
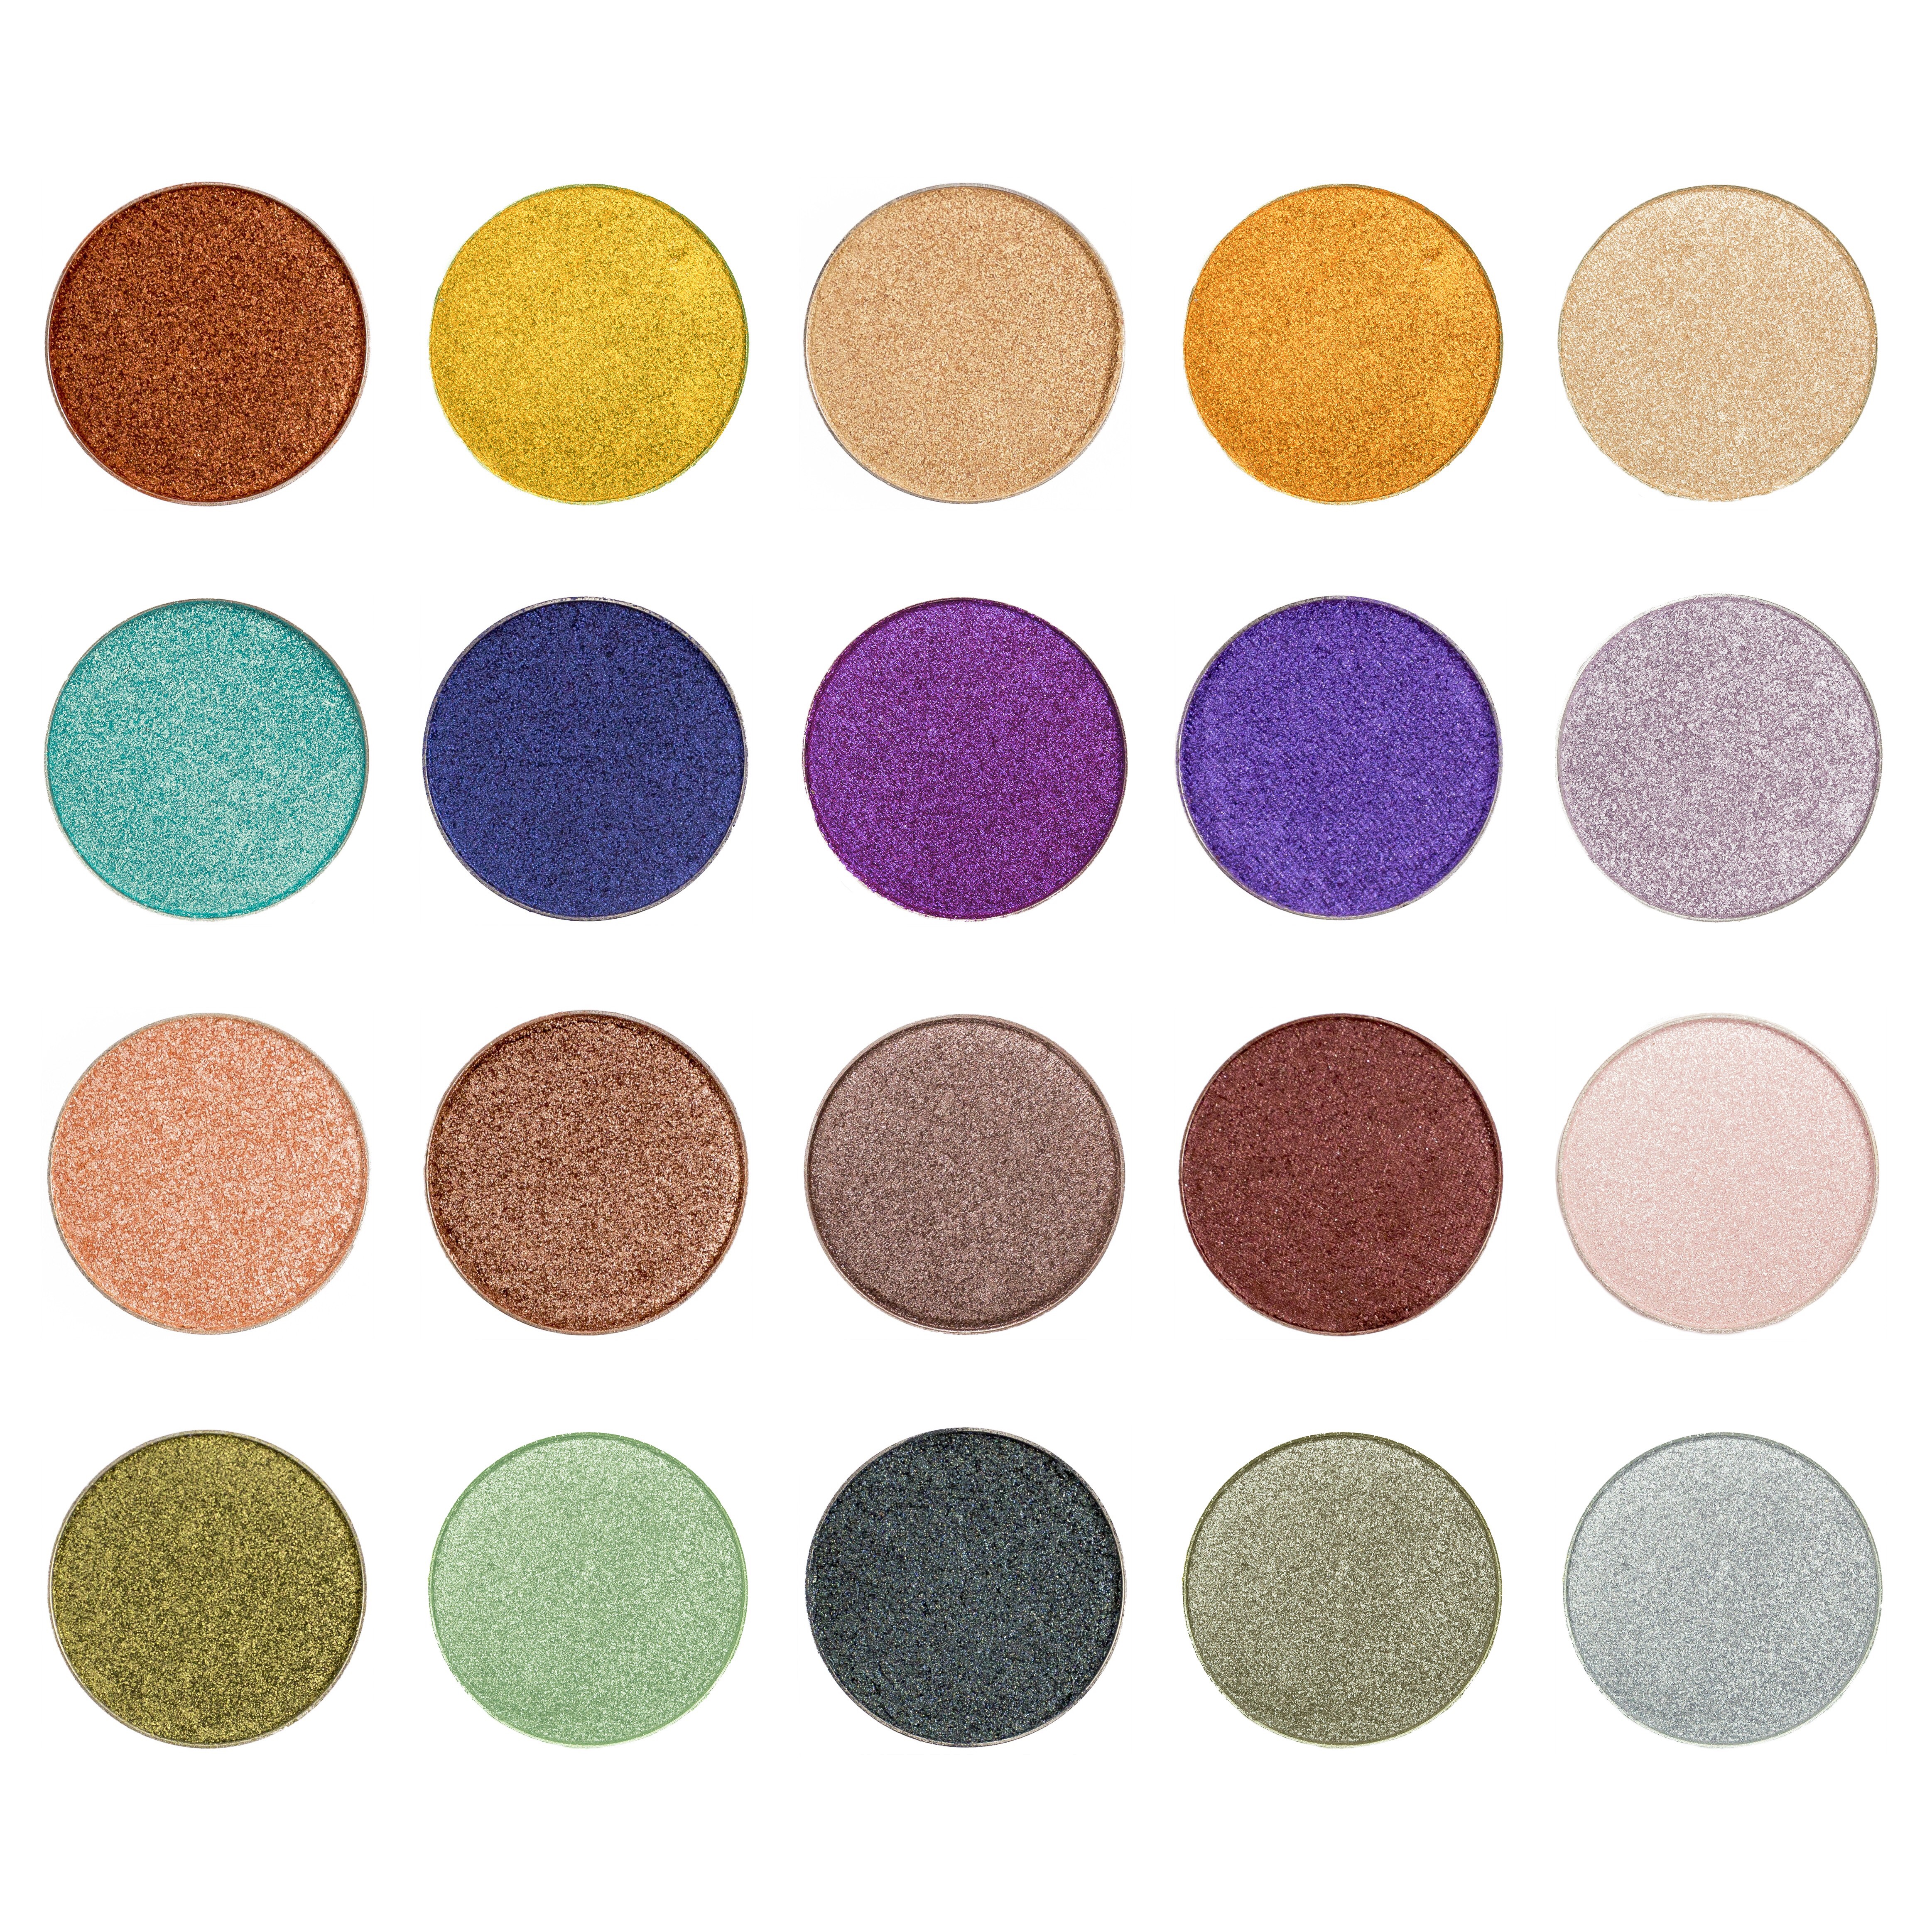
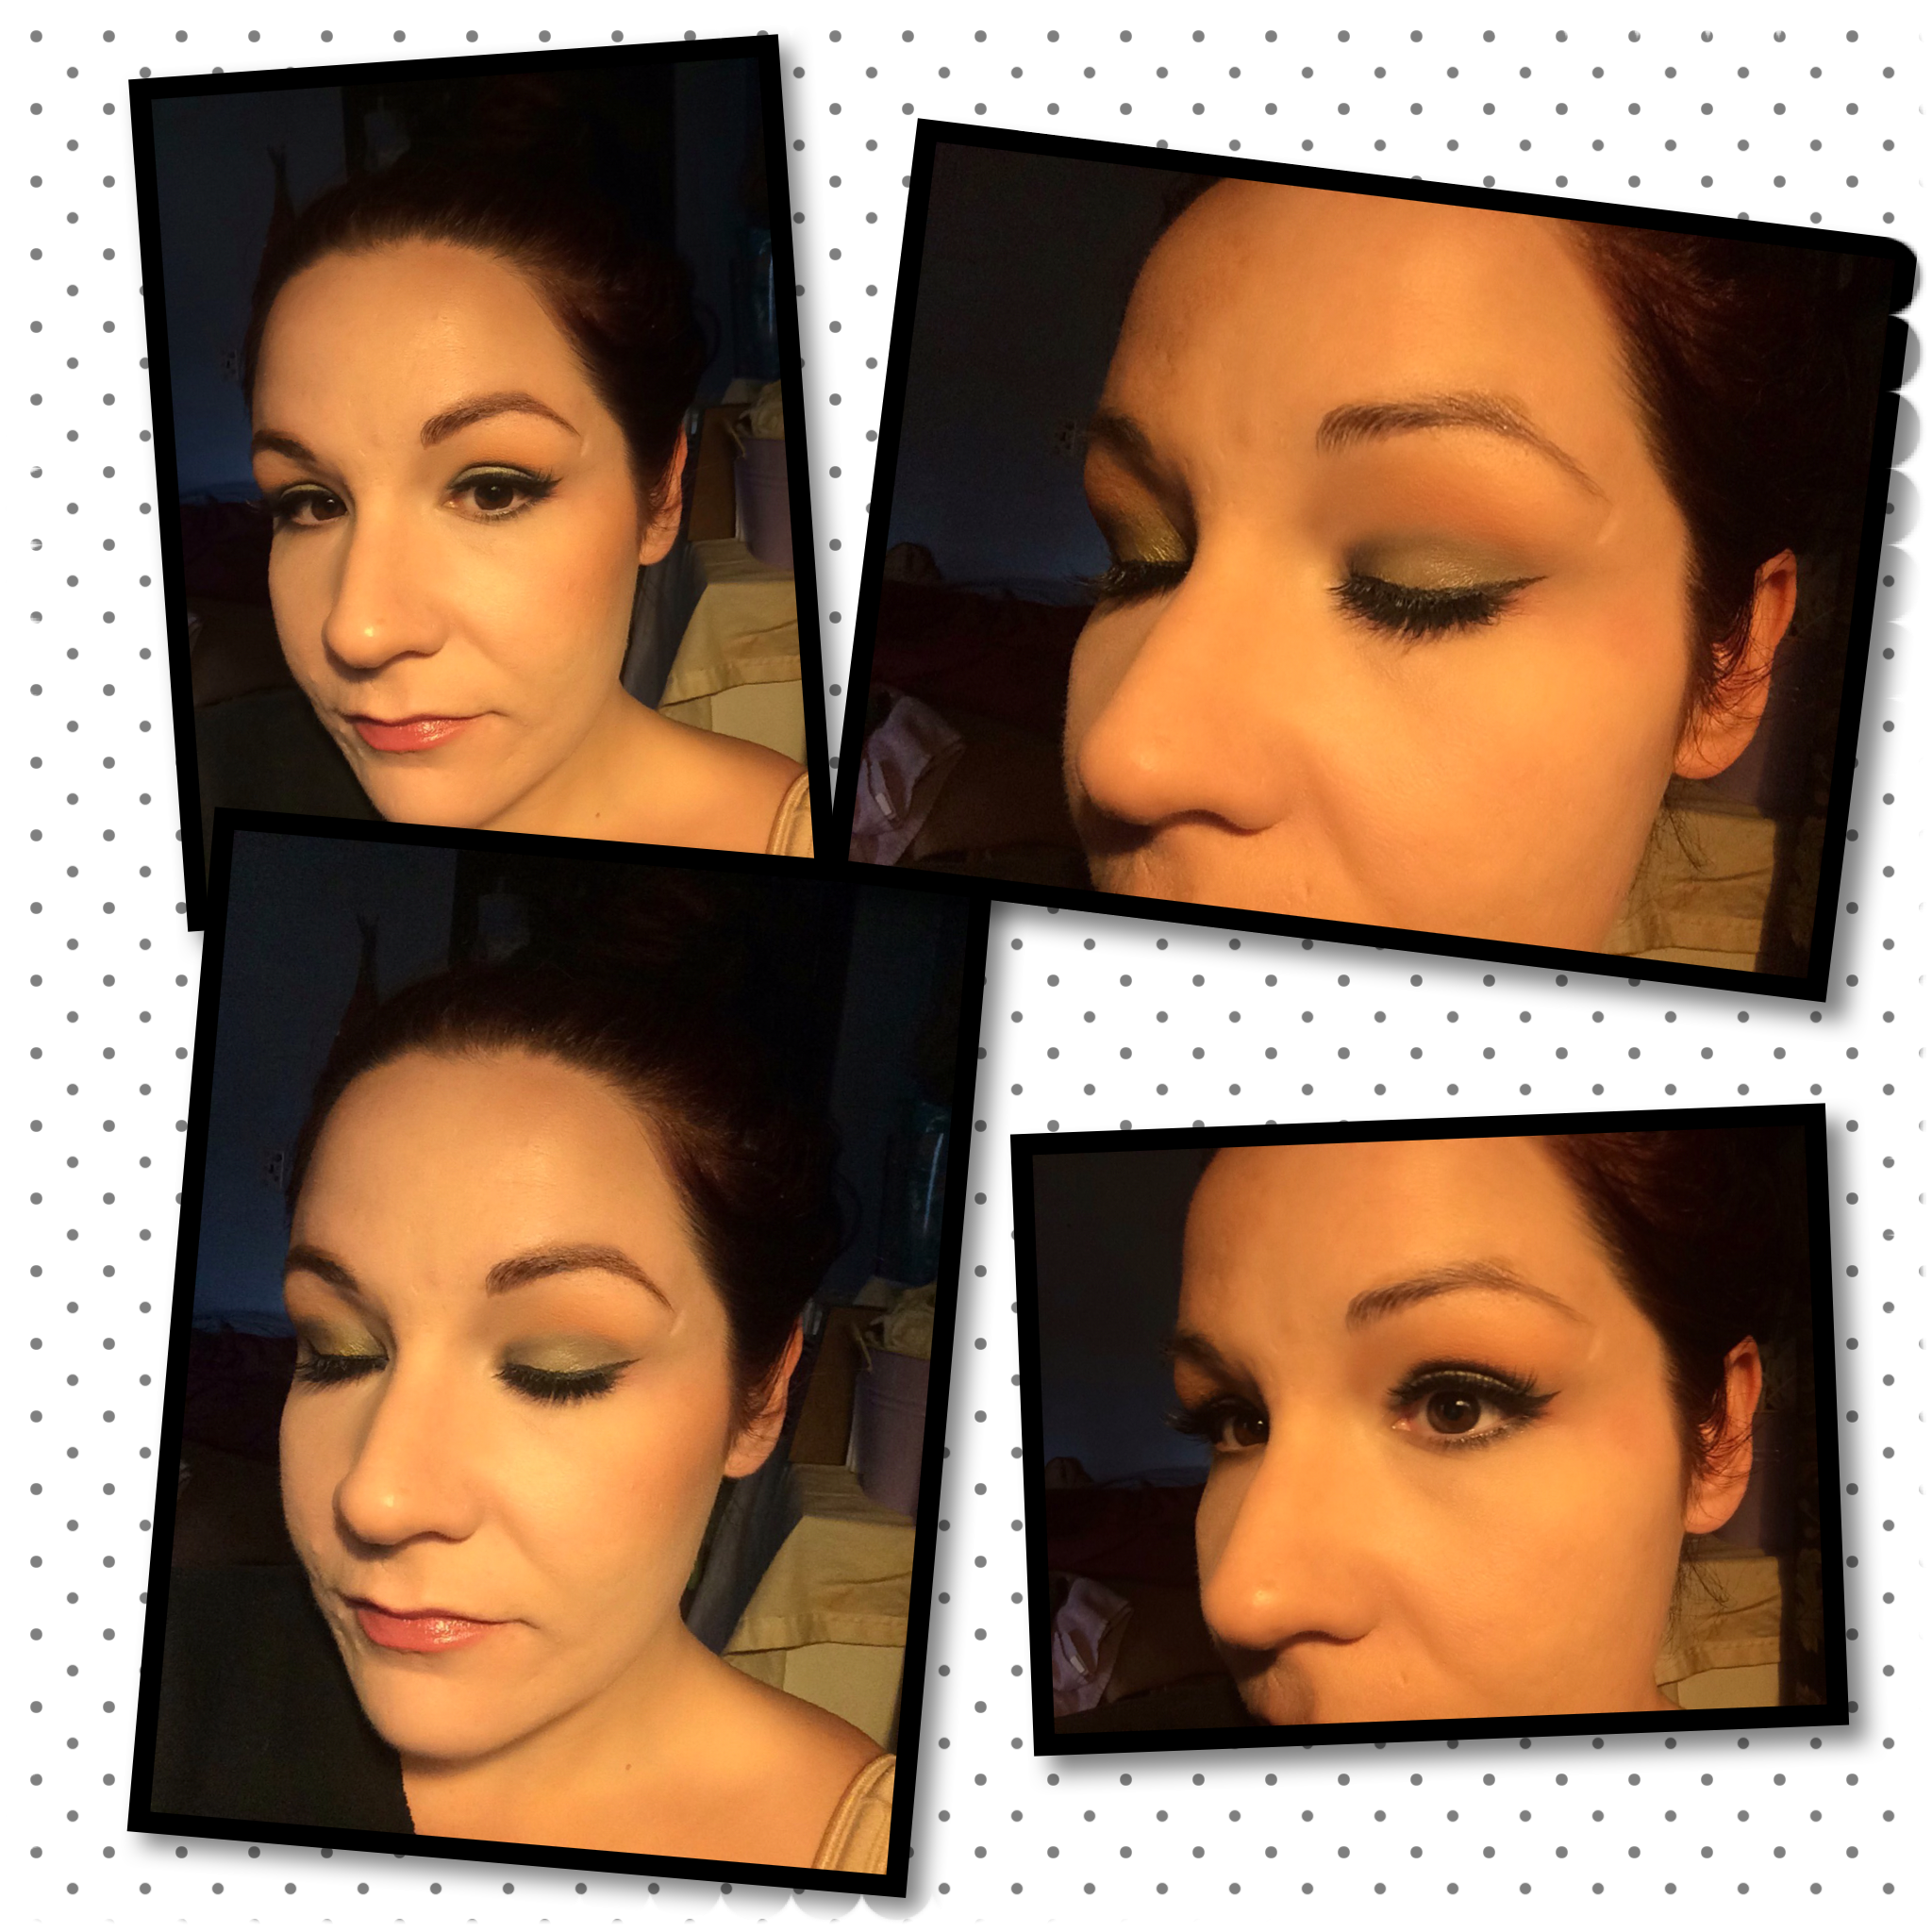
Another obsession to say the least! I can’t stop using these! They’re so buttery and pigmented and have beautiful finishes and….ahhhh! I love them! Marlena certainly knows what she’s doing!! I’ll be doing a post soon with all my favorite single eyeshadows, and let’s just say there is definitely a majority in Makeup Geek! You guys should really check them out if you haven’t already!! Some go-to’s are Peach Smoothie, Creme Brûlée, Beaches and Cream, and Mirage.
MAKEUP FOREVER MIST & FIX SETTING SPRAY ($30)
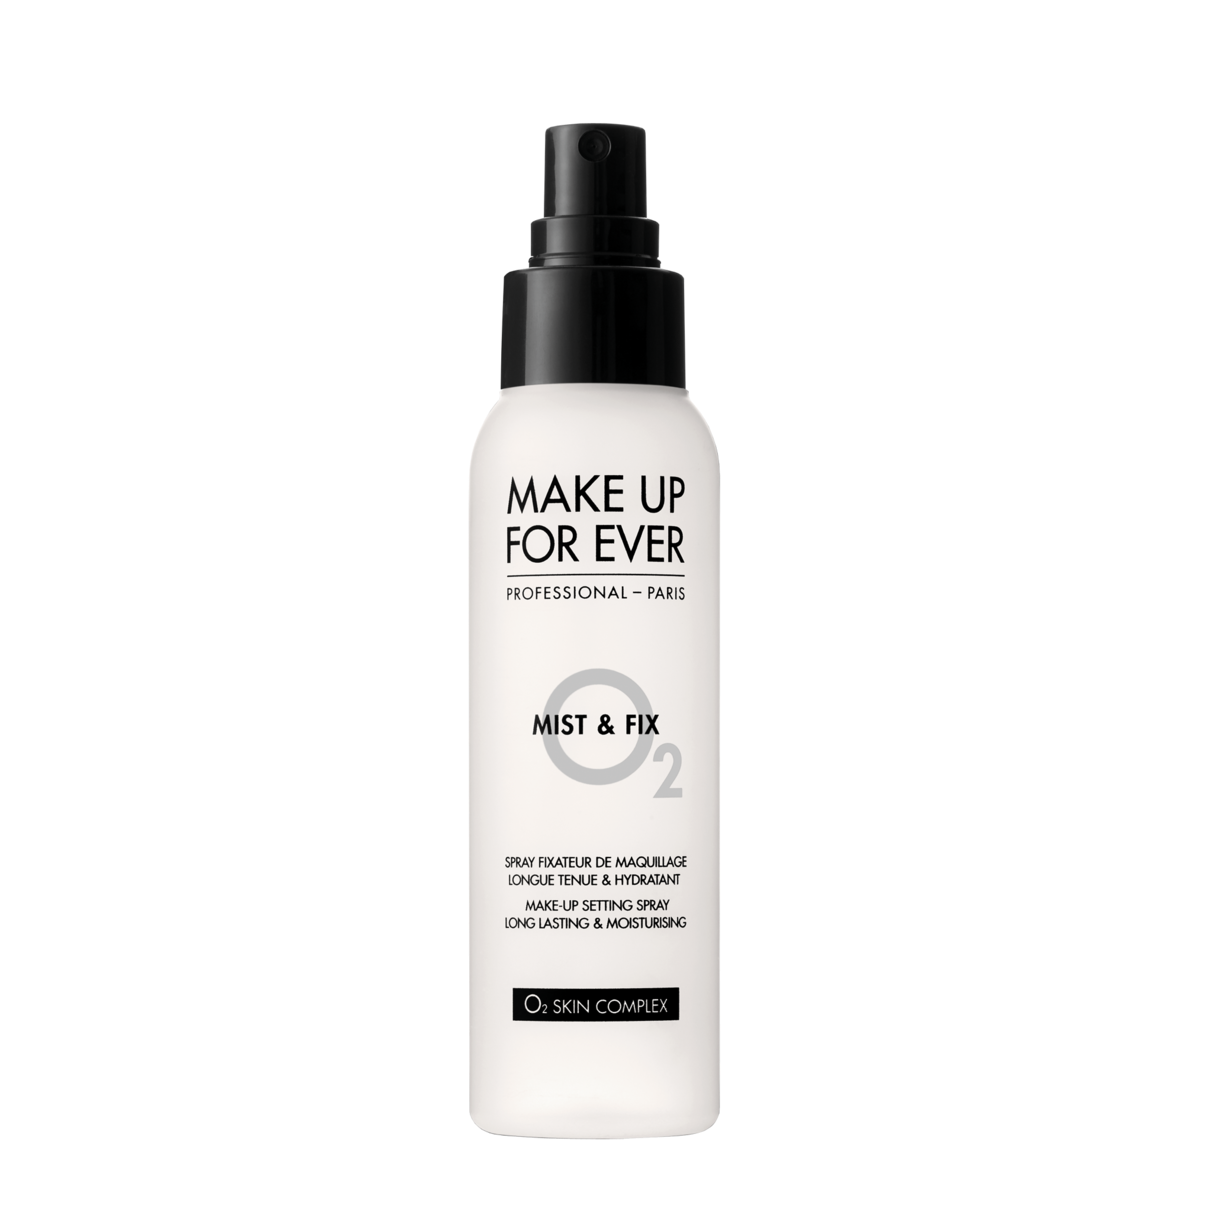
I actually ordered the travel size, sample size….the tiny one, for the sake of trying it out. And as a setting spray, it’s alright, but what I really like using it for is misting on my brush before buffing out my foundation, or even spraying on an eyeshadow brush to make the shadow really pop! It helps to give decent staying power, which I appreciate. To actually set my makeup as a whole, like I said, it’s ok. I think it irritates my skin in that manner, but when used how one would use say, a MAC Fix+ to dampen their brush, it works really well! And since I’m not spraying it like, six to eight times to cover my face, one quick spritz on the brush is making the bottle last a really long time!
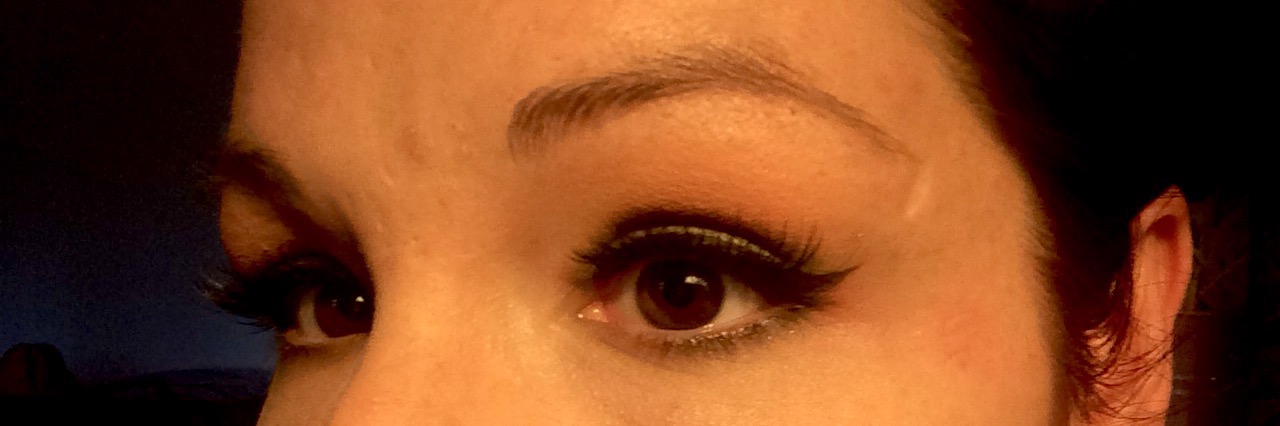
MAYBELLINE PUMPED UP! COLOSSAL VOLUME MASCARA ($8)
 I finally replaced my old, dried up one! When I de-cluttered my mascaras (click here to read that post) I mentioned keeping the old tube of basically nothing to remind me to buy a new one because I love it so much. Then I caught it on sale, and bought two! What I really love about this mascara is not only the length and volume it gives to my lashes, but the regular, washable, non-waterproof formula has the staying power of a waterproof formula! It doesn’t flake, and it doesn’t smudge under my bottom lashes like most mascaras do to me. But for something so solid, when I get it all over my eyes (like we all can tend to do) because well, the brush is gigantic and I can’t apply mascara like a grown woman, it’s super easy to flake off with a Q-tip once it’s dry! You’d never know it was there!
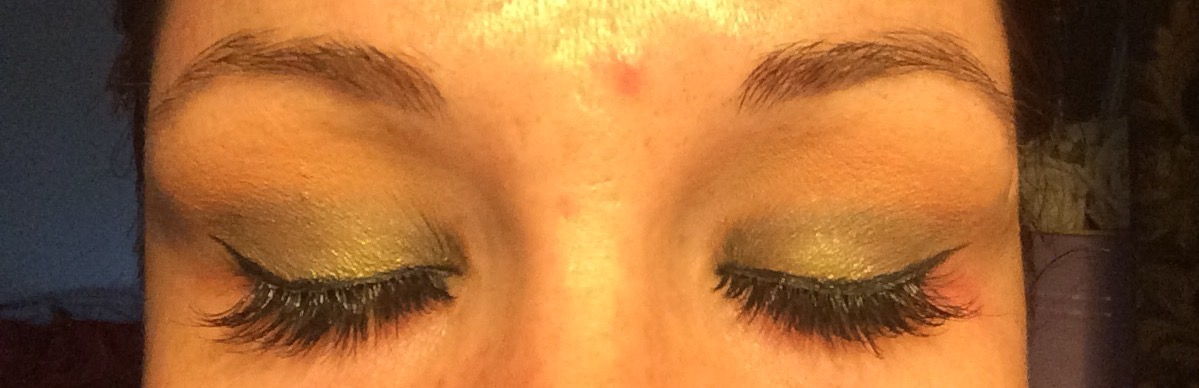
BLOOMING LASH COLLECTION BY KISS ($4)
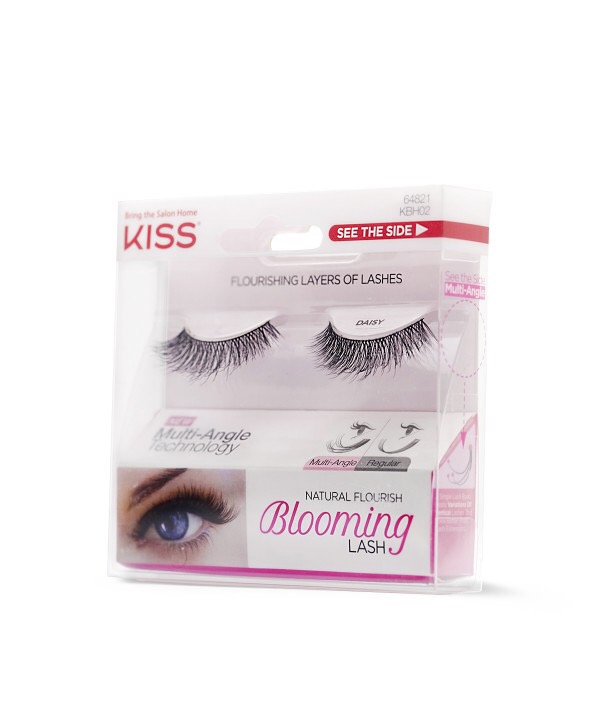
I found a bunch of these on clearance at my local Walgreens about a month ago, and I have been wearing them non-stop! It doesn’t look like they’re being discontinued, because I still see them on the display for regular price, but hey, who am I to turn down a discount?!
These lashes boast a “multi-layer technology”, which if you look at them sideways, the lash hairs (fibers, whatever they are) are not all in line with each other; some are higher, some are lower, some run a straight line down the middle. Varying lengths and criss-crossing makes this incredibly natural looking, and they have a nearly invisible band that makes them almost undetectable, which I appreciate because I don’t always like to wear a dramatic liner when I wear falsies. Some of my favorite styles are Daisy, Tulip, and Camellia (how cute is it that they’re all named after flowers?). I die!
MAKEUP GEEK CONTOUR POWDERS ($10)
 I think this was my very first Makeup Geek purchase; actually, almost as soon as they launched I was committing my credit card to them – and I’ve hardly used anything else to contour with since! There are eight shades, broken into warm and cool skin tones, ranging from porcelain to deep, and they are without a doubt amazing!!! Creamy, pigmented, insanely blendable; ya know, all the qualities of a great product, and what you’d expect from Makeup Geek as a brand. I have two of the eight shades; Infidelity and Breakup (cool porcelain and cool fair) because I prefer a cool-toned contour shade, however I plan to add more to my collection for the purposes of freelancing. They’re even sold in a bundle of all eight shades for $65, which is a steal!