
I know you’ve all heard of ‘baking’ or ‘cooking’ your makeup – no, no, don’t preheat the oven. Let’s chat!
‘Baking’ or ‘cooking’ can do wonderful things for your makeup – it can clean up a sloppy contour, lock in your concealer, and keep you flawless from sun up to sun down. But it can be a little tricky, and messy, so don’t worry, we’ll get through all of it today, together!
Let’s get started!
WHY TO…
Baking isn’t a new thing – it’s been around for years in the drag community (so that’s how they look so damn amazing!) but it’s one more technique that Kim Kardashian and many other celebs, not to mention YouTubers have brought front and center. It basically helps to lock in your concealer for a crease-proof, budge-proof finish, and it helps in highlighting your face as well. Most of us, on a daily basis, tend to just finish off our look with a dusting of translucent powder all over the face – well, this is a little more involved than that – but not by much! Stick with me here…
HOW TO…
So basically, what you’re going to need is a translucent powder (preferably loose but pressed will work in a pinch), as well as either a damp sponge, or just a good semi-dense brush. I prefer a sponge, because since I’ve been so dry lately, I feel like the hydration of the sponge helps the powder not suck the remaining little bit of moisture from my skin.
This step is for after you’ve applied your foundation, concealer, and contour, but before you highlight with say, a shimmery highlighter.
So I’ve already contoured, applied my under eye concealer, and now, we’re gonna bake! Dip your sponge into your loose powder, and tap it on in a thick layer under your eyes in an upside down triangle shape (just like your concealer), underneath your contour line, down the center of your nose, on your chin, and anywhere else your foundation and concealer may tend to crease. It’s gonna look like flour, and that’s perfectly fine, it’s supposed to!

And now we wait….about 5-10 minutes, but the longer the better….
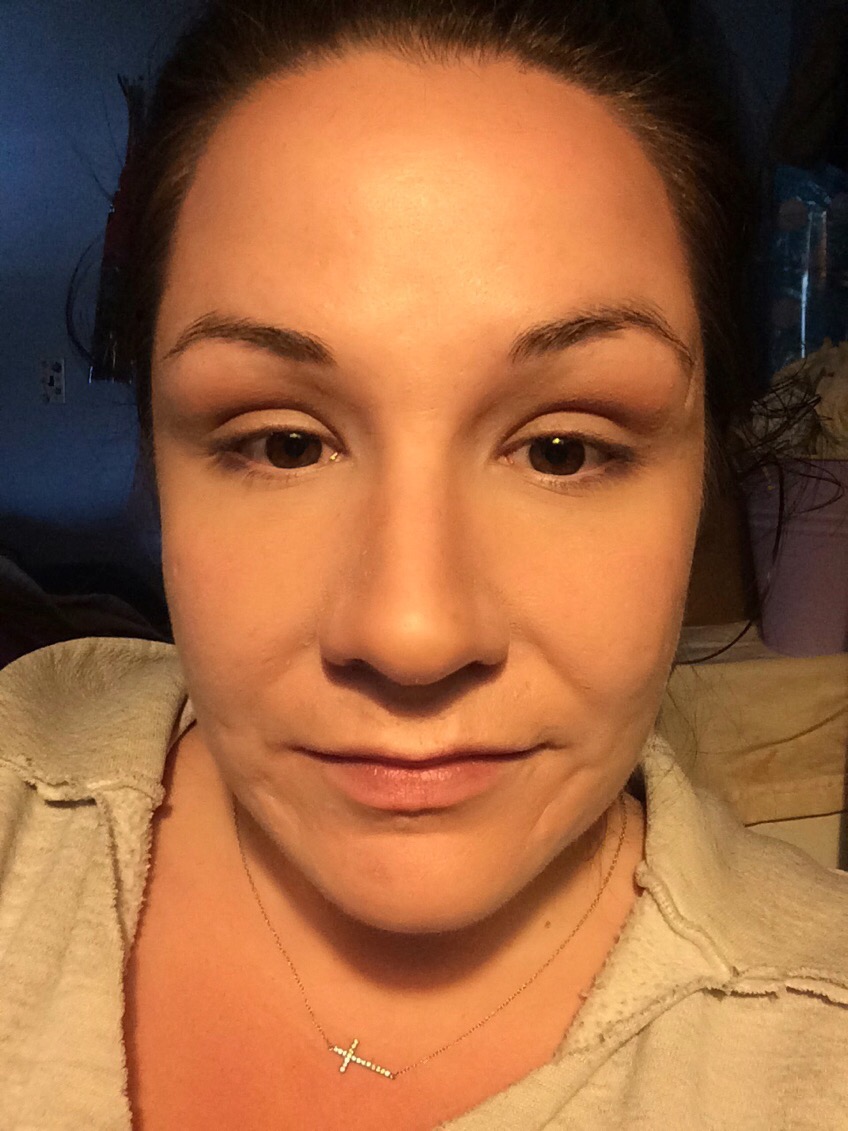
Ok I only waited like 8 minutes….now just take a fluffy brush and dust it away. And voila! You’ve baked!
WHAT TO USE…
 Just as important as the technique is, so is using the right products and tools. If you can find an ‘HD’ loose powder, go for it! The NYX HD Studio Finish Translucent Powder ($10) is a great option, as is the e.l.f. High Definition Powder ($6). I’ve been using my Mary Kay Translucent Loose Powder ($12) lately, and I really love it – not only does it bake well, but it has these itty bitty light reflecting particles in it that makes my skin look naturally airbrushed.
 In terms of tools, you can use a damp BeautyBlender ($19), a Real Techniques Miracle Complexion Sponge ($8), or even a good pointed contour brush like the Morphe M438 ($10) to apply your powder – all three work wonderfully! Even the old school foam cosmetic wedges from the dollar store work great – their nice, sharp edges are awesome if you’re baking to clean up your contour!
I hope you guys found some helpful information in this post! Have you tried baking/cooking your makeup? What do you think of the technique? Leave me a comment below and let me know! I love to hear from you guys!
And as always, please take a moment to go follow me on Twitter, Instagram, and Pinterest @dlynnesposito, and go like the Affordable Gorgeous page on Facebook! Your support means so much!
LOTS OF LOVE!

