REVIEW – e.l.f. CREAM EYELINER

 It’s like it happened in slow-mo….up in the air, and face down onto the floor. Cap missing. Dirty, totally unsalvageable.

I’m talking about my eyeliner. My trusty, ride or die Maybelline Eyestudio Gel Liner in Blackest Black. But let me back up a bit….

About two weeks ago, my little pot of liner hit the floor. The cap disappeared, and it managed to land upside down and end up with carpet fibers and dust inside of it, which despite my best efforts (and searching desperately for the cap to no avail) I couldn’t save it. And of course, it happened right in the middle of a tutorial. During a financially crappy week, at that.

So a few days later, after searching online reviews for another, slightly more affordable gel liner, I bit the bullet and bought the e.l.f. Cream Eyeliner, which retails for just $3 at my local CVS, as well as http://www.elfcosmetics.com.

Here’s what e.l.f. has to say:

The cream formula creates smooth lines that are defined and precise. Smudge-proof, budge-proof and water-resistant coverage for all day wear to combat against sweat, tears or rain! Achieve thin or bold lines with ease. Slanted Eyeliner Brush included.

So how did it do? Let’s find out!


PACKAGING


 It comes in a small, square glass jar, with a square, black, plastic lid with the name of the product printed on top. While it did come with a brush, it was awfully tiny (short), and I immediately tossed it in the trash.

FORMULA

They aren’t kidding when they call it a cream eyeliner – it’s definitely creamy. However, being used to the stiffer, slightly drier consistency of the Maybelline product, I find this quite difficult to work with. It loads nicely onto an angled liner brush, but because it’s so creamy, I find that I have trouble controlling the brush. The liner I’m used to working with, because it’s far less creamy, seems to keep the brush hairs together better.
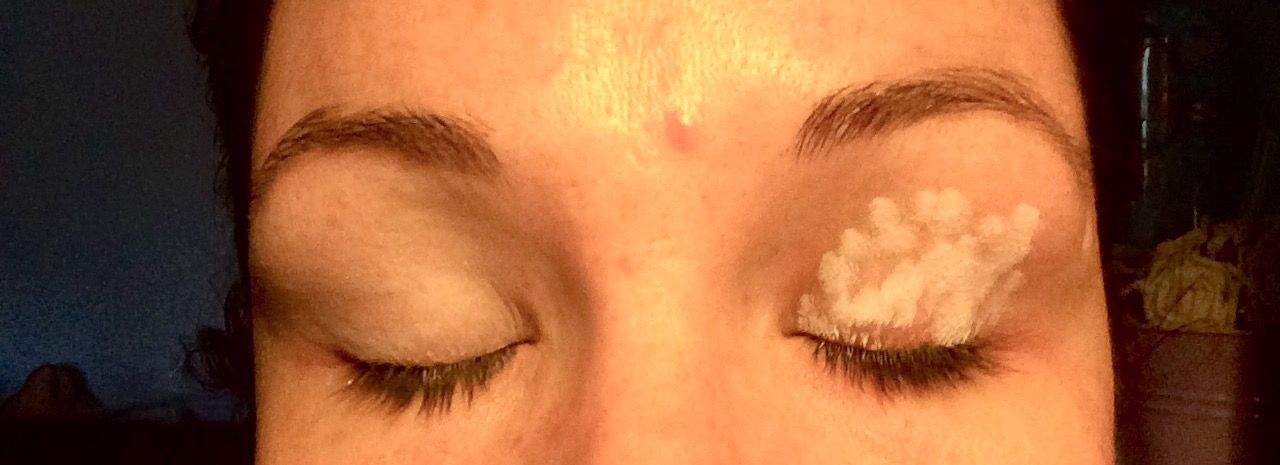
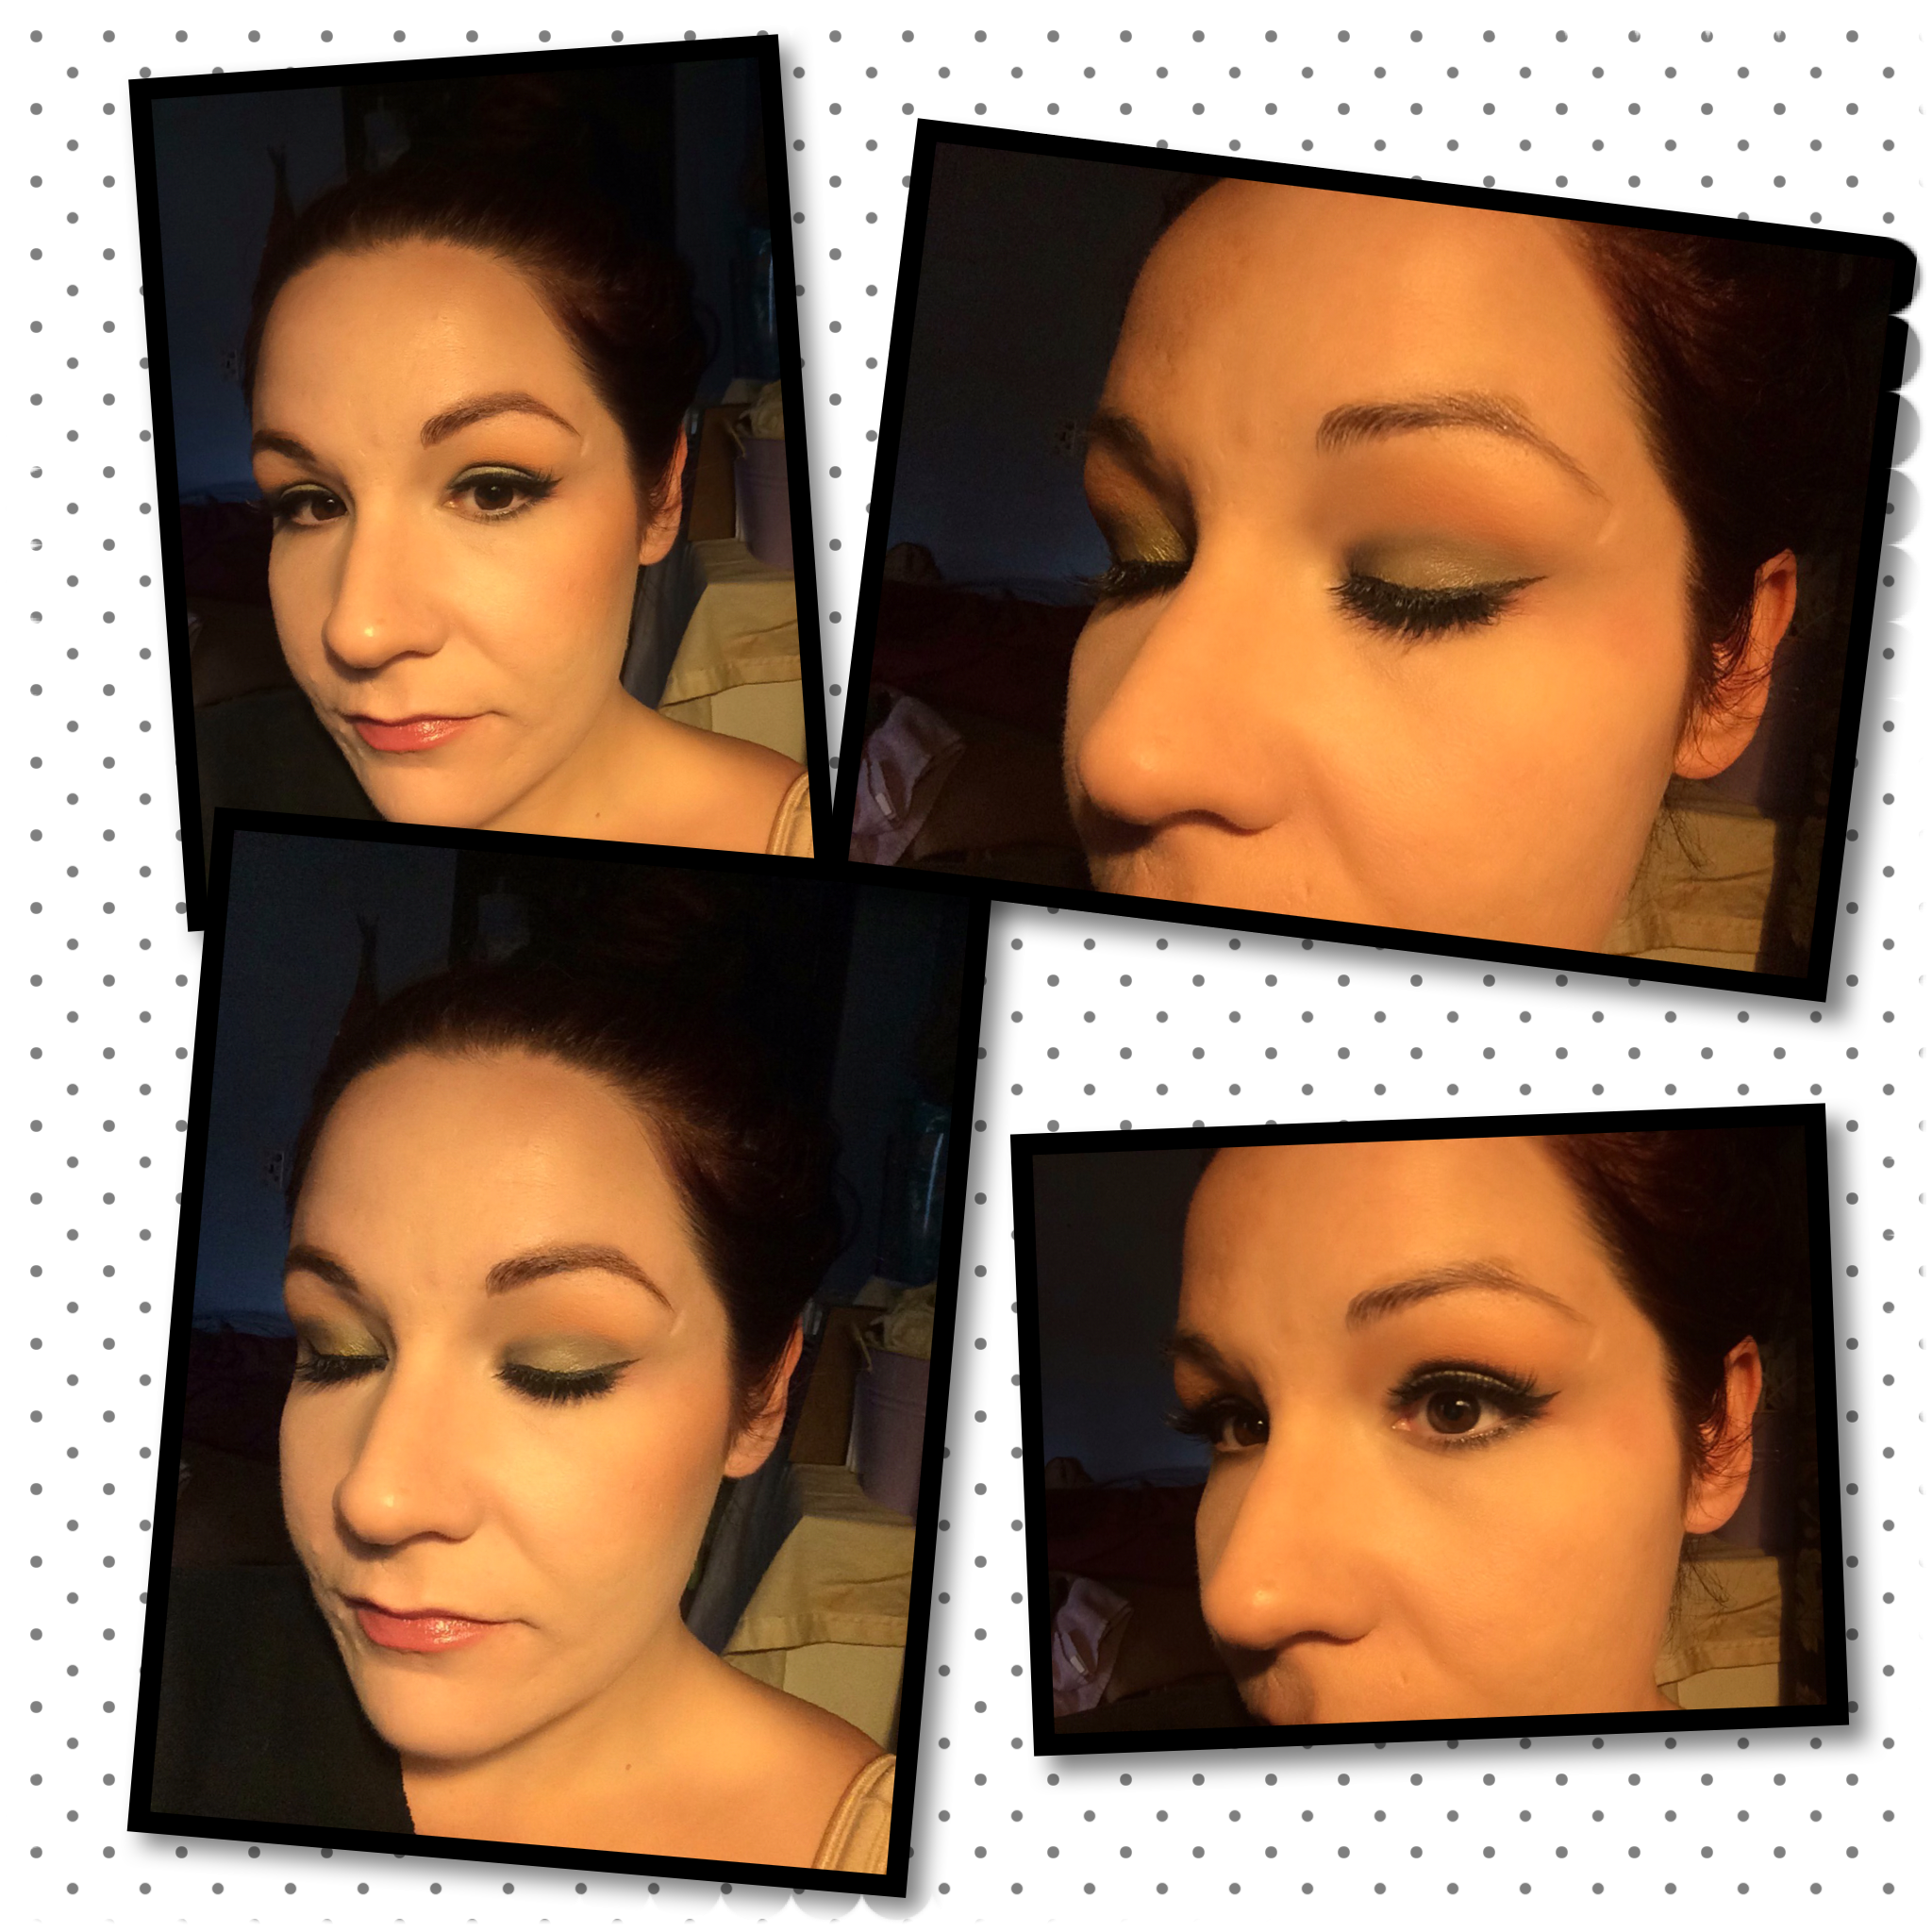
APPLICATION & WEAR

Alright, so I kind of gave it away by describing the formula. As I mentioned, I had a lot of trouble controlling this product. It also seems to take a few minutes to truly dry down and set in place, which can mean big time transferring issues if you have hooded eyes like I do.
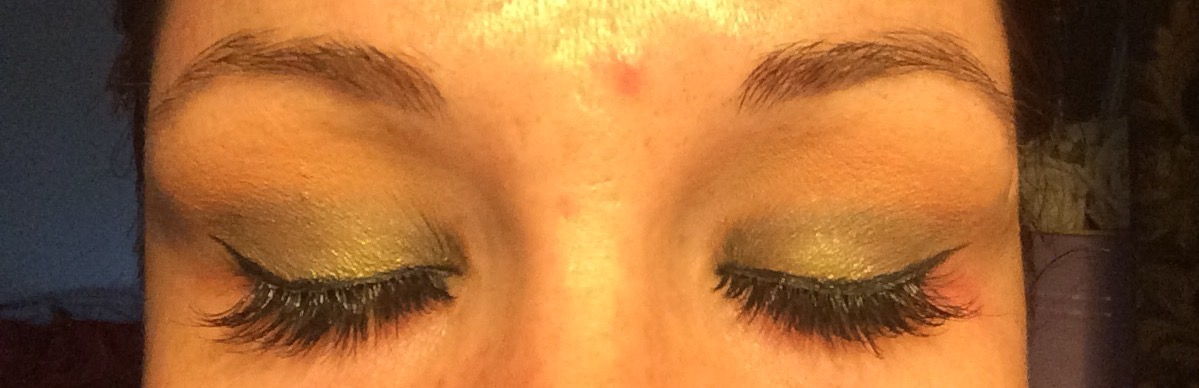
Another thing I wasn’t crazy about was that, while in the pot it’s very, very black (which is nice), once you begin to trace it along the lash line, it kind of thins out and gets streaky. I found that I had apply at least three coats before it reached the opacity I wanted.
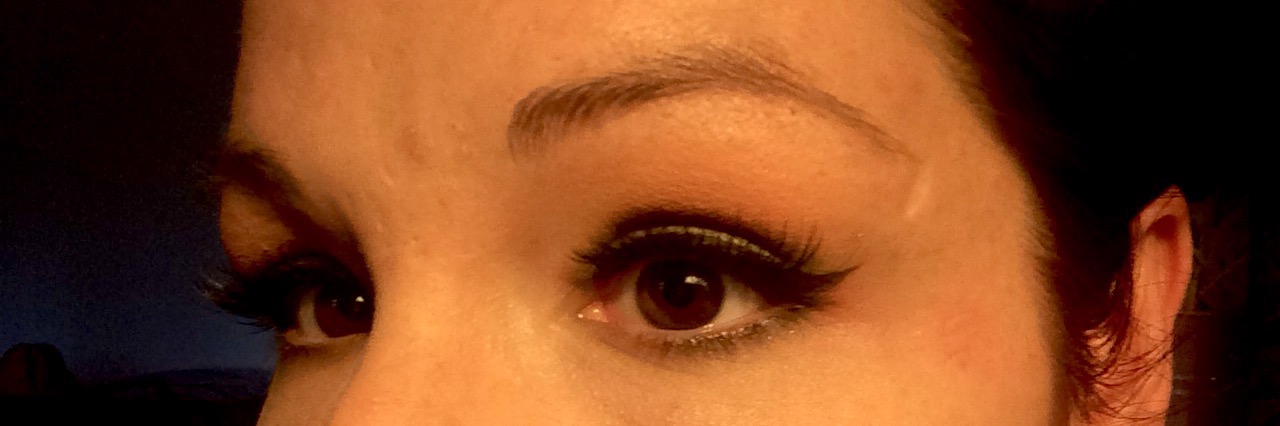
Once it finally sets, however, it does stay in place. For the hell of it, I drew a ‘wing’ on the back of my hand, and it stayed put with minimal fading for almost two days.
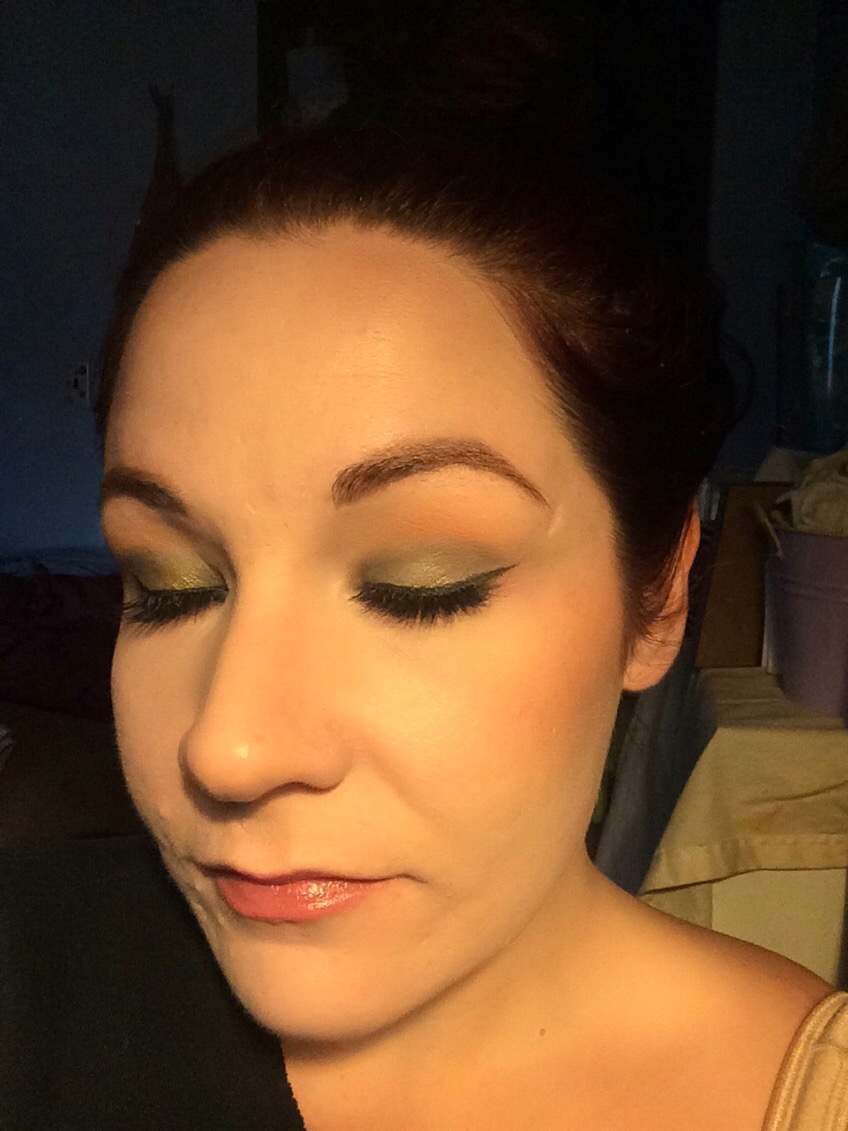
It might be ok for someone without hooded eyes, who wants to simply define the eyes. But when I tried to draw a nice, sharp wing, it was no where near as precise as I would have liked – and trying to sharpen it with a makeup wipe, Q-tip, or concealer was just a mess.

Overall Rating : 2.5/5


Honestly, I’ll probably pass this on to my sister, as she has big, round eyes and could probably use this with no trouble.
And lesson learned; next time I won’t be so frugal, and I’ll just buy the damn liner that I love!

Have any of you guys tried this product? What are your thoughts? Leave me a comment and let me know!

Come follow me around social media!
Twitter, Pinterest & Instagram : @dlynnesposito
Facebook : Affordable Gorgeous
Snapchat : dlynnesposito

And feel free to reblog and share my social media with your friends! Your support means so much!

LOTS OF LOVE!!
img_9363-2

LUCK OF THE IRISH SMOKEY EYE MAKEUP TUTORIAL

“May your troubles be less, and your blessings be more, and nothing but happiness come through your door.” – An Irish Blessing

Hey guys! With St. Patrick’s Day almost here, and my husband’s Irish heritage flying high and proud all year ’round, I knew I wanted to create a St. Patty’s inspired look.
This is a look that you can wear out with friends, to a parade, or even to a special St. Patty’s dinner. It’s easy to recreate, anyone can wear it, but especially for my brown-eyed-girls, this is going to make your peepers POP!

If you want to see how I created this look, then just keep reading!


 When you’re working with dark shadows, and shimmery, glittery shadows, you’re almost guaranteed to have some fallout, so I like to start with my eyes before doing my skin. I primed my eyes using the NYX Jumbo Eye Pencil in ‘Milk’, which is just a white eye crayon. The white underneath our shadows will help the colors stand out more, and the consistency of the pencil will give the shadows something to grab on to. Just draw it on sloppily, and smooth it out with your finger, all over the lid, up to the brow bone.

 Next I’m going in with ‘Beaches and Cream’ by Makeup Geek. Using a Morphe M441, which is just a fluffy blending brush, I’m taking that all over the lid, crease, and up to the brow. This is just going to help our other shades blend more smoothly. Then, using the same brush, I picked up ‘Peach Smoothie’, also by Makeup Geek, and applied that into the crease, working from outer corner to inner corner, and working just above the crease as the product starts to leave my brush. This warm, peach shade will give a nice contrast, and really compliment the next shades we’ll be using.


 Now, I’m picking up any flat, dense shader brush, and working with an Urban Decay Eyeshadow in the shade ‘Mildew’ (which I had a sample of from an ULTA order awhile back), I’m applying that all over the lid. It’s an earthy, shimmery, mossy green color which is the perfect base for a look like this. I started down near the lash line, and worked my way toward the crease, to keep most of the color as low on the lid as possible. Then, go back with your M441, and using no additional product, just buff out the line between the green shade and ‘Peach Smoothie’.


 So now we’re going to take the far right shade in the Maybelline EyeStudio Shadow Quad palette in ‘Gutsy Green’, which is a dark, forest green with shimmer, and a pencil brush (I used the Morphe M169) and begin building that up on the outer ‘V’ of the eye. Once you’ve gotten it to your desired intensity, begin moving your brush lightly through the crease, keeping it low, and bring it around to the inner corner of the eye. This will create sort of a ‘halo’ effect on the lid. Don’t worry if you’ve lost some of your brighter green, we’ll get to that. Just lightly blend , making sure all of the harsh edges are gone.

Now, using the far left, bright green shade in that same Maybelline palette, I just used my ring finger to pat a little bit right on the center of my lid. Gently pat it on, keeping it dead center on the lid, and then take your pencil brush, and blend the edges together with the dark shade we used on either side.


 Now, take a baby wipe or makeup wipe, and swipe away any fallout. Winged liner is totally optional here, but you know me (or you should by now!) – go big, or go home. Using my e.l.f. Cream Eyeliner in black and a Morphe M160 1/8 brush, I’m just going to apply my winged liner as usual. If you want to check out my tutorial for winged liner, you can do that by clicking here.


 Then I’m going to apply a thin coat of Rimmel Lash Accelerator Mascara, and apply some false lashes. I used Kiss Blooming Lashes in ‘Lily’, which I recently found on clearance at my local Walgreens, and I’m in love with them! They’re beautiful!

Now I’m just going to apply my foundation (L’Oreal Infallible Pro Matte in 101 and 102) and concealer (NARS Radiant Creamy Concealer in ‘Vanilla’) as usual, and set my concealer with the Anastasia of Beverly Hills ‘Banana’ Powder and a Morphe M438 brush.


 To finish up the eyes (without jumping around on you too much!), I’m going to take a Morphe M432 flat definer brush, and using the dark, shimmery green from the Maybelline palette, I’m going to press that right up underneath my bottom lashes, stopping about halfway in to the corner of my eye. Then using a clean pencil brush, I’m just going to buff that shadow out so it’s a little smokier, and apply some mascara to my lower lashes.
Then I filled in my brows using the NYX Micro Brow Pencil in ‘Chocolate’, and set them with the Anastasia of Beverly Hills Clear Brow Gel.

Since the eyes are so bold and smokey and dark, I really wanted to bring some warm, peachy color back to the face. After contouring as usual with Makeup Geek ‘Breakup’ Contour Powder and an e.l.f. Small Tapered Brush, I applied Milani Baked Blush in ‘Luminoso’ to the back of my cheeks with an angled blush brush. Since this blush already has some shimmer to it, I decided to – wait for it – skip highlighter! I KNOW! Did you fall off your chair? Pick yourself up, darling, because we’re not done yet!


 Finally, keeping with the same warm, peachy, natural glow we had going for the cheeks, I chose to finish off the look with some NARS Lip Gloss in ‘Dolce Vita’, and a quick spritz of Urban Decay All-Nighter Setting Spray. And we’re all done!!


There you have it! My St. Patty’s Day inspired makeup look! I hope you all have a wonderful, fun, safe St. Patrick’s Day! If you decided to recreate this look, tag me on Instagram!

Come follow me around social media!
Twitter, Pinterest & Instagram : @dlynnesposito
Facebook : Affordable Gorgeous
Snapchat : dlynnesposito

And please feel free to reblog this post and share my social media with your friends! Your support means so much!

LOTS OF LOVE!!
img_9363