Ahh, the 90’s.
F.R.I.E.N.D.S., music still played on MTV, good music at that. It was a great decade.
I’ve been dying for the 90’s looks to come back – some may say I’m even a little stuck in/on the 90’s; I’ve always preferred brown/nude lips, smokey, messy, smudgy eyes, flannels. What can I say, I grew up in the 90’s!
Well this morning, while (albeit late) perusing some of the runway looks for NYFW, discovered that some 90’s trends are making a comeback; particularly the lived in liner, dark lips, etc. And then, my loves, I made a mad dash for my vanity and got to work!
If you want to see how I created my 90’s inspired makeup look (which is super easy to recreate, nonetheless, then just keep reading!
*NOTE* you already know, please forgive my atrocious vanity lighting – I’m working on it!
When it came to foundation in the 90’s, the overall goal was flawless and totally matte. No shimmer, no highlight, minimal blush, just matte and clean. If you want to see how I achieve the base of my face (ha ha) then click here for my update foundation routine.
For the eyes, I used all shadows from the Morphe 35N palette – again, all matte. No shimmer. I went ahead and numbered them for you, since the palettes don’t have shade names.
 After priming my eyes with the Urban Decay Primer Potion, I picked up shade #1 on a Morphe M441 brush, and applied that from lid to brow bone. This will be our transition color. Then on a Morphe M330, which is a smaller, more tapered blending brush, I picked up shade #2, and applied that into my crease, from inner corner to outer corner, back and forth, in windshield wiper motions, and then went back with my M441 to blend out any harsh edges.
 Now, using a Morphe M169 pencil brush, I picked up a mixture of shades #3 and #4, and applied that to the outer ‘V’ of the eye, and then gently blended it into the crease with the M330. Try to keep as much product as you can off the actual lid, because we want to keep that nice and light. Then go back in with shade #1 on a synthetic flat shader brush, and apply some of shade #1 from the inner corner, to about halfway across the lid, and gently blend the lighter and darker shades together.
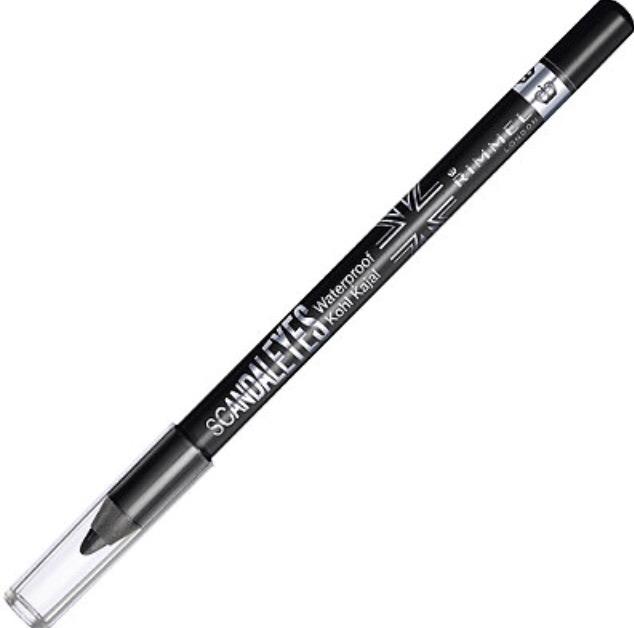
 Next, I used my Rimmel Scandaleyes Kohl Kajal Eyeliner in Black to create a messy line across my top lash line. It doesn’t have to be perfect, because now I’ll smudge it out with any angled liner brush; I used the Morphe M160 1/8. Moving to the lower lash line, I’ll apply the same pencil, but this time only to the outer third of the lower lash line. Then I’ll go back with shade #3 and my Morphe M169 brush, and blend out that black liner, so it looks more diffused, a bit softer, and more “I slept in this – so what??”. Then I applied a few generous coats of the L’Oreal Voluminous Mascara in Brown Black.
Next I filled in my brows as usual (click here for my brow tutorial), and then applied some Rimmel Natural Bronzer in Sun Light to the perimeter of my face with a Morphe M527 brush. Because I was feeling a bit too pale, even for the 90’s, I applied a little bit of ULTA Cheek Color in Sun Kissed using an angled blush brush. It’s the perfect muted, rosy brown blush for a look like this. And of course, what better way to complete this look than with Gerard Cosmetics Lipstick in 1995??!! I mean, come on!

There you have it! An easy, 90’s inspired makeup look! I mean, I could go real hardcore grunge and do a dark lip and heavily smudge liner that looks like I’ve been partying all weekend, but let’s be real; I was a freshman in high school in 1999. This is the kind of makeup I wore. Nothing crazy. If you guys want to see a 90’s grunge look, leave me a comment below!! I’ll totally do it for you!!
Come follow me around social media!
Twitter, Pinterest & Instagram : @dlynnesposito
Facebook : Affordable Gorgeous
Snapchat : dlynnesposito
And feel free to reblog and share my social media with your friends! Your support means so much!
LOTS OF LOVE!!