
Contouring.
It makes some people giddy – ‘you mean I can look like a Kardashian now too!?’
And some people shudder at the thought of even TRYING to do it on their own. I was one of latter.
But when you possess the right tools and products, some patience, time to practice, and a little know-how, you’ll wonder why you didn’t try it years ago!
Contouring is nothing more than sculpting the face and creating hollows, or shadows, on the face, to create the illusion of cheekbones, a smaller forehead, a defined chin, etc; basically you’re changing the shape of your face with the use of a darker cream or powder product. And dammit it can be scary – at first. The hardest part for me was finding the perfect neutral/cool toned, completely matte shade from the drugstore – a seemingly impossible feat!
So I’m here today to share with you my tips, tricks, and products to make it easier than swiping on your favorite lip gloss! (Yup, it’s really that easy!)
Let’s get started!
Here are the products that you’ll need –
- NYX HD Blush in Taupe – $7/ULTA
- NYX HD Finishing Powder in Banana – $10/ULTA
- SOHO Pro Crease Brush
- e.l.f. Studio Contouring Brush – $6/elfcosmetics.com
- Morphe M438 Pointed Contour Brush – $9.99/morphebrushes.com
NOTE * Now keep in mind that this is for BASIC contouring with powder products – not cream contouring – that can be found here.. I find this method to be the easiest for beginners, and since these products are easy to work with you’ll be a pro in no time! *
ANOTHER NOTE * Since I’ve written this, my contour brush has begun to shed horribly – my own doing in not keeping water out of the ferule – so for the purpose of this tutorial you’ll see me using my NARS ITA brush – this is not necessary – but if you want one, I found mine on eBay for $14!*
STEP ONE – CHEEKS
After you’ve applied your foundation and concealer, you’ll want to set it with your favorite powder. This will allow the contouring products to blend a lot smoother than they otherwise would on top of a still wet, tacky foundation – they’ll just splotch and drag.
Taking your contour brush and your NYX blush in ‘Taupe’, get a small amount on your brush, and tap off any excess – remember you can always add more product to build up the intensity but once you have TOO MUCH on there, you’ll just look dirty and it’s harder to blend it out and get rid of it. LESS IS MORE!
Most people will tell you to suck in your cheeks and make a ‘fishy face’ – this is useless. Pull back your hair above your ear, and put the tail end of your brush handle at the top of your ear. Now angle the brush handle down to the corner of your mouth. Just below that line is where your natural contour would be, and if you press into your cheek with your finger you should be able to feel your cheekbone right under your brush.
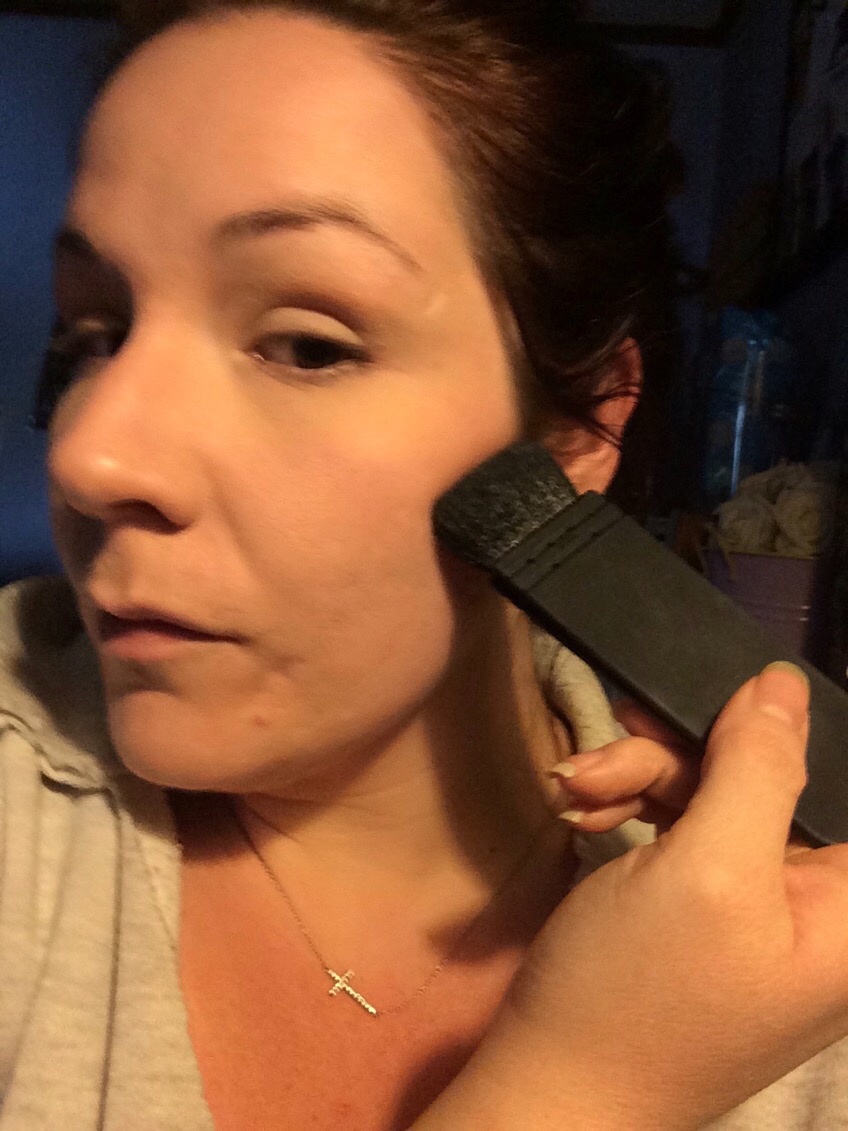
Now place the bristle part of your brush where your ear meets your cheek, and wiggle it lightly back and forth in that diagonal line, but don’t take it any further that the tail of your eyebrow. Wiggle, wiggle, wiggle, using light pressure, and once you’ve deposited your product, start moving your brush up and down – not too far down, just enough to blend your product out. Move it up towards the temple and blend like you’ve never blended before! Blend until your arm hurts, then blend some more! Repeat on the other side.
STEP TWO – TEMPLES AND FOREHEAD
This is super important, because you NEVER want to just contour your cheekbones and nowhere else. You have to connect it to something or it won’t look natural! Work it up along the temples (the area along the side of the eye between your forehead and your cheeks) keeping it as close to the hairline as possible.
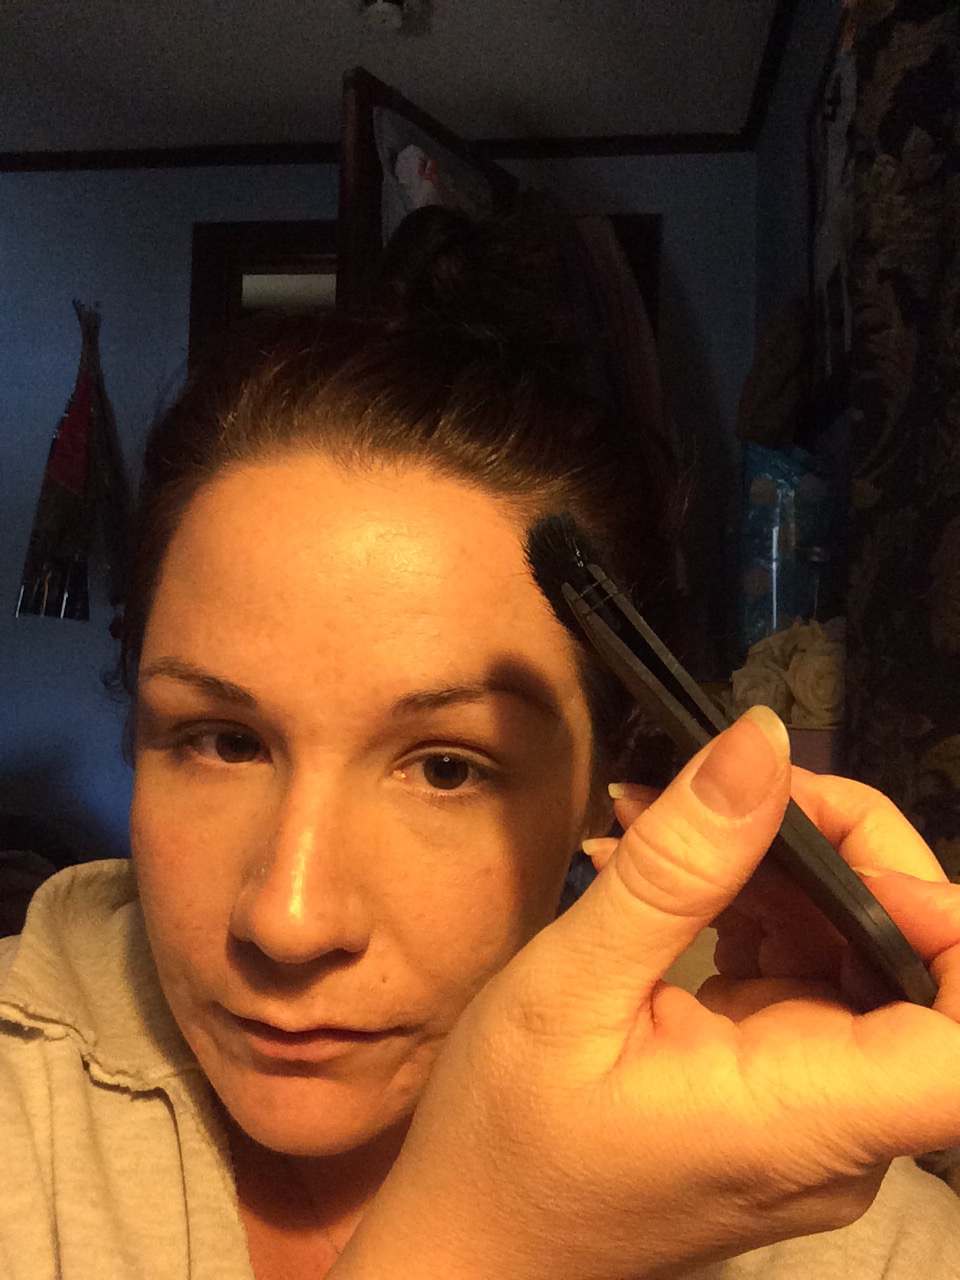
Now get a little more of the Taupe shade, and start on the forehead – close to the hairline, above either eyebrow, and blend, blend, blend! I feel like I can’t put enough emphasis on blending, but it’s so important to be sure that you don’t have any harsh lines of demarcation. Blend back and forth, bringing your contour shade no more than an inch down from your hairline, and work it across the top of your forehead.
STEP THREE – CONTOURING THE NOSE
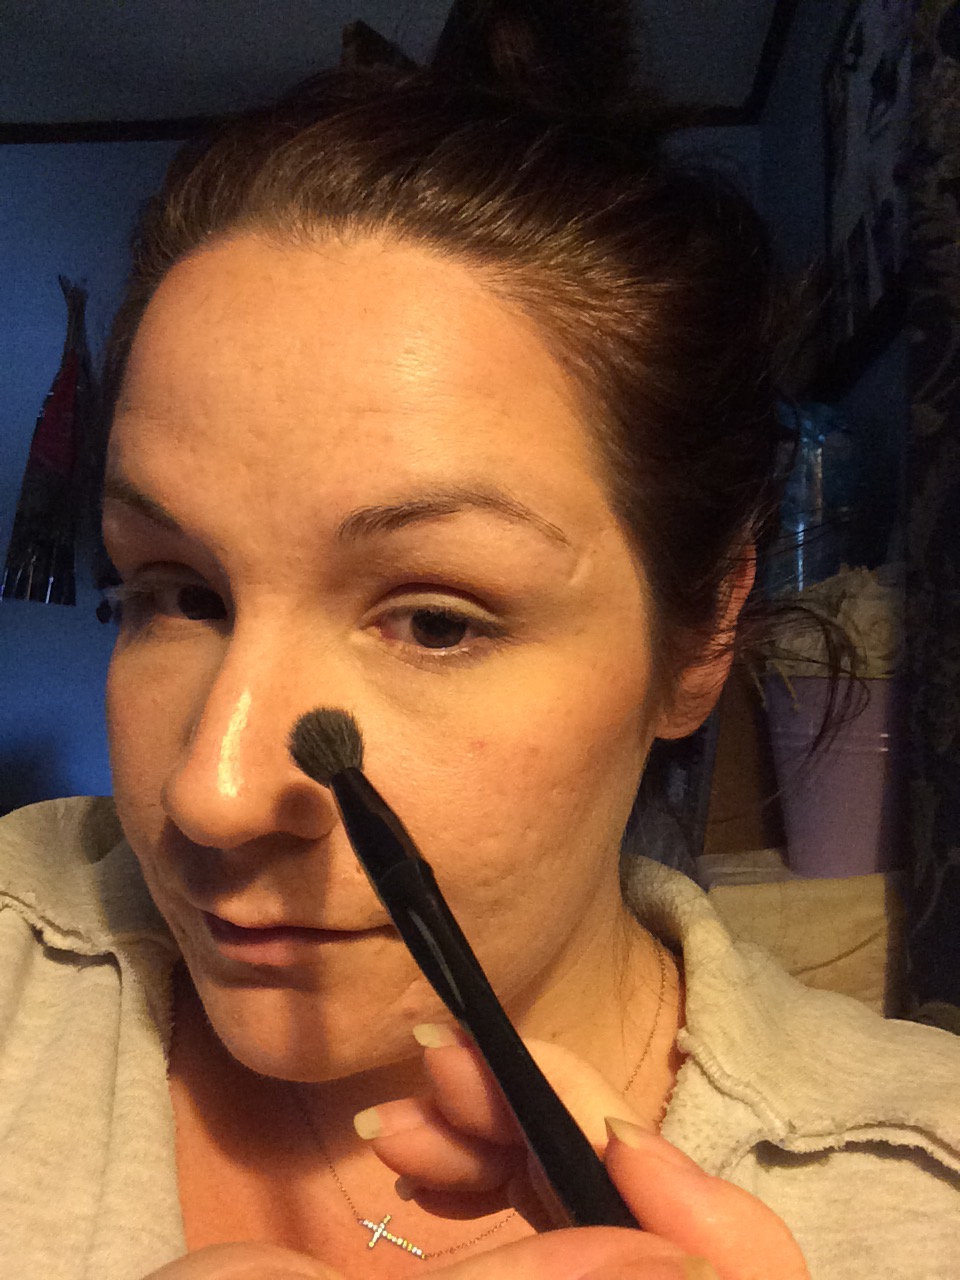
Now this step isn’t necessarily for everyone. This is for my girls who have a wider nose like me, and a very light, well blended contour on the sides of your nose can make it look super slim and straight as a board! Grab that SOHO Pro Crease Brush or any fluffy eyeshadow blending brush, and some of the Taupe shade (make sure you tap off the excess!) and lightly run it down the sides of your nose. Concentrate on the widest part (for me it’s the nostril area) and lightly blend it down the sides. To ensure it looks the most natural, drag it lightly up the side of the nose and connect it into and just under the brow. Blend well.
STEP FOUR – HIGHLIGHT

The whole purpose of contouring is to create shadows on the face, which cause those areas to recede. Ideally, when you contour, you’re contouring the perimeter of your face, leaving the center of your face very light. To set and highlight the rest of your face, take your Morphe M438 and some of your NYX HD Finishing Powder in Banana and use it on the under-eye area in a V shape, on the center of the forehead between the brows, down the center of your nose, and on your chin. The banana shade works to brighten these areas more than a translucent powder can. If you find that you went a little too low with your contour shade or it just doesn’t look as chiseled as you’d like it to, you can apply this shade just under your contour to sharpen it up. Play around with it! Makeup is meant to be fun!
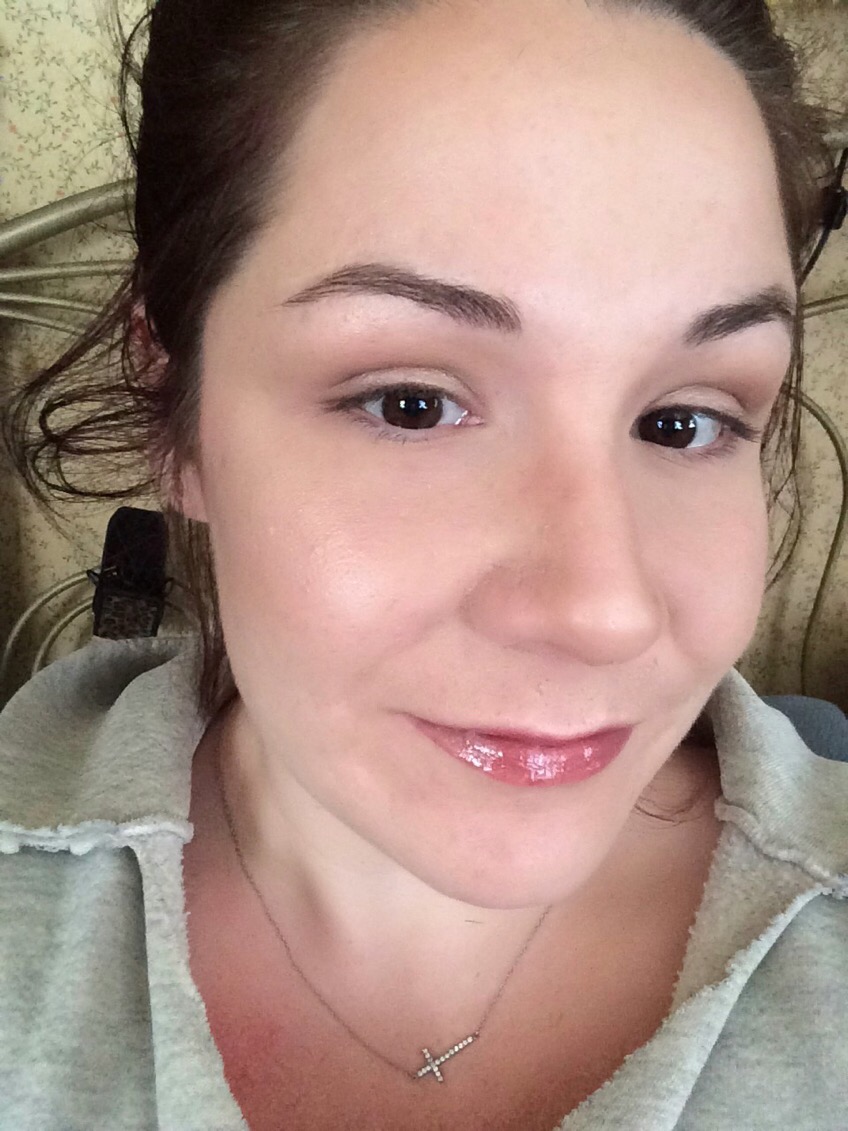
From here you can add a shimmery highlight, blush, and the rest of your makeup. Congratulations, you’ve learned to contour!
I really hope you guys picked up some good tips and were able to walk away from this with a new skill!
Contouring is great for nighttime looks, or when you know you’ll be photographed – it’s not generally used for daytime, because it can be too harsh in natural daylight – but that’s not to say it can’t be done.
This is not a technique for a ‘natural’ look, or a ‘no makeup makeup’ look – it’s going to be quite apparent that you’re wearing makeup. That’s why its more widely used after hours. But it can be very wearable with the right products and proper application!
Do you guys contour? Have you been struggling with it? Do you have any favorite products or techniques? Leave me a comment and let me know!
And please go follow me on Twitter and Instagram @dlynnesposito, and go like the Affordable Gorgeous page on Facebook! I’ll be hosting a giveaway in the coming weeks and you won’t want to miss it!
LOTS OF LOVE & CHISELED CHEEKBONES!

