
Hey guys!
So I try to dupe as much as I can here for you guys because, well, who doesn’t love dupes? While it’s nice to splurge on high end goodies from time to time, let’s be real; we can’t all afford to live the beauty high life.
I’ve noticed that, after much playing around with some of my must have beauty products, that dupes I’ve seen duped, aren’t necessarily dupes.
A dupe, for reference, is a less expensive version of a high end product that is similar in color, formula, packaging, etc.
Allow me to explain.
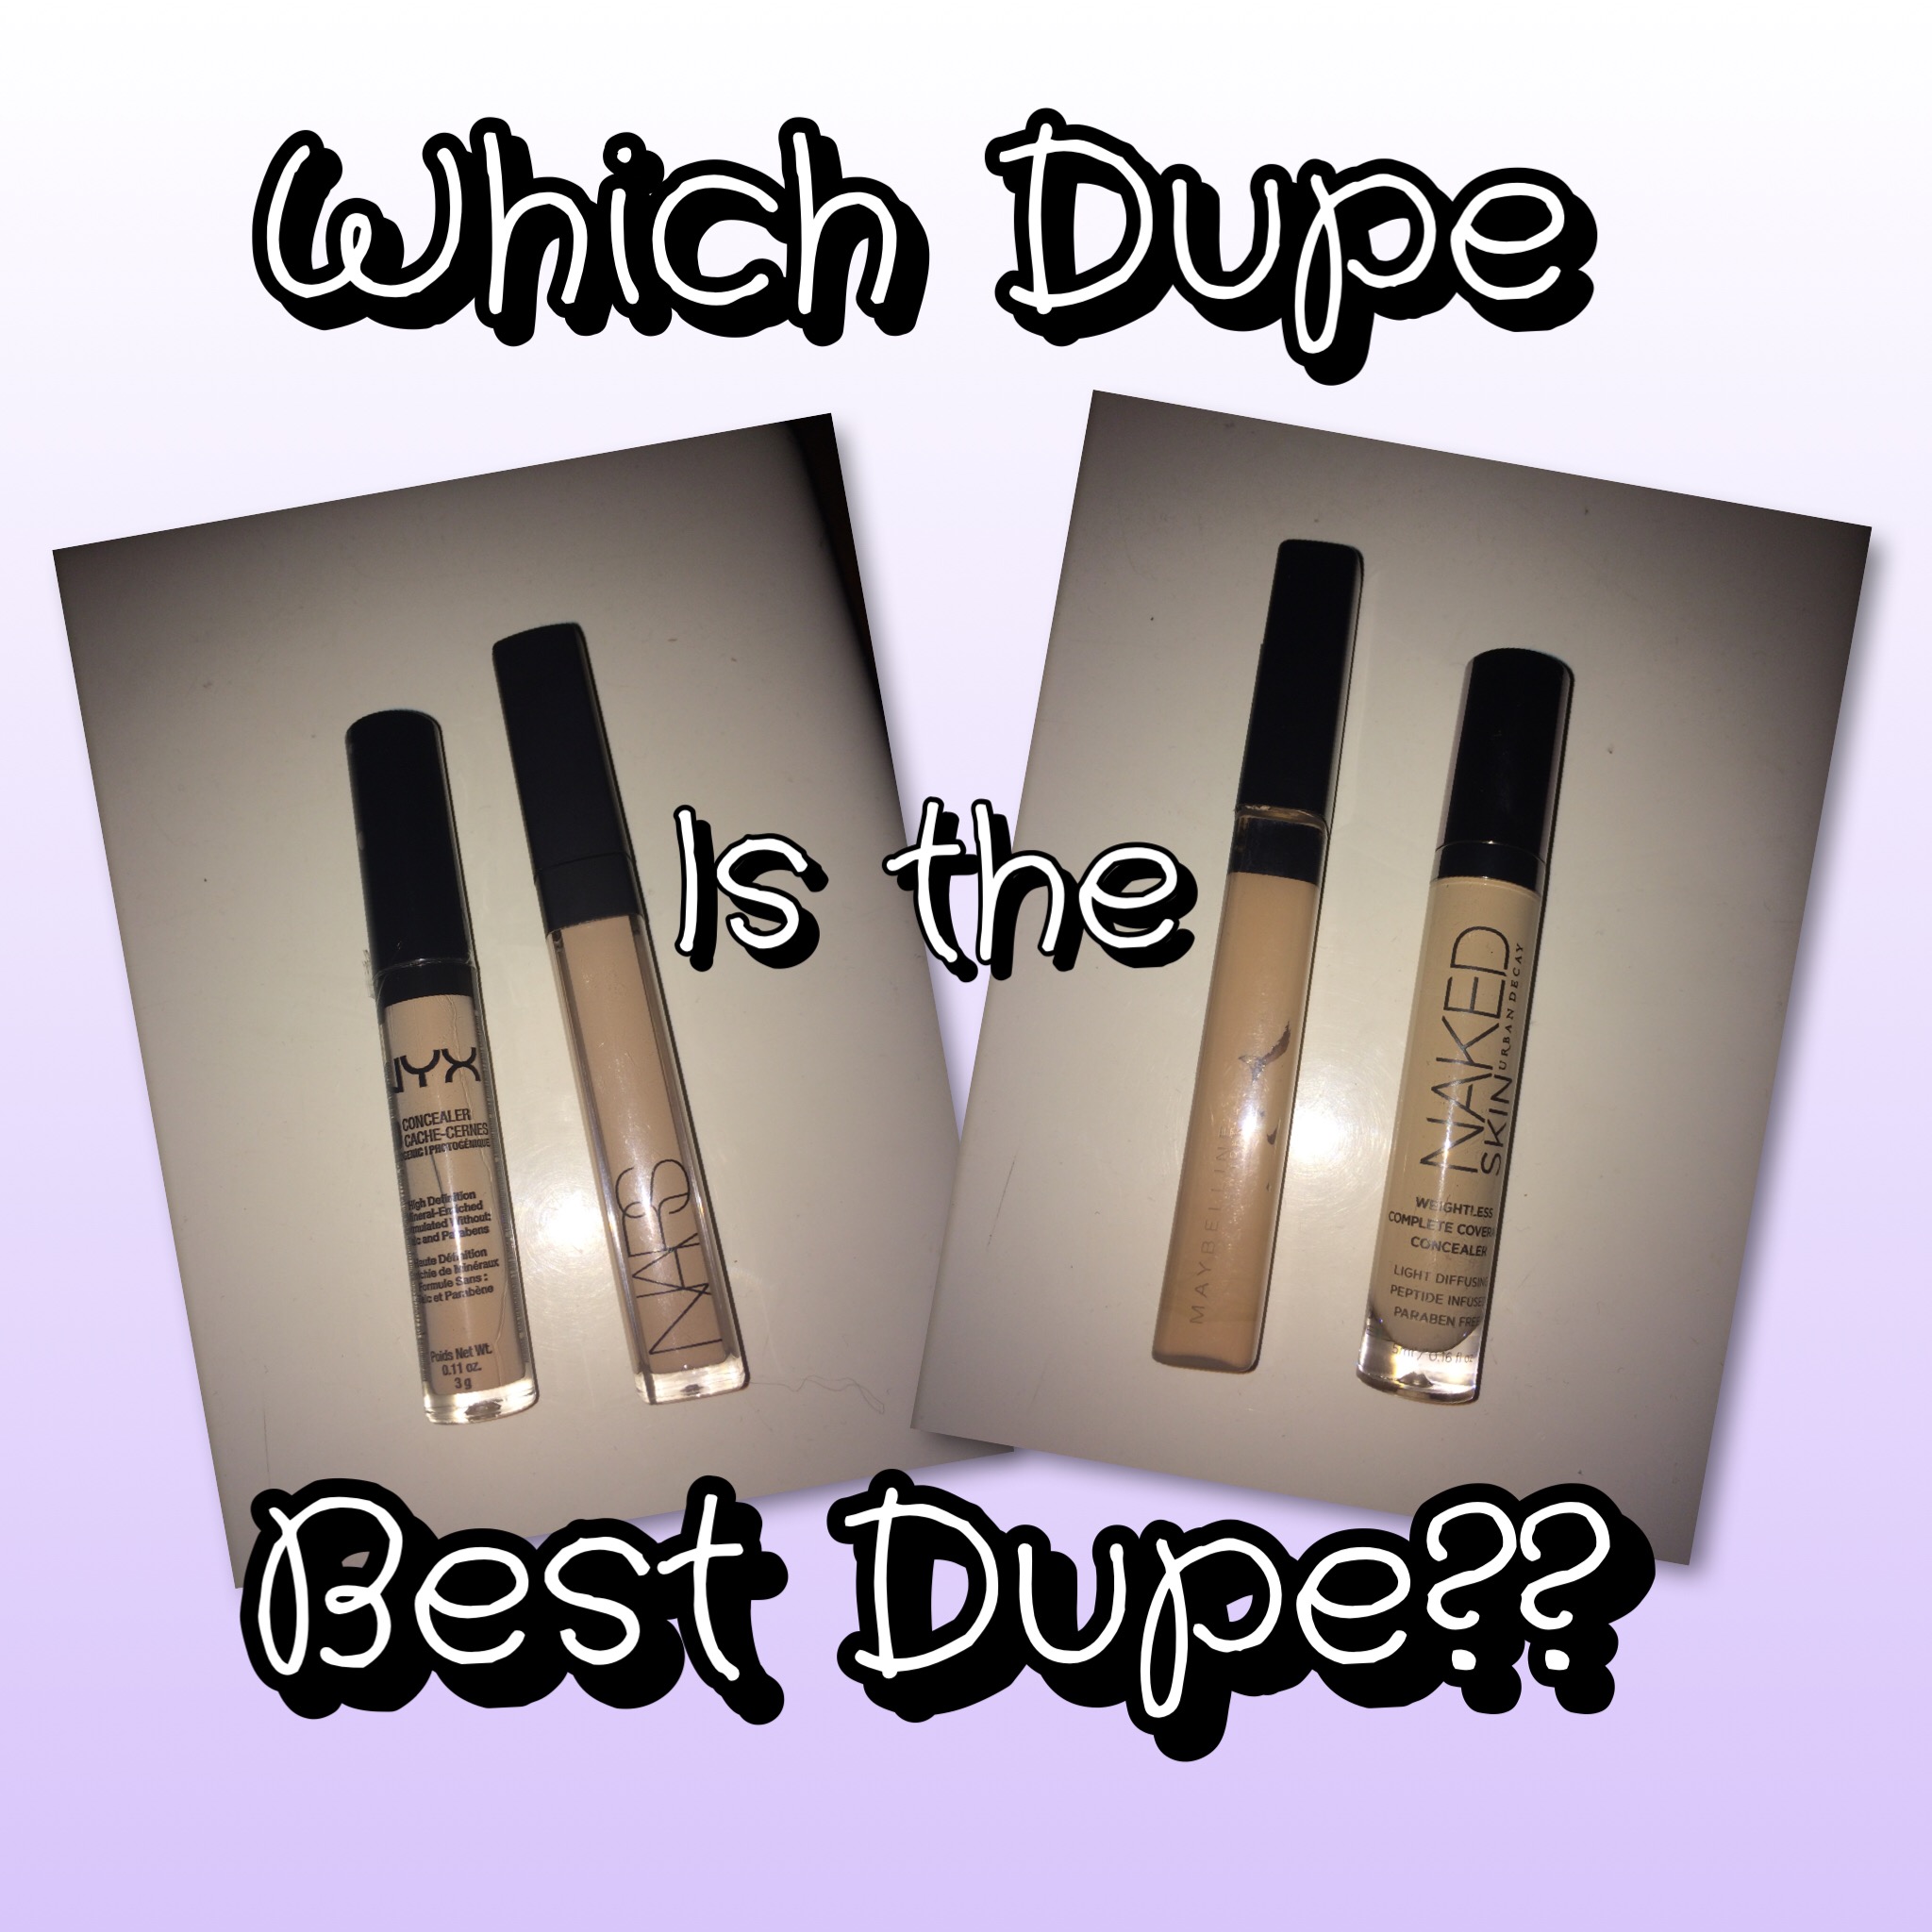
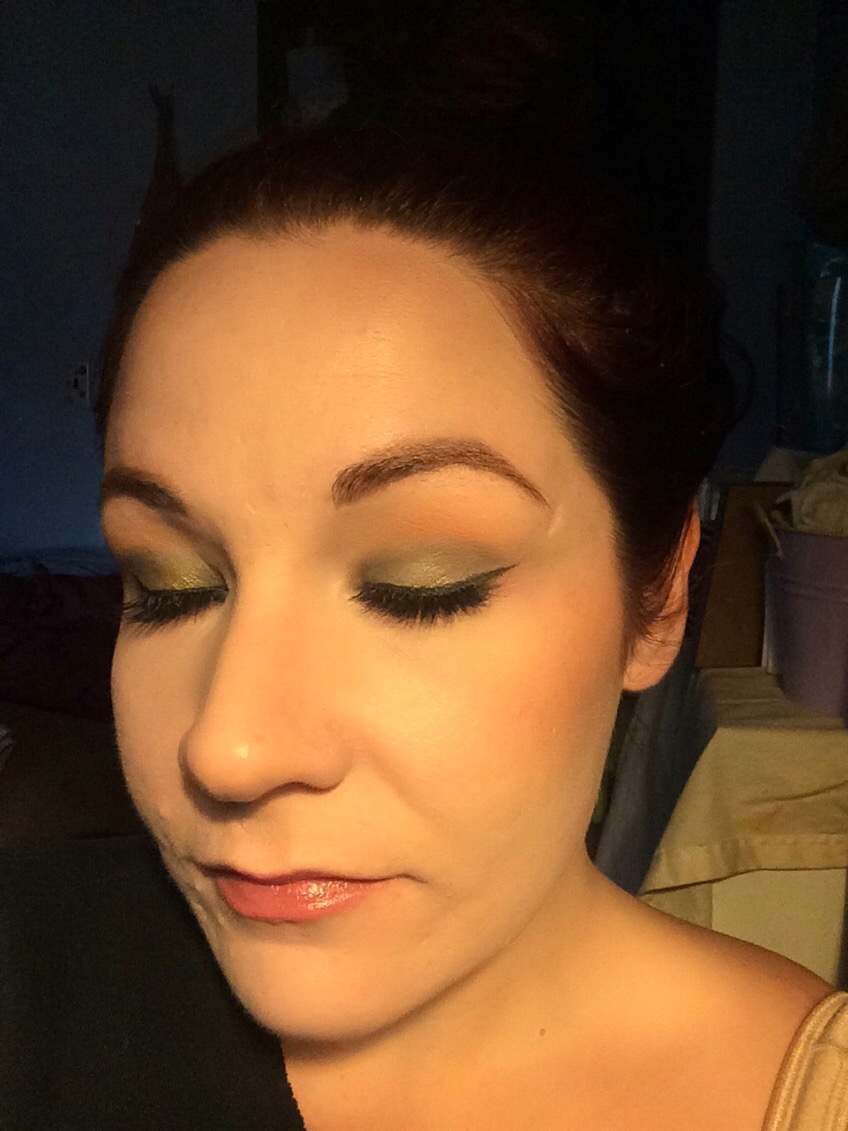
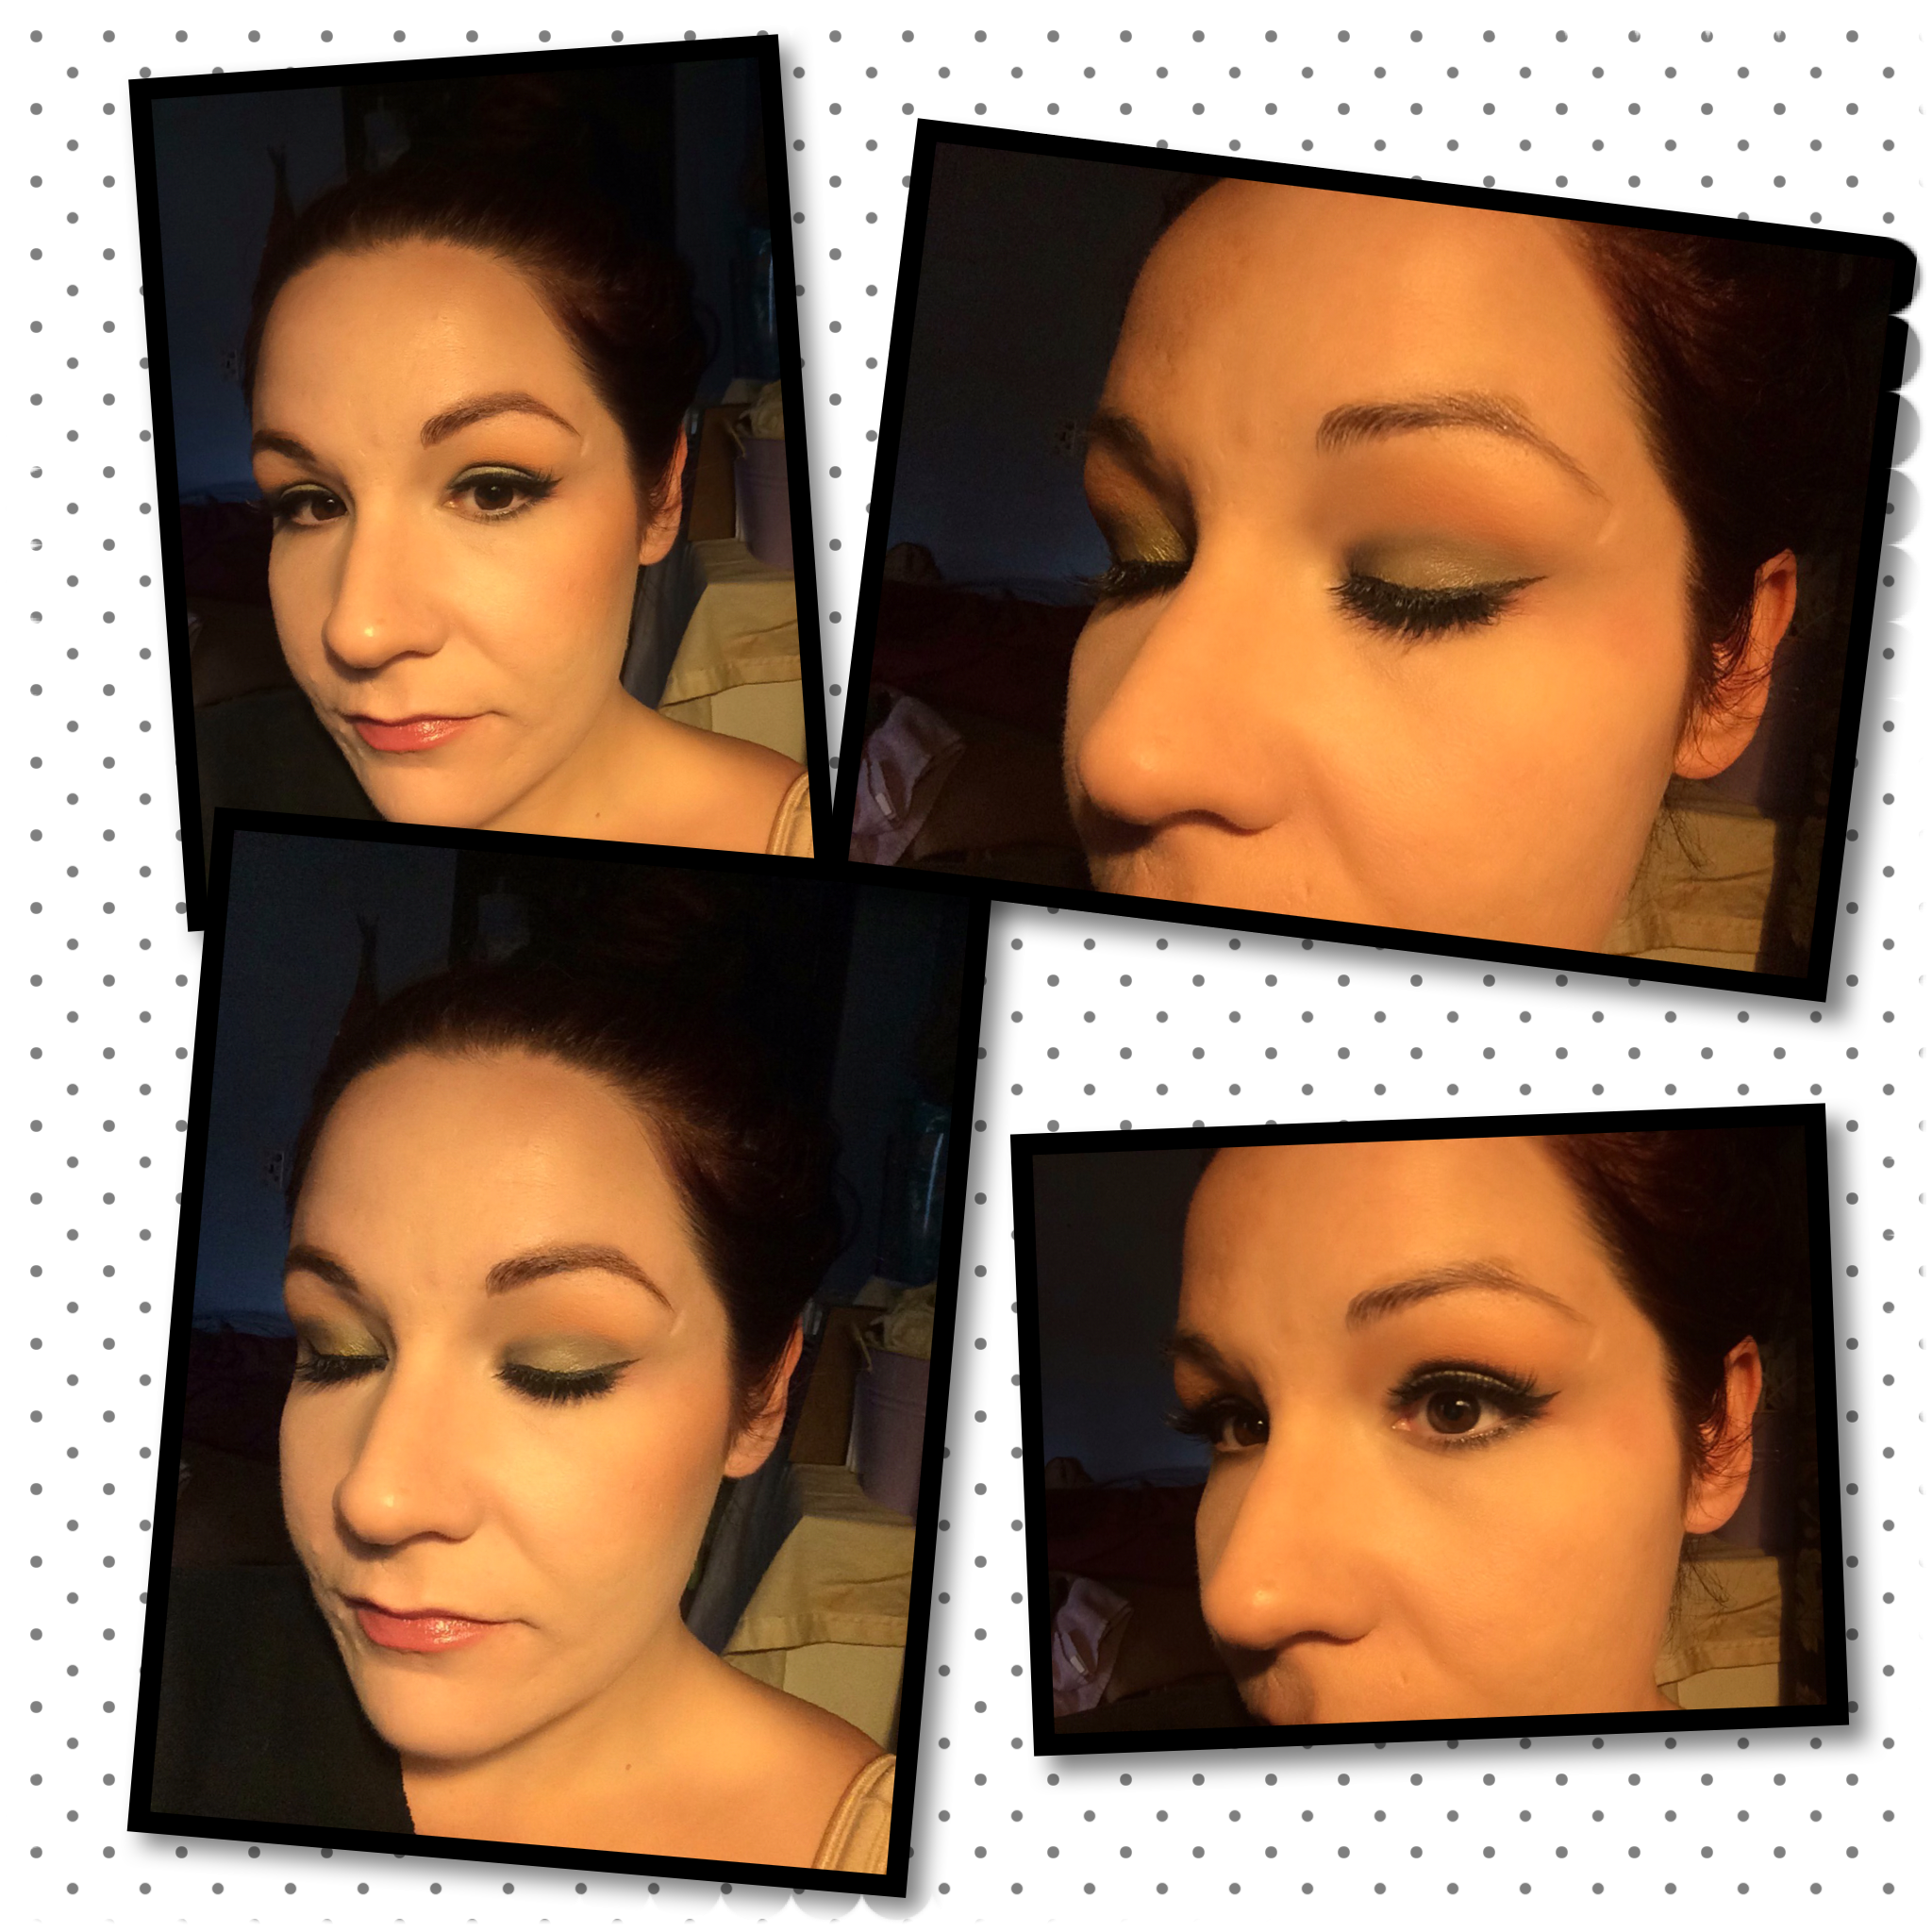
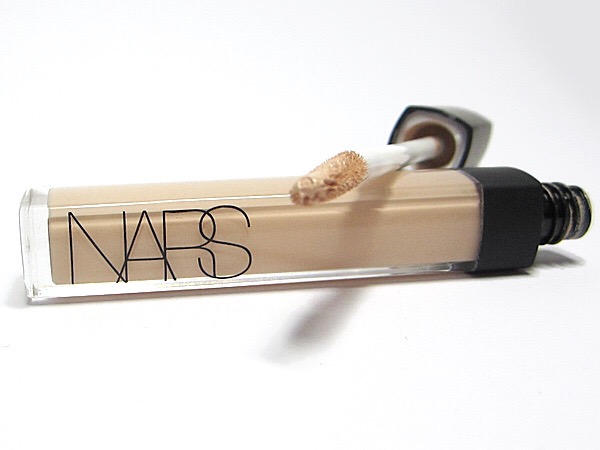
NARS RADIANT CREAMY CONCEALER

Left – NYX (CW02) Right – NARS (Vanilla)
The NARS Radiant Creamy Concealer is like a cult classic; everyone (or almost everyone) owns it, loves it, swears by it, myself included. It’s amazing. It’s brightening, long wearing, virtually crease free, and blurs imperfections for an almost photoshopped finish; pretty much everything you could ask for in a concealer.
It’s been said that the drugstore dupe for this concealer is the Maybelline Fit Me Concealer; I would have to disagree.
While they’re similar in terms of their packaging (squared edges and black twist off caps), that’s pretty much where it ends. But in terms of formula, the closest match that I’ve found is the NYX Hi Definition Photogenic Concealer. It has a much thicker, creamier consistency, and blurs imperfections almost exactly like the NARS. And it’s far less expensive, coming in right around $6 at most retailers that carry NYX!
URBAN DECAY NAKED SKIN WEIGHTLESS COMPLETE COVERAGE CONCEALER

Left – Maybelline (Fair) Right – Urban Decay (Light Warm)
This concealer is quickly becoming one of the most popular concealers around, and with good reason; it’s hydrating, long wearing, looks like skin, and it’s (almost) full coverage, not to mention it’s buildable. Initially when I tried it, I wasn’t impressed. Mostly my disappointment was based in the shade range – it’s very hard to find your shade, as they run light, and are rather limited. Or they were. They’ve since expanded their shade range to accommodate a wider range of deeper skin tones. I wish they’d throw in a few more options for us light gals, but that’s another issue.
Since finding my perfect shade (Light Warm and I’m an NC15 for reference), I’ve really been loving this concealer, and using it almost daily. And the best dupe I’ve found for this one is actually the Maybelline Fit Me Concealer. While the packaging is entirely different, the formula is very similar. They both have a very pigmented, lightweight, gel-like formula that is again, very buildable, and feels like nothing on the skin, while looking like skin. This concealer, like the NYX one mentioned above, also comes in around $6-7, depending on the retailer.
Have you guys tried any of these concealers? Which one is your fave? Leave me a comment and let me know!
Come follow me around social media!
Twitter, Pinterest & Instagram : @dlynnesposito
Facebook : Affordable Gorgeous
Snapchat : dlynnesposito
And feel free to reblog this post and share my social media with your friends!
LOTS OF LOVE!!


