EVERYDAY ‘MOM’ MAKEUP ROUTINE

Since I’m a SAHM (stay-at-home-mom) my beauty routine is pretty minimal – most days I focus on my regular skin care and not much else. My son could care less what I look like, and my husband is the “you’re beautiful without makeup” guy – bless his heart, he’s a keeper!

But let’s face it, there’s something about putting on makeup that just makes you feel good. For me, it’s about that little bit of “me time” where I get to play around with color combos and finishes and textures and create new looks, which in turn, I get to share with you guys!

When I find that I just need that little pick-me-up, or I have to run out for some errands and I know I’ll be gone for awhile or may run into people I know, it makes me feel good to know that I’ve put that little extra effort in. And that’s what this look is about. It’s very minimal, just a few products, but it really does make all the difference!

So let’s get started!


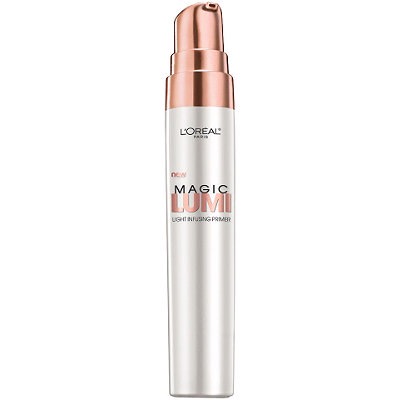
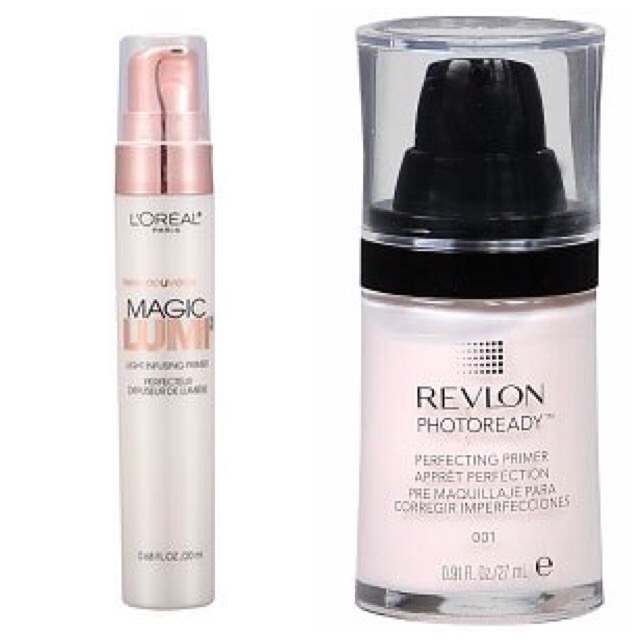
 So like I said, I always make sure my skin is in prime condition before letting a drop of makeup touch my face! I always cleanse, tone, and moisturize, and then apply a primer. For days where I’m doing absolute minimal makeup, I tend to reach for the L’Oreal Magic Lumi Light Infusing Primer ($13). “But wait, aren’t you oily?” Well, yeah, but hold that thought!


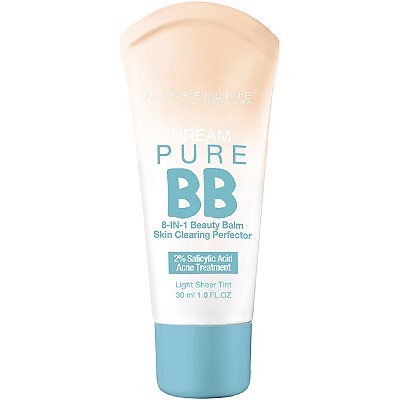
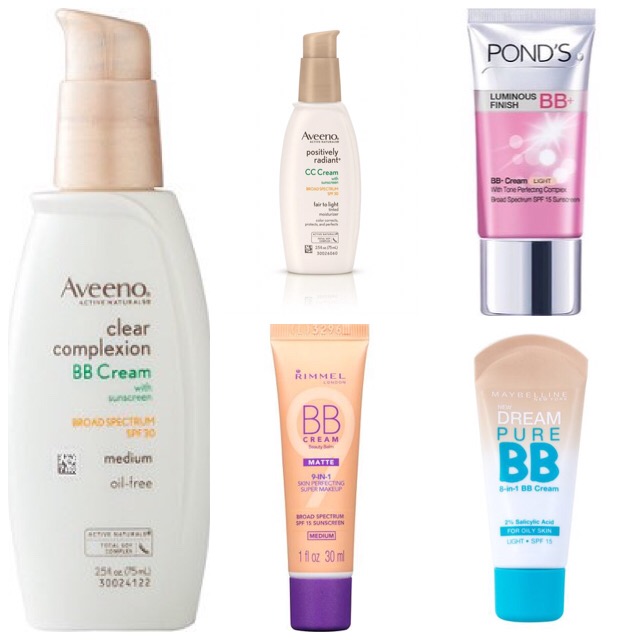
 Recently I’ve been reaching for my Maybelline Dream Pure BB Cream ($6.29), which is oil-free (hence the illuminating primer) and contains salicylic acid, which is great for treating any existing breakouts, as well as preventing future ones. I find that I get a solid light to medium coverage with this, and most days I’m perfectly comfortable just wearing this. But…..


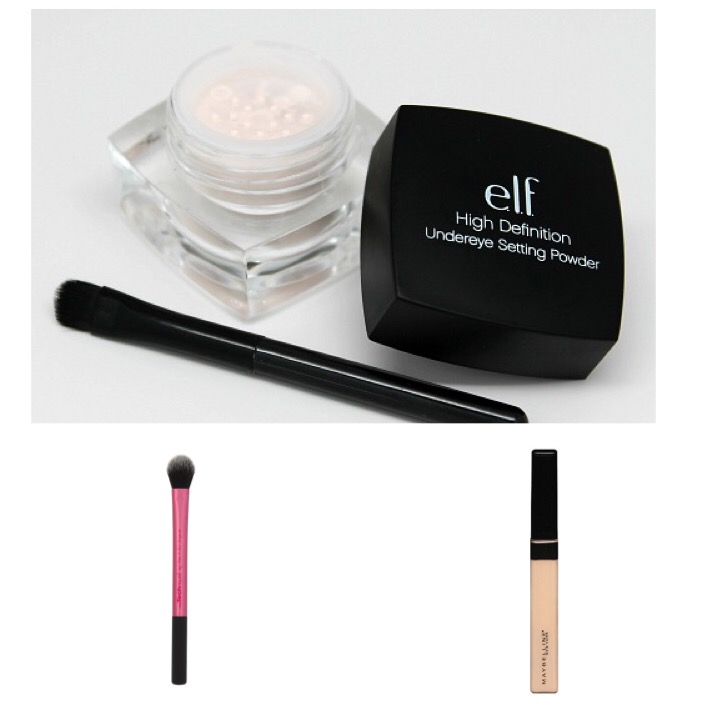
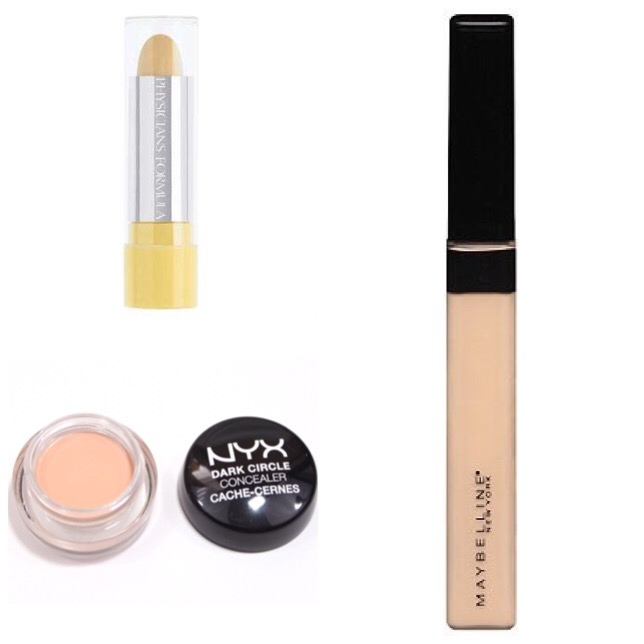
 Since I’m not going for a flawless face (it’s mostly to conceal minor redness) I’m not going to ‘power-conceal’ like I might if I were headed somewhere like out to dinner or a family gathering – I’ll spot conceal where I absolutely need it with my Maybelline Fit Me Concealer ($6.49) in the shade Fair, and touch a little into the inner corner of my eyes to conceal some darkness and brighten up that area. Then I always set the under eye area because I will crease, it’s almost guaranteed. I like the e.l.f. High Definition Under Eye Setting Powder ($3) for this, and just a Real Techniques Setting Brush ($8).


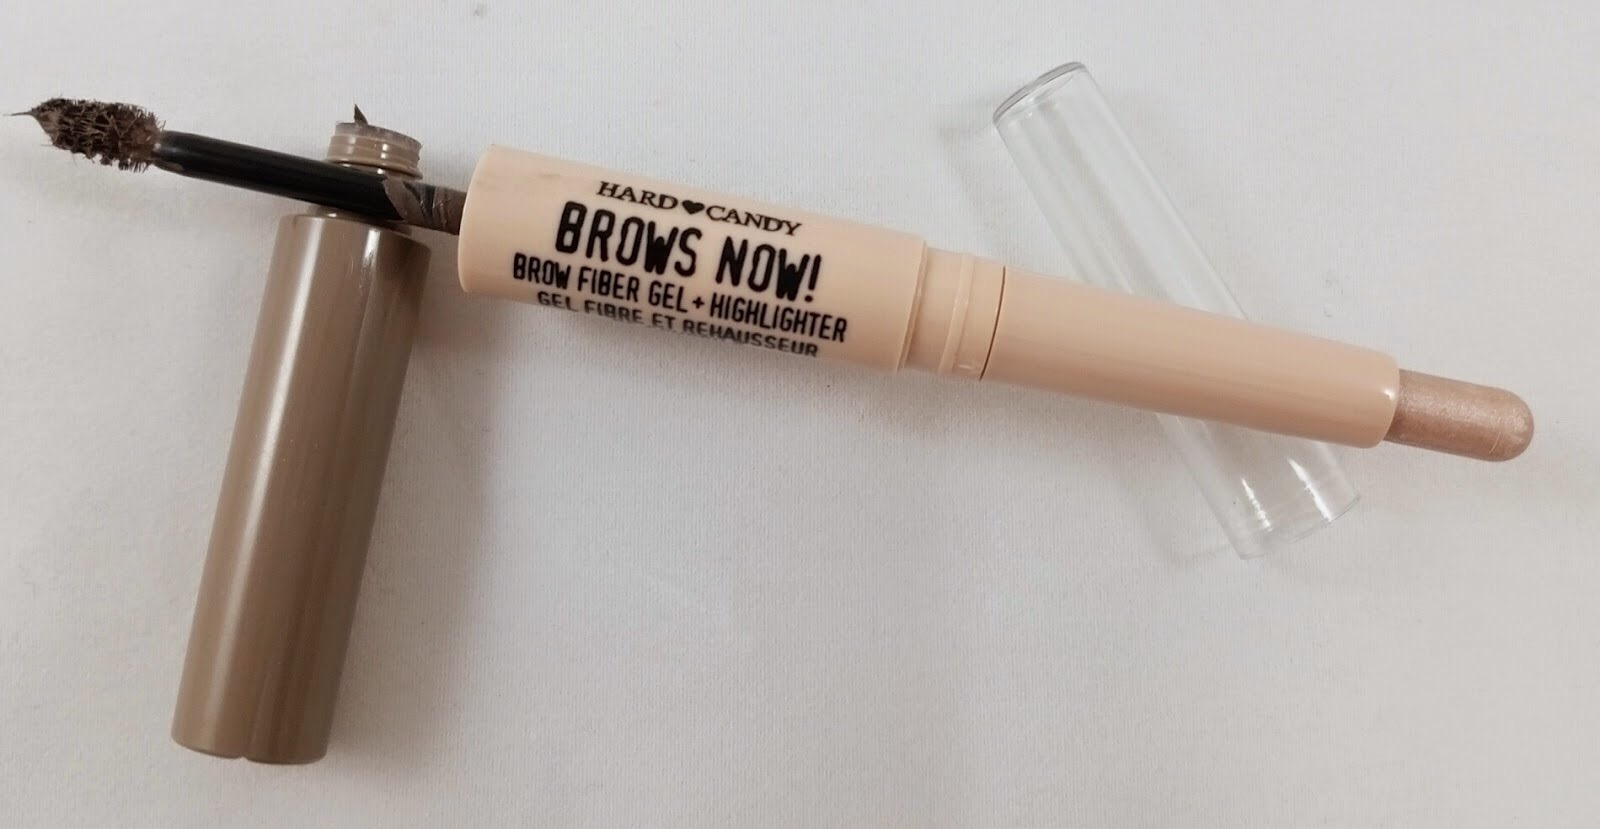
 I’m someone that always, always has to fill in my brows – one is thicker than the other, one is shorter than the other, they’re a hot mess. You can check out my brow routine here. If I don’t have time for a full brow routine, I’ve been reaching for my ULTA Brow Tint ($10) in the shade Light, which makes them look fuller and keeps them under control.


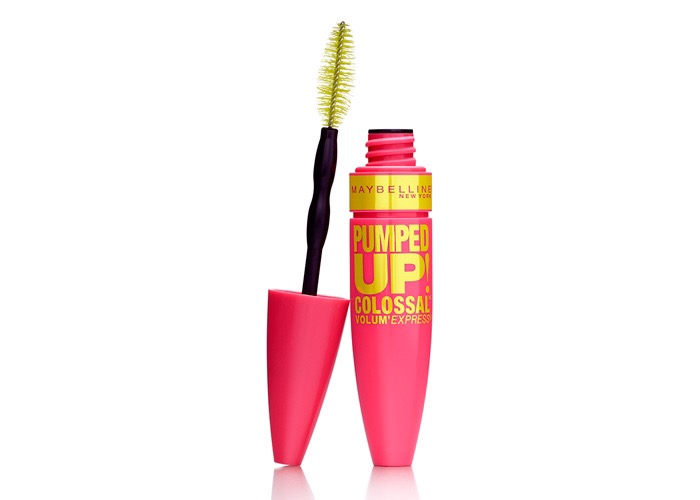
 I don’t go all shadow crazy on days like this, but I will throw on some mascara – I really like the Maybelline Pumped Up! Colossal Volume Mascara ($4.20) lately – and mines almost out so I’m trying to get every last drop out of the tube before I go buy a new one – I don’t know why, it’s so inexpensive I really should just toss it and keep it movin’!


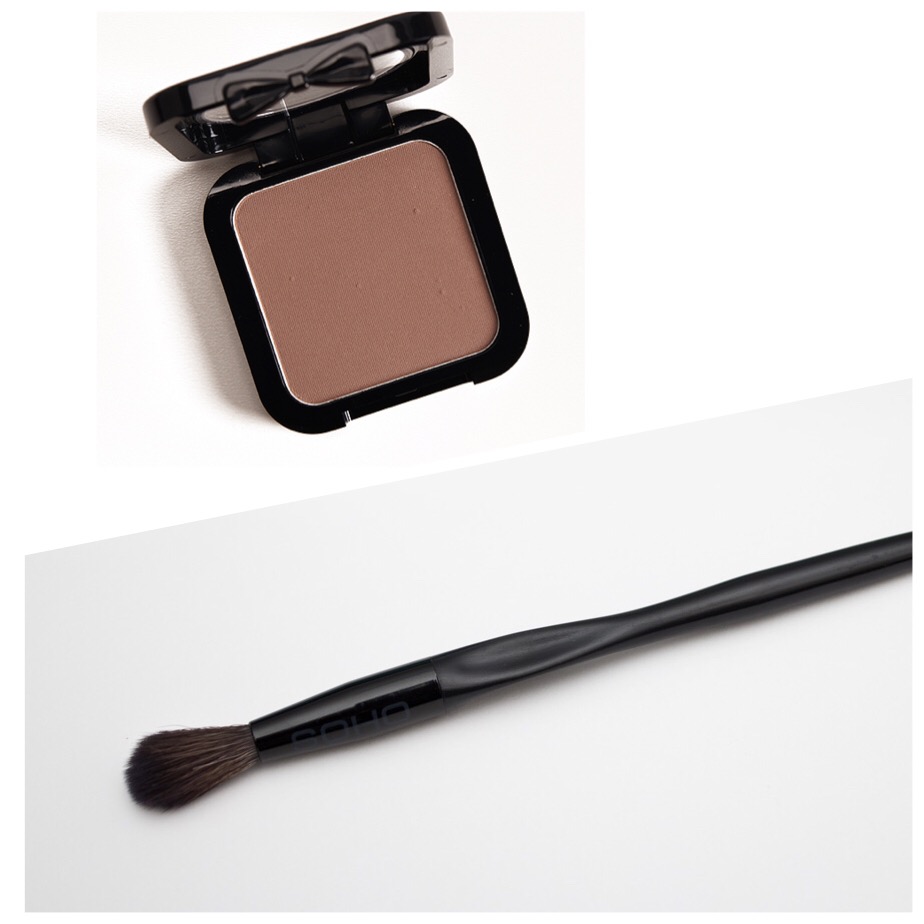
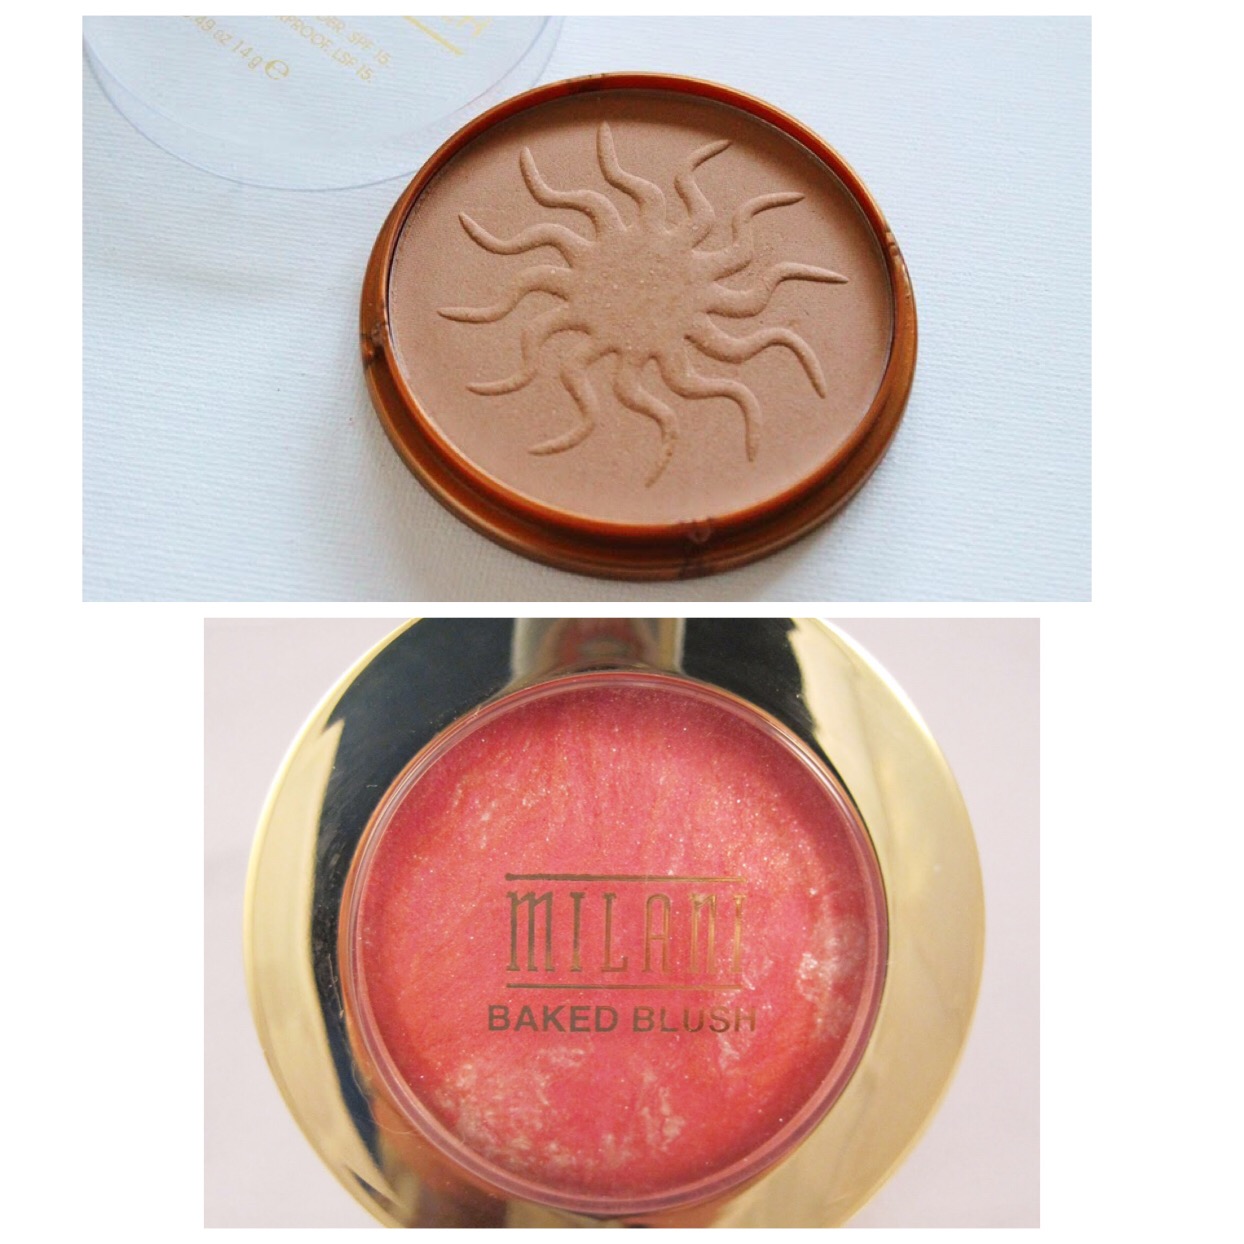
 Since the BB cream isn’t heavy coverage like most foundations, and I’m still able to see my skin through it (freckles and all) I see no pressing need for bronzer and blush and all of that. But I absolutely have to contour my nose (it’s just personal preference and takes me all of a minute) so I use some NYX HD Blush in Taupe ($7) and take it on a super fluffy eyeshadow blending brush like the SOHO Pro Crease Blending Brush ($10.50), and just run it down either side of my nose, across the tip, and blend it up into the inner part of my brows. I also like to blend a little bit lightly into the crease of my eye to contour that too, for a natural look. When you’ve got concealer or foundation or anything on your lids it can make them look too flat and make your eyes look smaller. This techniques just adds a touch of definition.


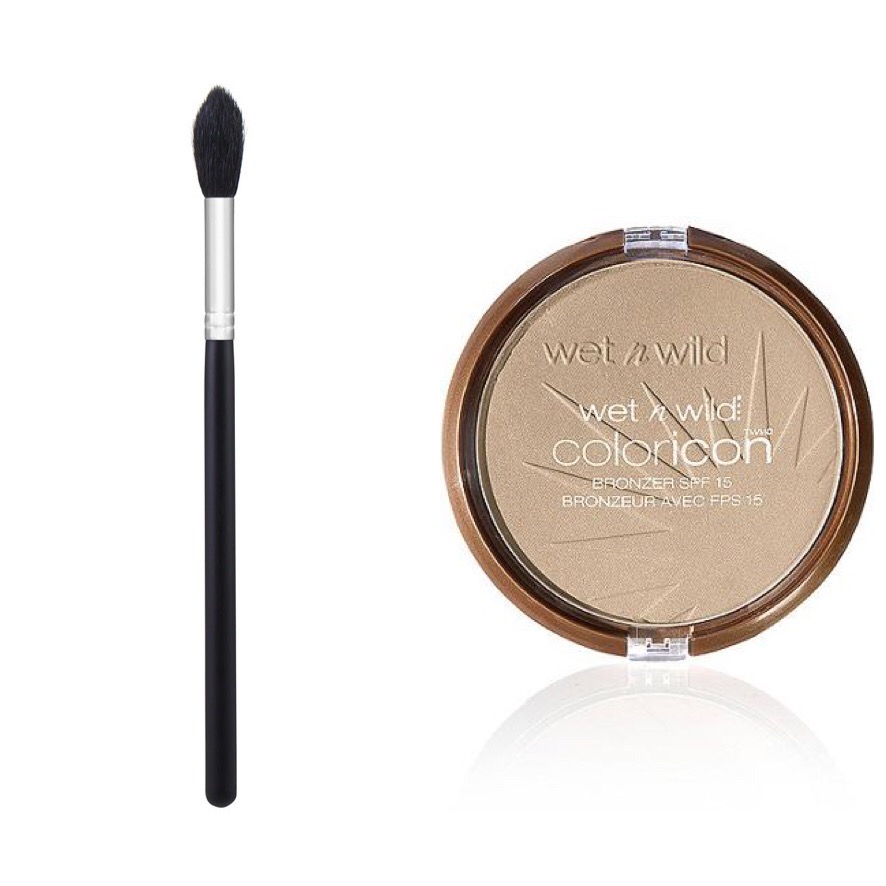
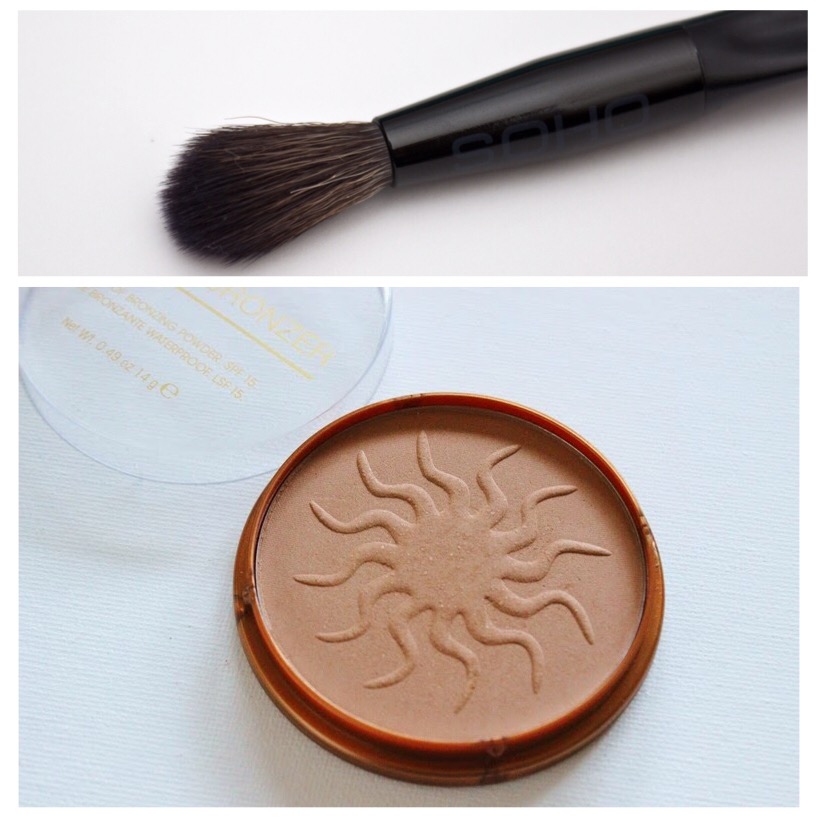
 Now to get my glow on! Using my Morphe M501 ($8) brush, I pick up a little Wet N Wild Color Icon Bronzer in Reserve Your Cabana ($4) and dust that along the tops of my cheek bones, the side of my eyes, and down the center of my nose. This just makes you look nice and healthy, not overly highlighted.


Photo Credit : Writing Whimsy

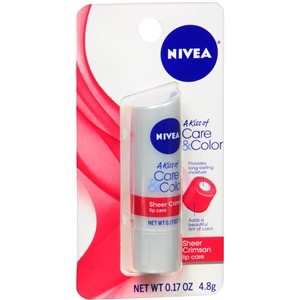
 And finally, any neutral color lip gloss, lipstick, anything will do here. I always have the Almay Smart Shade Butter Kiss Lipstick in Nude Light/Medium ($8.01) in my bag – it’s a great ‘my lips but better’ shade and I can literally apply it without a mirror, it’s that easy to use!


That’s it! This is a perfect look for running errands, taking the littles to a play date, even going to lunch with some friends! Or if you’ve got chores to do around the house but you’re feeling a little sassy, this is totally appropriate for that too!

I hope you guys enjoyed this post! Let me know some of your favorite products for busy/minimal makeup days! Leave me comments below!

And please go follow me on Twitter and Instagram @dlynnesposito, and go like the Affordable Gorgeous page on Facebook!

LOTS OF LOVE!

img_9363-3

MY FAVORITE BRUSHES PT 2 – EYES


  So I told you in my previous ‘MY FAVORITE BRUSHES’ post, that it was in-depth that I would have to break it down and make a PT 2.

Well that’s why I’m here today!

I’ve said it before, and I’ll say it again – I was never big on eye makeup, beyond like, mascara. I have very, very sensitive eyes, and in addition to that, I could just never seem to get my shadows to look like those drop-dead gorgeous Pinterest pics. Well it turns out, that was my own fault because the whole time I was trying, and subsequently failing miserably, I was using all the wrong tools – yes, I was that girl that tried to use those god-awful sponge tip applicators that comes with drugstore eyeshadows – don’t judge.

And then I grew up, and started realizing that there are many, many different brushes that, just like those you would use for different areas of your face, perform different functions when it comes to applying your eyeshadow. And I was hooked!

So below, I’ve listed for you (in no particular order), my favorite eye brushes that know that I know they exist, I can’t live without! So let’s get started!


SOHO Pro Crease Brush / $11 at Amazon.com


 I actually picked this up at my local Ocean State Job Lot – if you have one near you, definitely check it out! So many discounted and even discontinued cosmetics! Any who, this brush is super soft and fluffy, and it’s great for blending out your transition color, as well as any harsh lines in your shadow. I have like, 3 or 4 of them. I even like to use this for precision highlighting, and contouring my nose – and any tool that I can multitask with is a phenomenal tool!

e.l.f. Eyeshadow ”C” Brush / $3 at elf cosmetics.com


 This brush is the perfect size to fit into the crease of the eye, but because it’s to densely packed, it also works well wet or dry to pack on your lid color. A must have! Check your local CVS, e.l.f. has started popping up there, as well as Target, and save yourself the shipping!

Morphe M200 Deluxe Crease Brush / $5 at morphebrushes.com


 Another great blending brush – I firmly believe that one can never have too many blending brushes! This one is a little denser than the SOHO brush, but still super duper soft and amazing at blending out your shadow! I like to use this closer to the crease because it’s a little smaller, and it smokes out my crease beautifully!

Morphe M432 Flat Definer Brush / $4 at morphebrushes.com


 Every girl needs a good flat definer brush. I like to use this to pack color onto my lower lash line before blending it out – the tightly packed, soft synthetic bristles really get the color between your  bottom lashes like nothing I’ve ever used! I even have a second one specifically for using concealer to carve out and clean up my brows – so it’s another great multitasker!

e.l.f. Concealer Brush / $3 at elfcosmetics.com


 That’s right, a concealer brush. Because this one is so flat and dense, I like using this one slightly dampened to pack on shadows and pigments – this is one of my favorite brushes to apply specifically the L’Oreal Infallible 24HR Eye Shadows – you know, those pressed pigment shadows that are almost impossible to apply with anything but your finger, but your finger is usually too big to get a neat and clean application? Use this. Use it damp. Use it well…

Morphe M160 1/8 Angle Liner Brush / $3 at morphebrushes.com


 I’ve told you guys before, one of the major things I struggled with when it came to my eyes was my winged liner. This brush makes it so easy! It’s small, precise, and creates the perfect sharp wing and crisp, clean edge for that ‘cut-a-bitch’ winged liner! It comes in a few different sizes, but I like how small this one is because I feel like I have more control over the placement of my liner.

Morphe M221 Metal Eyelash Definer / $4 at morphebrushes.com


 I seriously don’t know what I was doing without this tool all these years! Clumpy mascara is a thing of the past with this tool! I personally like my lashes long, separated, and defined, and I get that effect with this – I’ll never NOT own one again! I’ve had those plastic ones with the bristles on the other side for your brows, and those were garbage compared to this! But please, please be careful with this – you can and probably will poke yourself in the eye – I did. And it hurt.

Crown C431 Precision Pencil Brush / $4 at crownbrush.us


 Everyone needs a good pencil brush – it’s a must for smoking out the lower lash line for that super sexy smolder. I have another one that I picked up at TJ Maxx, and I believe it’s by the brand Creme (that name has worn off the handle) but you know I like to have backups – and this is said to be a great dupe for the MAC 219 – and I’m a sucker for a dupe! I haven’t tested it, because well, I can’t justify paying the amount MAC wants for just a single brush, but maybe one day….


Aren’t you glad I broke that whole brush series into 2 parts? We could have been here for DAYS! Have you guys tried any of these? What are some of your favorite brushes? Leave me a comment and let me know!

And don’t forget to go follow me on Twitter and Instagram @dlynnesposito, and go like the Affordable Gorgeous page on Facebook!

LOTS OF LOVE!

IMG_8772-7

MAKEUP FOR SICK DAYS!

We’ve all been there – you’re sick as a dog, and maybe you were fortunate enough to get a day or two off of school or work, but it’s time to head back and time to pull yourself together.

A couple weeks ago I came down with a sinus infection and bronchitis – lucky me! NOT! Well with a busy little 1 year old, I can’t just crawl into bed and sleep it off the way I used to. I had to get up, keep going, and occasionally had to leave the house and be seen by the general public. And when you’re sick, the last thing you want to hear from anyone you run into is “wow you look really sick!”. So this is a look and products specifically for that purpose. Let’s jump in!


STEP 1. PRIMER

  After you’ve cleansed and moisturized your skin, you’ll want to apply a primer. When your nose is runny and you’re constantly wiping at your eyes, you want something that will grab on to your makeup and keep it in place. Additionally, when you’re feeling blah, it can show in your skin, so I like to use a radiance boosting primer or an illuminating primer. Two that I swear by are L’Oreal Magic Lumi Primer  ($13) and Revlon PhotoReady Primer ($11). You could even mix them to get the benefits of both.

STEP 2. UNDEREYE CONCEALER

  Whether you’ve been getting lots of rest or not much at all, being sick just seems to exaggerate the dark circles under our eyes. While covering them is the goal, an important and often overlooked step is color correcting them. Picture a color wheel from your elementary school art class – you always want to color correct with the OPPOSITE color on the color wheel – so in the same way that you would use a green concealer on a bright red blemish, you want a yellow/orange/peach concealer on dark circles. If they’re more blue in tone, use yellow, like Physician’s Formula Gentle Cover Concealer Stick in Yellow ($8). If they’re more purple, NYX Dark Circle Concealer ($6) is A-MAZ-ING. When you’re color correcting, the key is to ONLY put it where you need it, i.e. right on top of the blue/purple color. You don’t want to go all upside down triangle with this stuff – we’re not highlighting, we’re simply concealing. Apply it where you need it, blend it out, and then apply a skin toned concealer over the top, like Maybelline Fit Me ($7), and set it with a translucent or brightening powder, like E.L.F. Studio High Definition Undereye Setting Powder ($3). 

STEP 3. BB/CC CREAM

  I don’t know about you, but when I’m sick the last thing I want is to FEEL like I’m wearing makeup. This is where I like to use BB and CC creams. They moisturize, provide a sheer coverage, and just bring the life back to your skin. For super sheer coverage, apply it with a damn sponge like the Real Techniques Miracle Complexion Sponge ($6), and for a more full coverage look, buff it in with a nice dense, synthetic brush like the Real Techniques Buffing Brush (from their Core Collection, here) or Expert Face Brush ($9). Always make sure your brush is made of synthetic bristles when applying cream or liquid products because they more evenly distribute the product on to the skin and they don’t soak it up like a natural hair brush will. Some of my favorite BB and CC creams are :

STEP 3. BRONZE, BLUSH & HIGHLIGHT

  The last thing I want to be bothered with when I’m sick is a full on contour – let’s face it, it’s a wonder I’m putting on makeup AT ALL when I’m sick. But when you just feel like your face looks lifeless, one of the quickest ways to perk up is to bring some color back to your face. Taking a big fluffy brush, like the Real Techniques Powder Brush ($10), I like to apply a light bronzer (no Snooki, sit your ass down) like Rimmel Natural Bronzer in Sun Light ($4), to the perimeter of my face. It just warms you up so you don’t look….dead. Then a nice girly, pink blush like Milani Baked Blush in Corallina ($9), which has a slight sheen to it, to blush and highlight at the same time, just making you look awake and fresh and healthy. Apply that with an angled blush brush and you’ll notice a remarkable difference.

STEP 4. BROWS

  I am a firm believer that brows really do frame your face and just pull any look together, be it minimal or full on glam. But am I going to bother with a full brow routine when I feel like crap? Nope. So the easiest and most natural looking way that I’ve found recently is to use a tinted brow mascara with little fibers, that lightly fill in the brows making them look polished but not overdone. I love the Hard Candy Brows Now ($6) for this, and the other end has a retractable highlighting crayon that you can pop under the brow and in the inner corner of the eye for that wide eyed, fresh, awake look. Fake it ’til you make it baby.

STEP 5. EYES

  When I’m sick, it shows in my eyes. They’re red, watery, and probably the LAST place on my face I want to put any sort of product. But if shadow and mascara are things you simply can’t live without, here’s a little trick – go back to that Rimmel Natural Bronzer, and take a fluffy blending brush like the SOHO Pro Crease Brush ($11) and using windshield wiper motions, buff that into the crease of the eye. It gives dimension, plays off that highlighter that we applied when we did our brows, and doesn’t require 8 other shadows to blend. It’s just enough to look like you’re trying when you really just don’t want to. Then taking any waterproof mascara, apply one or two light coats just to make your tired eyes pop!

STEP 6. LIPS

  In my September Favorites post (read it here) I mentioned a tinted lip balm called Nivea Kiss of Care & Color ($5). This stuff was like my saving grace when I was sick. It’s super moisturizing, and looks like your own healthy, natural lip color with just a hint of shine. The tinted balm is wrapped around a moisturizing core, and it comes in 4 gorgeous sheer shades. My NEW favorite is Sheer Crimson.


Now throw that 3rd day hair up in a messy bun, pop on some pretty stud earrings, and we’re done! It may seem like a lot, especially when you’re feeling like death warmed up, but I’ve found that most times when I have to throw on some makeup and leave the house it actually helps me feel better, knowing that I’m just a little more put together and polished!

I hope this post was helpful! As always, make sure you’re following me on Twitter and Instagram – @dlynnesposito for lots of fun things coming up!

LoTs Of LoVe and ChIcKeN sOuP! ❤ ❤

XOXO – Donna