HEATPROOF YOUR MAKEUP – TIPS & TRICKS + PRODUCT RECOMMENDATIONS


Alright, you gorgeous things! It’s finally starting to warm up outside!

Or maybe you live somewhere that it’s always warm! Either way, today we’re going to talk about ways to keep your makeup from pulling a disappearing act in the heat and humidity!

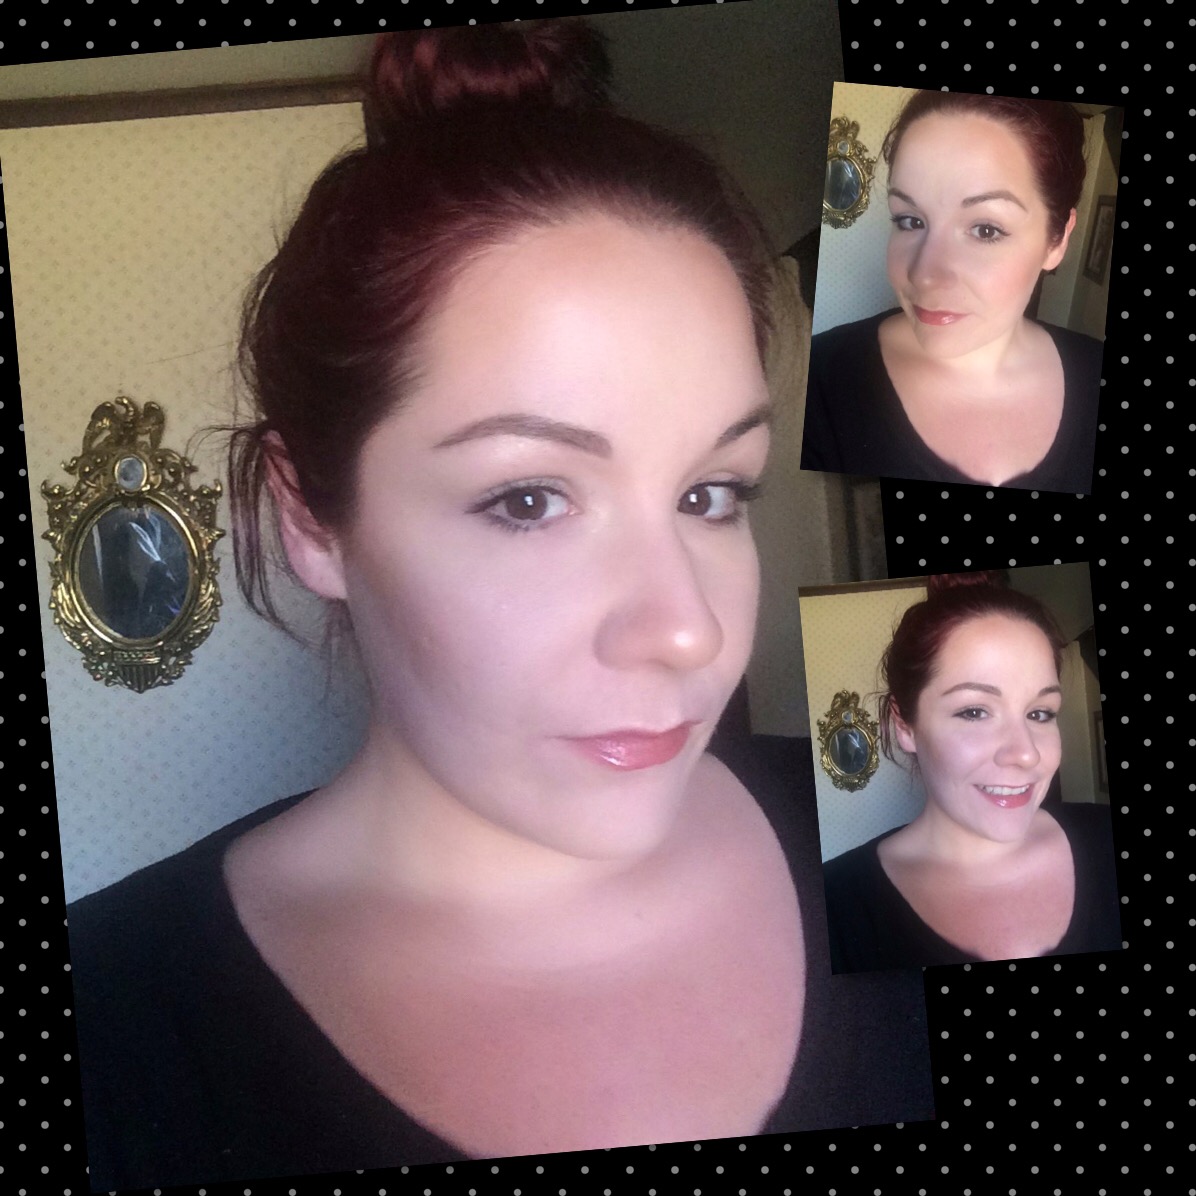
Personally, I do not like to wear a full face of makeup when it’s hot outside, but let’s face it (ha ha); sometimes the occasion calls for it. Spring and summer are most popular for weddings, proms, and so on. And sometimes you just have to look your best.

So to find out my best beauty tricks and tips for the hotter months, keep on reading!


PREP YOUR SKIN

  It’s important to prep your skin before you let a drop of makeup touch your face. The best way to do that, is to exfoliate and moisturize. Gentle exfoliation (I like the Freeman Charcoal & Black Sugar Polishing Mask) followed up by a lightweight moisturizer like the Garnier Moisture Rescue Refreshing Gel-Cream, creates a smooth canvas for the rest of your products!
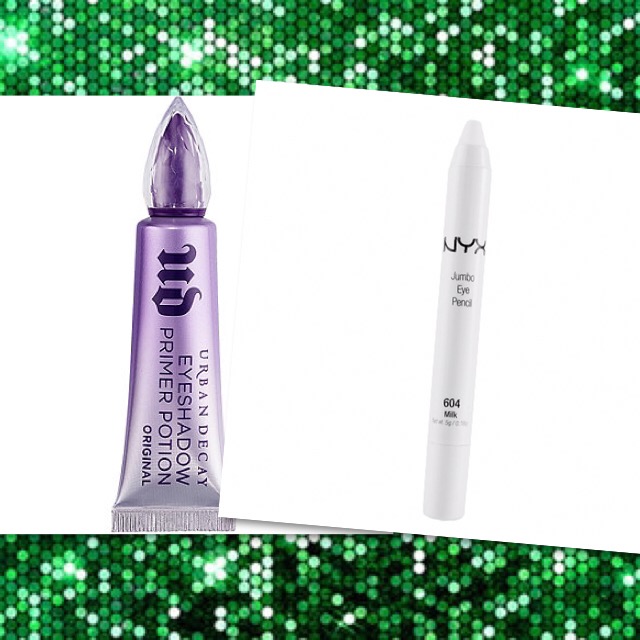
PRIMER IS KEY! 

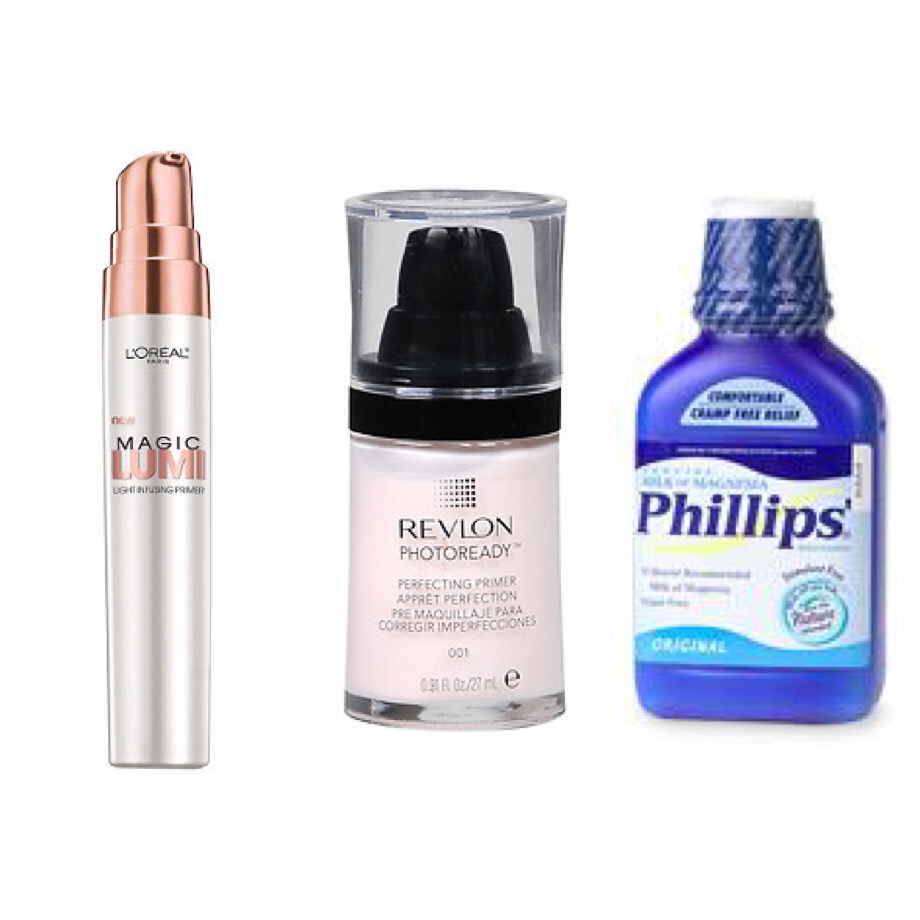
  This is totally dependent on your skin type and desired end result; now typically, if you’re dry to normal, a moisturizer will do the trick, but if you’re super dry, and really crave that dewy glow, then my go-to primer on drier days is L’Oreal Magic Lumi Light Infusing Primer – which I understand is also a great dupe for the BECCA Backlight Priming Filter.
If you’re of the oily variety (like myself on the most humid of days), opt for a mattifying primer, like Revlon PhotoReady Perfecting Primer, or even good ol’ Milk Of Magnesia (no, really, read about it here!). If you use the Milk Of Magnesia, just make sure its the original, flavorless kind; not the mint or cherry or whatever other flavors they make.

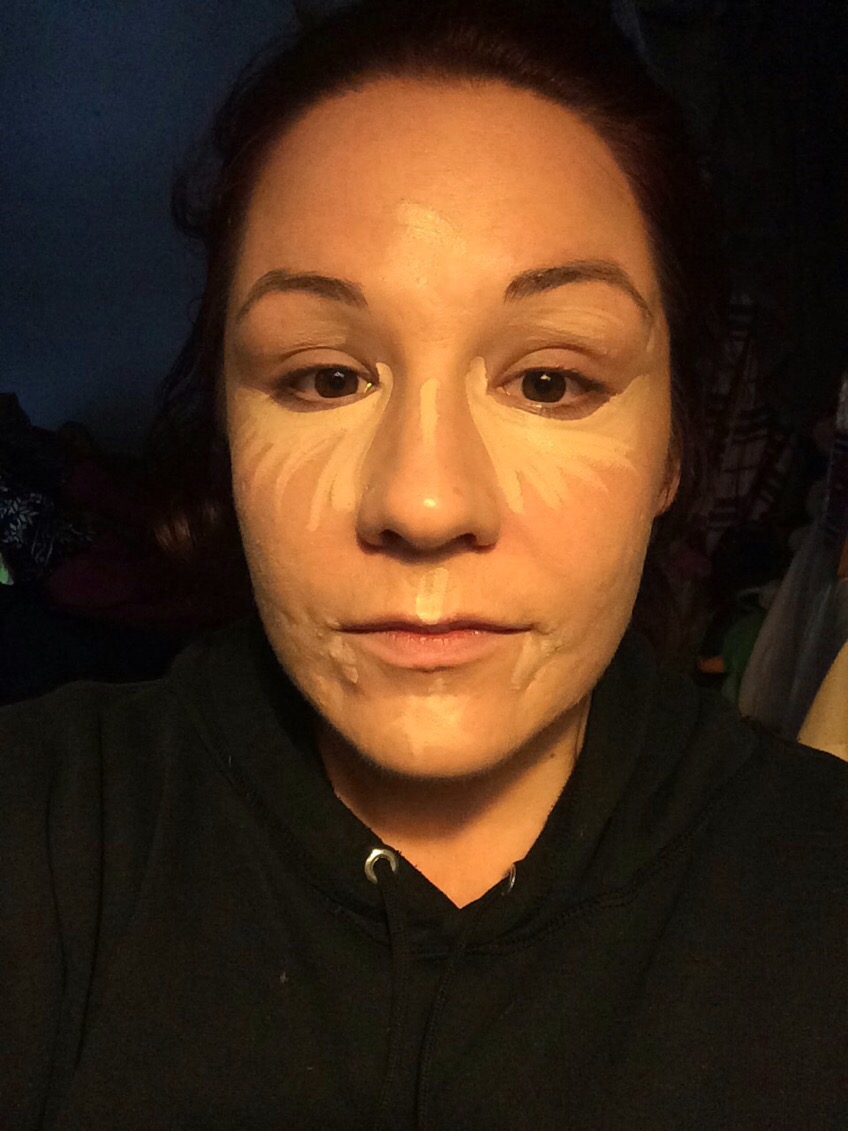
WORK IN THIN, LIGHT LAYERS

  No matter what products you’re planning on using – primer, foundation, BB cream, concealer, etc., always work in super thin, light layers. This prevents you from getting cake face, and ultimately, cake face is what’s going to melt off or break apart on your skin and ruin your whole look.
Additionally, I would recommend applying these layers with a damp sponge, like the Original BeautyBlender or Real Techniques Miracle Complexion Sponge. The dampness of the sponge helps to soak up excess product and blend it out sheer, while at the same time, pressing it into the skin rather than smearing it around and sitting on top. While it won’t give you immediate full coverage, it does allow for the flexibility to build coverage if you so desire.

USE LONG WEARING PRODUCTS 

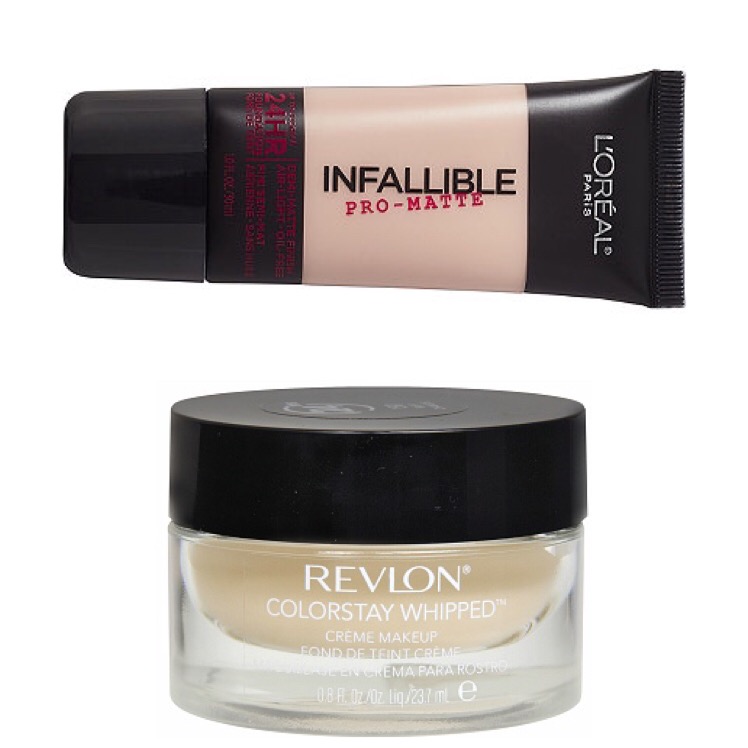
  While many opt for BB or CC creams during the warmer months, I personally see them as glorified tinted moisturizers, with little to no staying power. If you’re looking for coverage and staying power, a long wearing foundation it the way to go. Some of my favorites are the L’Oreal Infallible Pro-Matte 24HR Foundation, and the Revlon ColorStay Whipped Creme Makeup. Both offer medium coverage, buildable to full, and they’re very lightweight on the skin. The Revlon foundation works well for all skin types, and as I’ve mentioned in previous posts, looks better the longer you wear it. The L’Oreal foundation has a demi-matte finish, that leaves the skin looking like skin, and stays put.

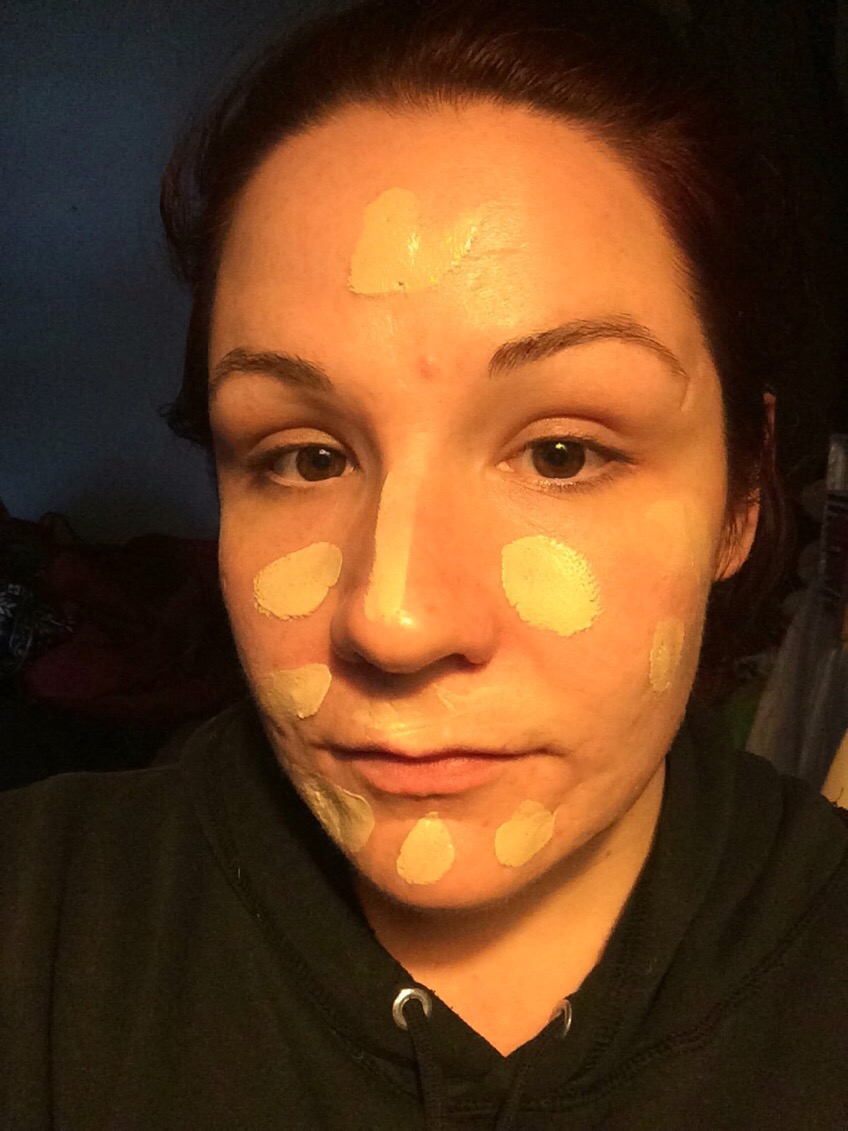
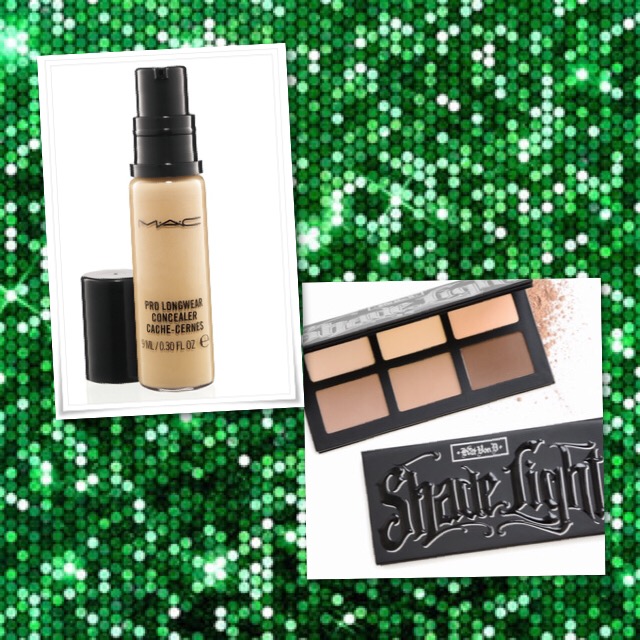
  I tend to avoid foundation like the plague in the summer, opting for concealer only where I really need it. Some long wearing formulas that are great for all skin types are the NYX Hi Definition Photogenic Concealer, Maybelline Fit Me Concealer, and the Urban Decay Naked Skin Weightless Complete Coverage Concealer.

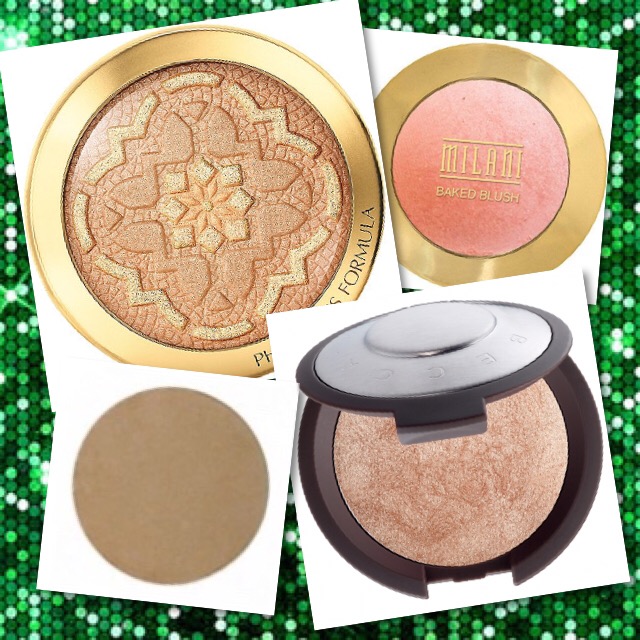
If you’re going for blush, contour, highlight – the whole nine – the best way to keep everything from slipping and sliding around is to sandwich your products together. Think of your base; creams first, then powder, then a setting spray, right?
It’s the same idea; apply your cream blush, contour, or highlight, and then set it over the top with your powder blush, contour, and highlight. And remember, work in light, thin layers!! 

SET IT & FORGET IT! 

  As important as it is to use a good primer as your base, it’s equally as important to top it off with a setting spray! A good setting spray locks all your hard work into place, and helps settle any powder products so that they look less powdery and more like your own skin. Some of my faves are NYX Matte Finish Makeup Setting Spray, Urban Decays Chill Makeup Setting Spray and All Nighter Setting Spray, MUFE Mist & Fix Setting Spray, and the Mario Badescu Facial Spray (and the high end options all come in travel sizes, so you don’t have to sell your soul for a good setting spray!)


What are some of your favorite summer beauty products? How do you keep them from melting away when temperatures soar?! Leave me comments and let me know!

Come follow me around social media!
Twitter, Pinterest & Instagram : @dlynnesposito
Facebook : Affordable Gorgeous
Snapchat : dlynnesposito

And feel free to reblog this post and share my social media with your friends! Your support means so much!

LOTS OF LOVE!!
img_9363-3

A LITTLE POP O’ BLUE MAKEUP LOOK

 Hey guys!

When I sat down to get ready this morning, I knew I wanted to incorporate some color into today’s look; I’ve been getting much braver, and you’ll be seeing some bomb-ass colorful tutorials coming soon!

However, it was pouring rain this morning, so I knew that I didn’t want a full face of makeup, or anything that would run horribly if for any reason I got caught out in the rain. But I managed to get a pretty little pop of color going, and the overall look was super simple to achieve!

If you want to know how I got the look, keep on reading!


Starting with freshly cleansed and moisturized skin, I applied some of my Fruit of the Earth Aloe Vera Gel as a primer because I’m battling a breakout, (read more about the primer here) and it soothes and hydrated at the same time, while controlling oil too.

Next I applied some Maybelline Fit Me Concealer in the shade Fair to all the areas I would normally highlight; under the eyes, the forehead, nose, chin, and cupids bow. I also put a little bit on my eyelids to even out any discoloration there. Spraying my Sigma F80 with some MUFE Mist & Fix Setting Spray, I blended the concealer out. Then I set everything in place with my It Cosmetics Bye Bye Pores Silk HD Anti-Aging Micro-Powder and an e.l.f. Powder Brush.

Using an e.l.f. Angled Blush Brush, I applied some NYX HD Blush in Taupe to the hollows of my cheeks, as well as my forehead and the sides of my nose for a nice, light, daytime contour. Using a different angled blush brush (I think this one was from Walgreens) I applied some of the ULTA Cheek Tint in Sweet Cheeks (discontinued, sorry!) to the apples of my cheeks, drawing it up and back towards the hairline; this helps slim the face and give a lifted appearance. Next, I grabbed my Morphe M501 brush (my ride or die for highlighting!) and my Physician’s Formula Mineral Glow Pearls Powder Palette in Beige Pearl, and applied that to the high points of my face – the cheekbones, above the brow, the center of my nose, my cupids bow, and my chin.

For this look I chose to leave the lids themselves bare. To be 100% honest, I was just too lazy today. But I knew I wanted to do something different and fun, so I decided on a pop of blue on the lower lash line. Picking up my Morphe M432 flat definer brush and a Morphe Single Eyeshadow in the shade B.A.M., which is a gorgeous matte, teal shade, I worked that super tight up against my bottom lashes, from outer corner inward to wear my lower lashes start to taper off. Next, I used a Morphe M169 (any pencil brush will do just fine) and the shade Breakfast at Tiffaneez (also by Morphe) to smoke out the first shade. Finally, using a Morphe E36 brush, I highlighted the inner corner with some MAC Nylon, and blended it inward to meet the blue shades. I also picked some Nylon up on a Real Techniques Shading Brush and used it to highlight the brow bone lightly (it’s very frosty after all). Then I applied a couple coats of L’Oreal Voluminous Mascara, and swiped some ULTA Brow Tint in Light through my brows. Finally, a quick application of Gerard Cosmetics Lip Gloss in Madison Avenue, and I’m good to go!


And that’s it! Super simple, but still super cute! This is a great way to get your feet wet if you’re someone who typically sticks to neutrals (like me) but wants to dabble in the more colorful side of things. Baby steps, my loves…baby steps.
What are some of your favorite ways to incorporate color into your look? Leave me a comment and let me know! I love to hear from you!

Come follow me around social media! 
Twitter, Pinterest & Instagram : @dlynnesposito
Facebook : Affordable Gorgeous
Snapchat : dlynnesposito

And feel free to reblog this post and share my social media with your friends! Your support means so much!

LOTS OF LOVE!!
img_9363-3


YOUR SKIN BUT BETTER – 2ND SKIN FOUNDATION ROUTINE

 Back in January, I posted an article in which I tested the theory of mixing facial oils with foundation for a ‘second skin’ like finish – you can check it out here. This hack was discovered by Scott Barnes, who is a well known makeup artist to the stars, and popularized by Wayne Goss, a YouTuber who put it to the test for the world to see. And while it produces a lovely finish, I found that even though I tested it with several different foundations, it still looked like…well, foundation.

We all know that foundation is used to even out skin tone and create a balanced canvas in which to apply the rest of our makeup. But every woman wants her foundation to look like skin, not foundation.
I, myself, have been having a hell of a time with foundation in the last few months. I’ve gone from oily, to dry, to combination (currently), and I’ll be 30 this year, so I’m classified as having “mature skin”. And it’s starting to show.

So today, I finally decided to try a foundation tip that I’ve seen here and there on both YouTube and other various blogs on the internet. The idea is to mix your primer and foundation together, kind of like a little foundation cocktail, and then apply it to your skin.

If you want to see what I used and how it worked, then just keep reading!


 Start with clean, exfoliated, moisturized skin. No matter what combination of products you use, there no match for skin that isn’t properly prepped.
Because I’ve been getting oilier lately, my foundation of choice for this experiment was the Revlon ColorStay Liquid Makeup for combination/oily skin in the shade ‘Nude’. The primer I chose was L’Oreal Magic Lumi Light Infusing Primer, and here’s why – while I may be getting oilier by the day, I don’t like to look completely matte. I prefer a natural to dewy finish. If I’m too matte, it highlights every pore, fine line, and forehead wrinkle I’ve got. The foundation will control how much oil breaks through to the surface, while the glow of the primer will keep me looking radiant and healthy.


 I poured about a nickel sized drop of foundation on the back of my hand, and one pump of the primer, and mixed them together with my finger. Then I dotted it on to my face, focusing more on the center, because that’s where I tend to get the most redness.


 Whether you choose to use a brush or a sponge is up to you – I chose a Sigma F80 Flat Top Kabuki brush because I wanted a medium to full coverage; I have a few lingering breakouts from trying a new cleanser. If you’re someone who just wanted to even out a bit of redness, you could absolutely use a damp sponge, like the Beauty Blender or the Real Techniques Miracle Complexion Sponge.
To (presumably) add a little extra staying power, as well as aid in sheering out such a thick foundation, I first sprayed a little bit of Makeup Forever Mist & Fix Setting Spray on my brush before I stippled the foundation around my skin, and then began buffing in circular motions, making sure to get my hairline and down my neck for even blending.


 Since this foundation is so high-coverage to begin with, and I had a little bit leftover on the back of my hand, I used it to cover up my under-eye area, as well as a bit of acne I’m trying to battle. Ordinarily, you wouldn’t want to use something luminizing on dark circles and blemishes, but this worked, worked well, and best of all – looked like I wasn’t wearing any makeup at all!!


From there, I added a touch of concealer to one particularly stubborn blemish, my brows, some mascara, some lip gloss, and the slightest touch of blush. I really wanted to test the longevity of the foundation cocktail without too much additional product on top to influence how it wore, and whether or not it would wear off.
I took my son grocery shopping, came home, played outside, and did a little yard work, in about 70 degree weather with minimal humidity, and it stayed absolutely flawless until I took it off, some 8 hours later. It didn’t break apart, it didn’t show a ridiculous amount of oil, and it didn’t slip and slide around on my face.


Have you guys tried mixing your primer into your foundation? Will you? Leave me a comment and let me know!

Come follow me around social media!
Twitter, Pinterest & Instagram : @dlynnesposito
Facebook : Affordable Gorgeous
Snapchat : dlynnesposito

And feel free to reblog this post and share my social media with your friends! Your support means so much!

LOTS OF LOVE!!
img_9363-1

ST. PATTY’S DAY MAKEUP TUTORIAL #2

Hey guys!

So while, I have another St. Patty’s Day makeup tutorial coming your way, I thought to myself “why not share the slightly different look that I wore to the parade yesterday?!”

Yesterday, my husband, my son, and myself went to the annual St. Patricks Day parade in New Haven (Connecticut) and had a great time! But the couple days leading up to the parade, I knew I wasn’t the type of person to wear the funny hats, and dress in head-to-toe green; but I knew I would try to create a killer green smokey eye!
Hey, some people dress their body, I dress my face – it is what it is!

In any event, I was actually really impressed with how the look turned out (despite being crazy rushed in the morning – I’m a mom before all else, and well, baby needs to be ready first!) and I wanted to share with you how I achieved my parade-ready look!
SIDE NOTE * It was quite warm out for March, with a touch of humidity, and my makeup did…not…budge!*

If you want to see how I created this look, then just keep reading!


 Working with more pigmented, shimmery shadows than usual, I knew I wanted to do my eyes first. So I started by priming my eyes using the Urban Decay Primer Potion (still working off my little Sephora VIB sample), and then went over my lids and slightly into my crease with my NYX Jumbo Eye Pencil in ‘Milk’, and blended that out with my finger.


 First, I wanted a warm transition shade, so I mixed ‘Beaches and Cream‘ and ‘Peach Smoothie‘, both by Makeup Geek, and dusted that back and forth sloppily into my crease using a Morphe M441 brush.


 They shadows I’m using are samples of Urban Decay singles, I believe, that I received with an ULTA order sometime last year, and never really got around to playing with. So, I started with the shade ‘Mildew‘, which is a shimmery, mossy green shade with the slightest gold reflect. I tried using a Morphe M167 dampened with some MUFE Mist & Fix, but because they’re carded samples, I was having trouble picking up enough pigment, so I ended up packing it on with my finger, from the inner corner, to about halfway across my lid.

Next, I used my Morphe M433 brush to pick up some of the shade ‘YDK‘, which is a shimmery, golden/champagne-y/brown shade, and dusted that lightly over my crease where I laid down my transition shade, and running it just over the edge of the green shadow to soften the line. Then, using a Morphe M169 brush, I carefully started working in the shade ‘Blackout‘ into the outer V, and blending it out with a tapered Morphe M330 brush. You can build on that black color as much or as little as you want – I didn’t want it too dark, but I didn’t want it too light, either. Once I had almost no product left on my brush, I started to very, very lightly drag it over the green in the crease, keeping it very low – #hoodedeyeproblems.

img_9421

Maybelline EyeStudio Gel Liner in Blackest Black

Taking a baby wipe (I ran out of makeup remover wipes), I removed any fallout from under my eyes (and fair warning, there’s gonna be A LOT!) and also sharpen up the edges of the shadow, and then apply some winged liner using my Maybelline EyeStudio Gel Liner in ‘Blackest Black’ (yes, I finally replaced it!) and a Morphe M160 1/8 brush. Click here for my winged liner tutorial!


 Next I applied my foundation. I mixed Revlon ColorStay Foundation for Oily/Combo skin in the shade ‘Nude’ with a pump of the L’Oreal Magic Lumi Light Infusing Primer on the back of  my hand, and applied it with a Sigma F80 brush spritzed with MUFE Mist & Fix.


 For concealer, I’ve been trying out a sample of the MAC Pro Longwear Concealer in NW15, which I applied with my ring finger in a V shape, and blended out with a damp Real Techniques Miracle Complexion Sponge. Then, using ‘Lyric’ from the Kat Von D Shade + Light Contour Palette, I set the concealer under my eyes, and in the center of my face (forehead, nose, chin, etc) with a Morphe M438 brush.


 Back to the eyes – taking a Morphe M432 flat definer brush, I picked up a little bit of ‘Blackout’ and worked that really tightly up against my bottom lashes, matching it up to my winged liner and stopping about halfway. Then, using that M169 pencil brush again, I smoked it out using ‘Mildew’, all along the lower lash line. Finally, I just applied some Rimmel Lash Accelerator Mascara in ‘Black’ to my top and bottom lashes, and popped on some Kiss Blooming Lashes in the style ‘Tulip’.

img_9564I filled in my brows using the NYX Micro Brow Pencil in ‘Ash Brown’, and set them in place with my Anastasia of Beverly Hills Clear Brow Gel.


 I used Physician’s Formula Argan Wear Bronzer and a Morphe M527 brush to warm up the skin, and then applied a light contour to my cheekbones, forehead, nose, and jawline using Makeup Geek Contour Powder in ‘Breakup’ and a NARS ITA brush. For blush, I wanted to keep it kind of low key, so as not to compete with the eyes and make myself look too overdone, so I chose Milani Baked Blush in ‘Luminoso’ on an angled blush brush (mine is from Walgreens) and used my Morphe M501 to apply BECCA Shimmering Skin Perfector in ‘Opal’ to my cheekbones, cupids bow, and the tip of my nose.


 Finally, for the lips, I chose Almay Smart Shade Butter Kiss Lipstick in ‘Nude Light/Medium’, and gave myself a bath in MUFE Mist & Fix. And voila! All done!


 And there you have it! My completed St. Patty’s Day parade look!
Sure, I could have just slapped on some green eyeshadow and walked out the door, but what kind of fun would that have been?! This look would be great if you’re headed out with your friends to a local pub (if you’re old enough!) or if you just feel like being a little extra festive that day!

Most importantly, have fun with it – make it your own! Makeup is supposed to be fun!! And if you recreate this look, tag me on Instagram (@dlynnesposito) so I can see it, too!

Come follow me around social media!
Twitter, Pinterest & Instagram : @dlynnesposito
Facebook : Affordable Gorgeous
Snapchat : dlynnesposito

And feel free to reblog this post and share my social media with your friends! Your support means so much!

LOTS OF LOVE!!
img_9363-3

UPDATED FOUNDATION ROUTINE – SPRING 2016

 If you’ve been with me here awhile now, most of you know that my skin isn’t specific to one type; it’s seasonally temperamental. No, it’s downright sassy.
In the winter, I’m dry and flakey; in the summer, I look like a greased chicken – and in the spring and fall, I tend to relate best to the combination category. I swear, there’s no happy medium!

With the fluctuating temperatures that accompany New England living in the late winter and early spring, my dry winter skin is starting to produce more oil by the day, specifically in the t-zone. So naturally, I’ve had to adjust my foundation routine to accommodate it, and that’s what I’ll be sharing with you today!

This tutorial is for those of you with skin similar to mine, or oilier even, that want a medium to full coverage, but still want a natural look and lightweight feel!

So if you want to know what I use and how I achieve this look, keep on reading!


First things first, as always, you want to start with freshly cleansed and moisturized skin. I have had to adjust my skin care routine, and if you want an updated skin care routine, don’t worry! It’s coming!
Once your skin is clean and hydrated, you’ll want to apply a primer. I have larger pores and some deep, pitted acne scarring to cover, so what I do is use Fruit of the Earth 100% Aloe Vera Gel ($4) all over my skin first, to hydrate more, control my oil, and tighten my pores, and also sooth any sort of redness I have going on. Once that’s sunken into my skin, I apply my trusty Revlon PhotoReady Perfecting Primer ($14) to any areas that I want to smooth, which is primarily the pores in my t-zone and immediately on either side of my nose. Let that absorb for a minute or two.


 Next I go in with my foundation, and lately I’ve been loving the L’Oreal Infallible Pro Matte Foundation ($13). It’s long wearing, medium to full coverage, and a nice, natural looking, demi matte finish. The best part is that it doesn’t break apart on me during the day, and any oil that makes it through my primer doesn’t make me look oily, just dewy and glowing (come back tomorrow for the full review!!). I fall in between shades 101 and 102 (Classic Ivory and Shell Beige) so I tend to mix 2 parts Classic Ivory to one part Shell Beige, and it matches me perfectly. I don’t self tan in the winter, and my neck is pretty pale, so I always match my foundation to my neck.
After mixing, I dot the foundation on my face starting in the center, where I tend to need the most coverage, and stipple it all over with a Sigma F80 Flat Top Kabuki Brush ($24) (dampened with a little spritz of the MUFE Mist & Fix ($30)) before buffing in circular motions and blending it out from the center of my face.


 Because the foundation is so high coverage, I find I need very minimal concealer. I do have a lot of darkness on the inner corners of my eyes, so for that I really love the NARS Radiant Creamy Concealer ($29) (I wear the shade Vanilla) because it’s brightening, light reflecting, and full coverage. I dab a little on the inner corners, drag it down the side of my nose, and feather it out in an upside down triangle shape under my eyes, making sure to extend it up towards my temples to give a lifted appearance to the face. Then I blend it out with a damp sponge like the Real Techniques Miracle Complexion Sponge ($7), making sure to tap it out really, really well. To balance the highlighted under eye area, I usually put a little in the center of my forehead, down the center of my nose, on either side of my nose, the cupids bow, and the chin, as well as any blemishes I may have to cover.


 Then I immediately set all of my concealer with a yellow powder and a Morphe M438 ($10) brush; I go back and forth between ‘Banana’ from the Anastasia Beverly Hills Contour Kit ($40) and ‘Lyric’ from the Kat Von D Shade + Light Contour Palette ($46). (If you’re looking for a good yellow powder but don’t want to (or can’t afford to) buy a whole kit, the ‘Banana’ shade is sold in refill pans here for just $14!) When I set my under eye area, I always make sure to tap the powder in back and forth motions to make sure I’m not setting any creases in my concealer. I mean, I’m turning 30 this year, so it happens.


 Now you can go ahead and set the rest of your face with any translucent setting powder (I use the Mary Kay Translucent Loose Powder ($16)) and a fluffy brush. Because you’re likely going to apply bronzer, blush, contour, and highlight, I find that all of those products (presuming you’re using powders like me) blend much more smoothly over powder. If you don’t set your foundation and go over it with your bronzer and blush, it can look very patchy.

Now that my foundation is on and set, it’s time for bronzer, because we need that warmth and dimension back to our skin. I’ve been reaching a lot for my Rimmel Natural Bronzer ($5) in ‘Sun Light’, which is a totally matte bronzer that has a little warmth, but nothing overwhelming on my pale skin, and applying it with a big, fluffy Morphe M140 ($13) brush – and when I say big, I mean big! This thing is literally the size of my face! I like to focus the bronzer on the perimeter of my face, and keep the center where I highlighted nice and bright.

And of course, the final touches – blush, contour, and highlight, because well….I can’t do anything minimally! For blush, I’ve been loving the L’Oreal True Match Blush ($9) in ‘Innocent Flush’ on the Real Techniques Blush Brush ($9), and applying it just behind the apples of my cheeks – I feel doing it this way makes my face look slimmer and more lifted.
For my contour, I’ve been crazy about the Makeup Geek Contour Powders ($10) in ‘Breakup’ and ‘Infidelity’ with a NARS ITA ($55) brush, mixing the two shades for the perfect natural ‘shadow’, and applied just under my cheekbones, the temples, the sides of the forehead, under the jawline, and a little tiny bit down either side of my nose.
And finally, taking my Morphe M501($8), I apply a little bit of the BECCA Shimmering Skin Perfector Pressed ($38) in ‘Opal’ to the tops of my cheekbones, the bridge and tip of my nose, and the cupids bow. Finally, I set everything with a light layer of Urban Decay Chill Makeup Setting Spray ($30).
And that’s it, all done!


From here you can literally take your look anywhere. This is just the base; you can add a smokey eye, a red lip, a bold winged liner, or a touch of mascara and some gloss, it’s all up to you! But this is my current, everyday, go-to foundation routine! I hope you enjoyed it!

What kind of products are you loving lately? Leave me a comment and let me know!

Come follow me around social media!
Twitter, Pinterest, & Instagram : @dlynnesposito
Facebook : Affordable Gorgeous
Snapchat : dlynnesposito

And feel free to reblog this post and share my social media with your friends! Your support means so much!

LOTS OF LOVE!!
img_9363-3