MAKEUP DE-CLUTTER WEEK #4 : PRIMERS

  Hey guys!

I know, I know, I’m slacking with this whole weekly scheduled series thing. I’ve been sick. I’m still sick. But I’m powering through!

So this week, I’m decluttering primers! As you know, I have very sassy skin, very reactive skin, and while on my quest for the perfect primer that addresses all my needs/wants, I bought a lot. Like, a lot.
Some of these aren’t necessarily traditional makeup primers (you’ll see in a minute) but all they same, they’ve been said to offer benefits equal to or greater than their drugstore or high end cousins.

So if you want to see what I’m tossing, what I’m keeping, and why, then just keep reading!


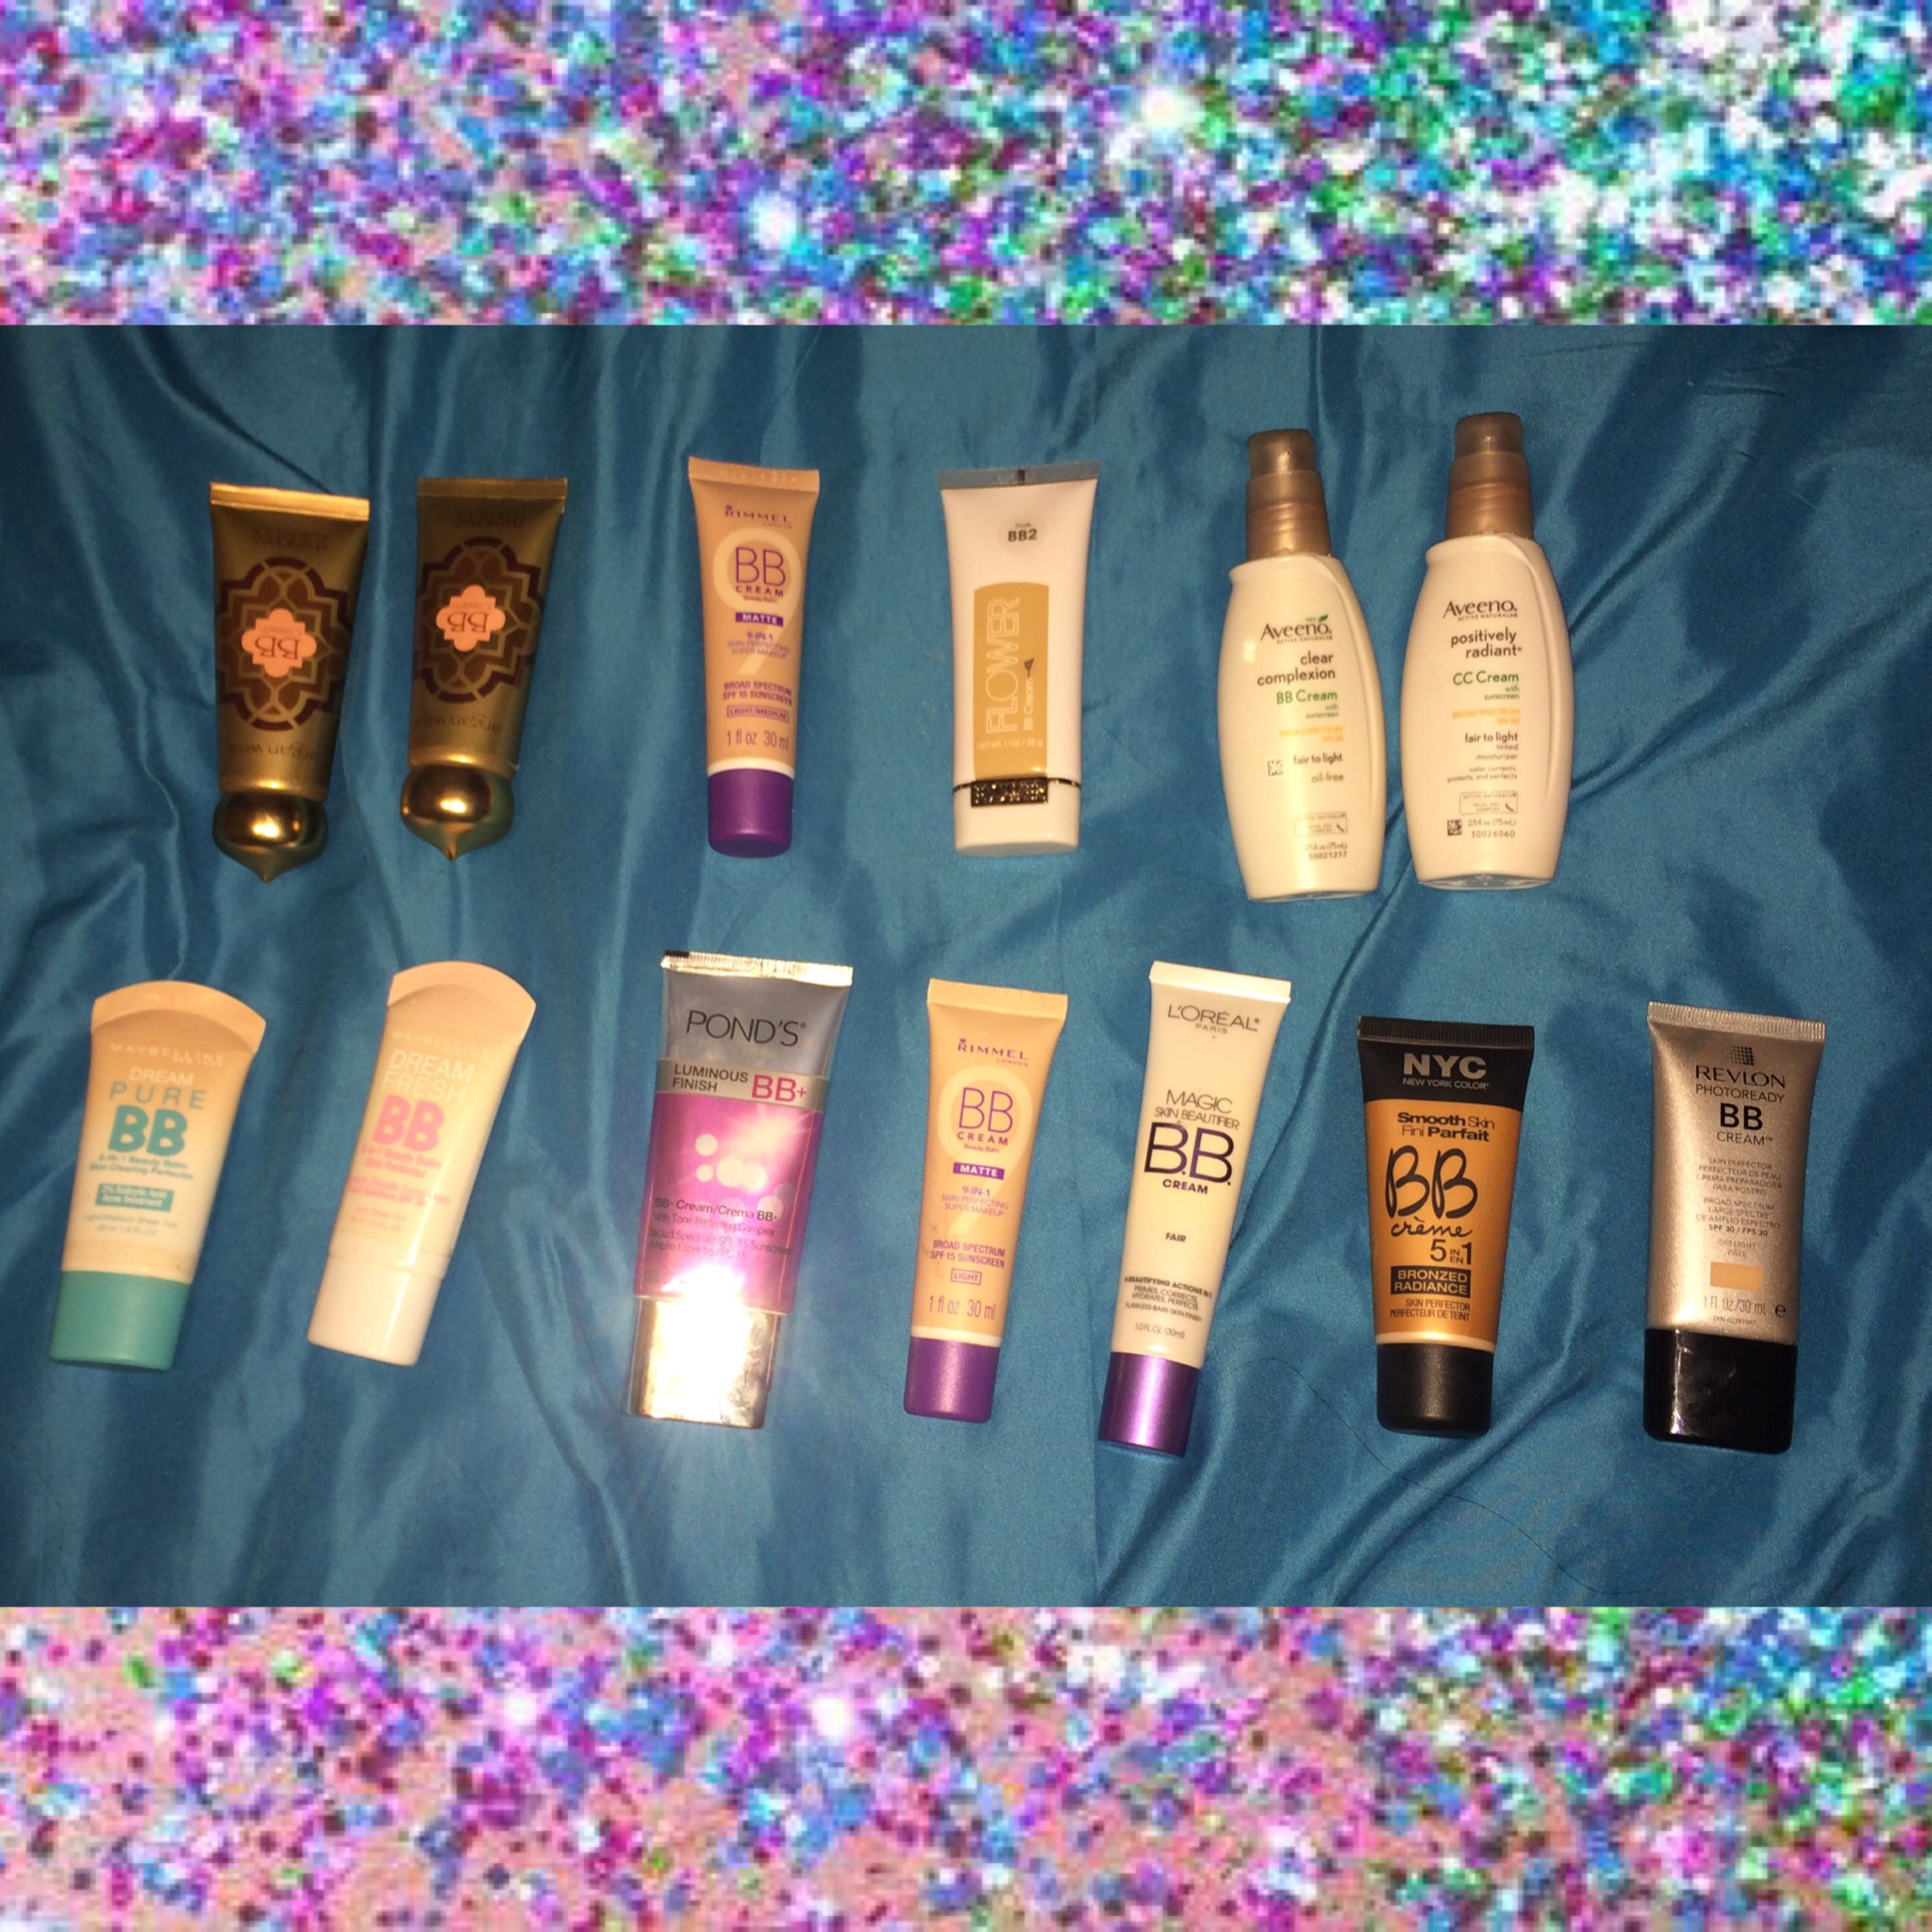
MY PRIMER COLLECTION


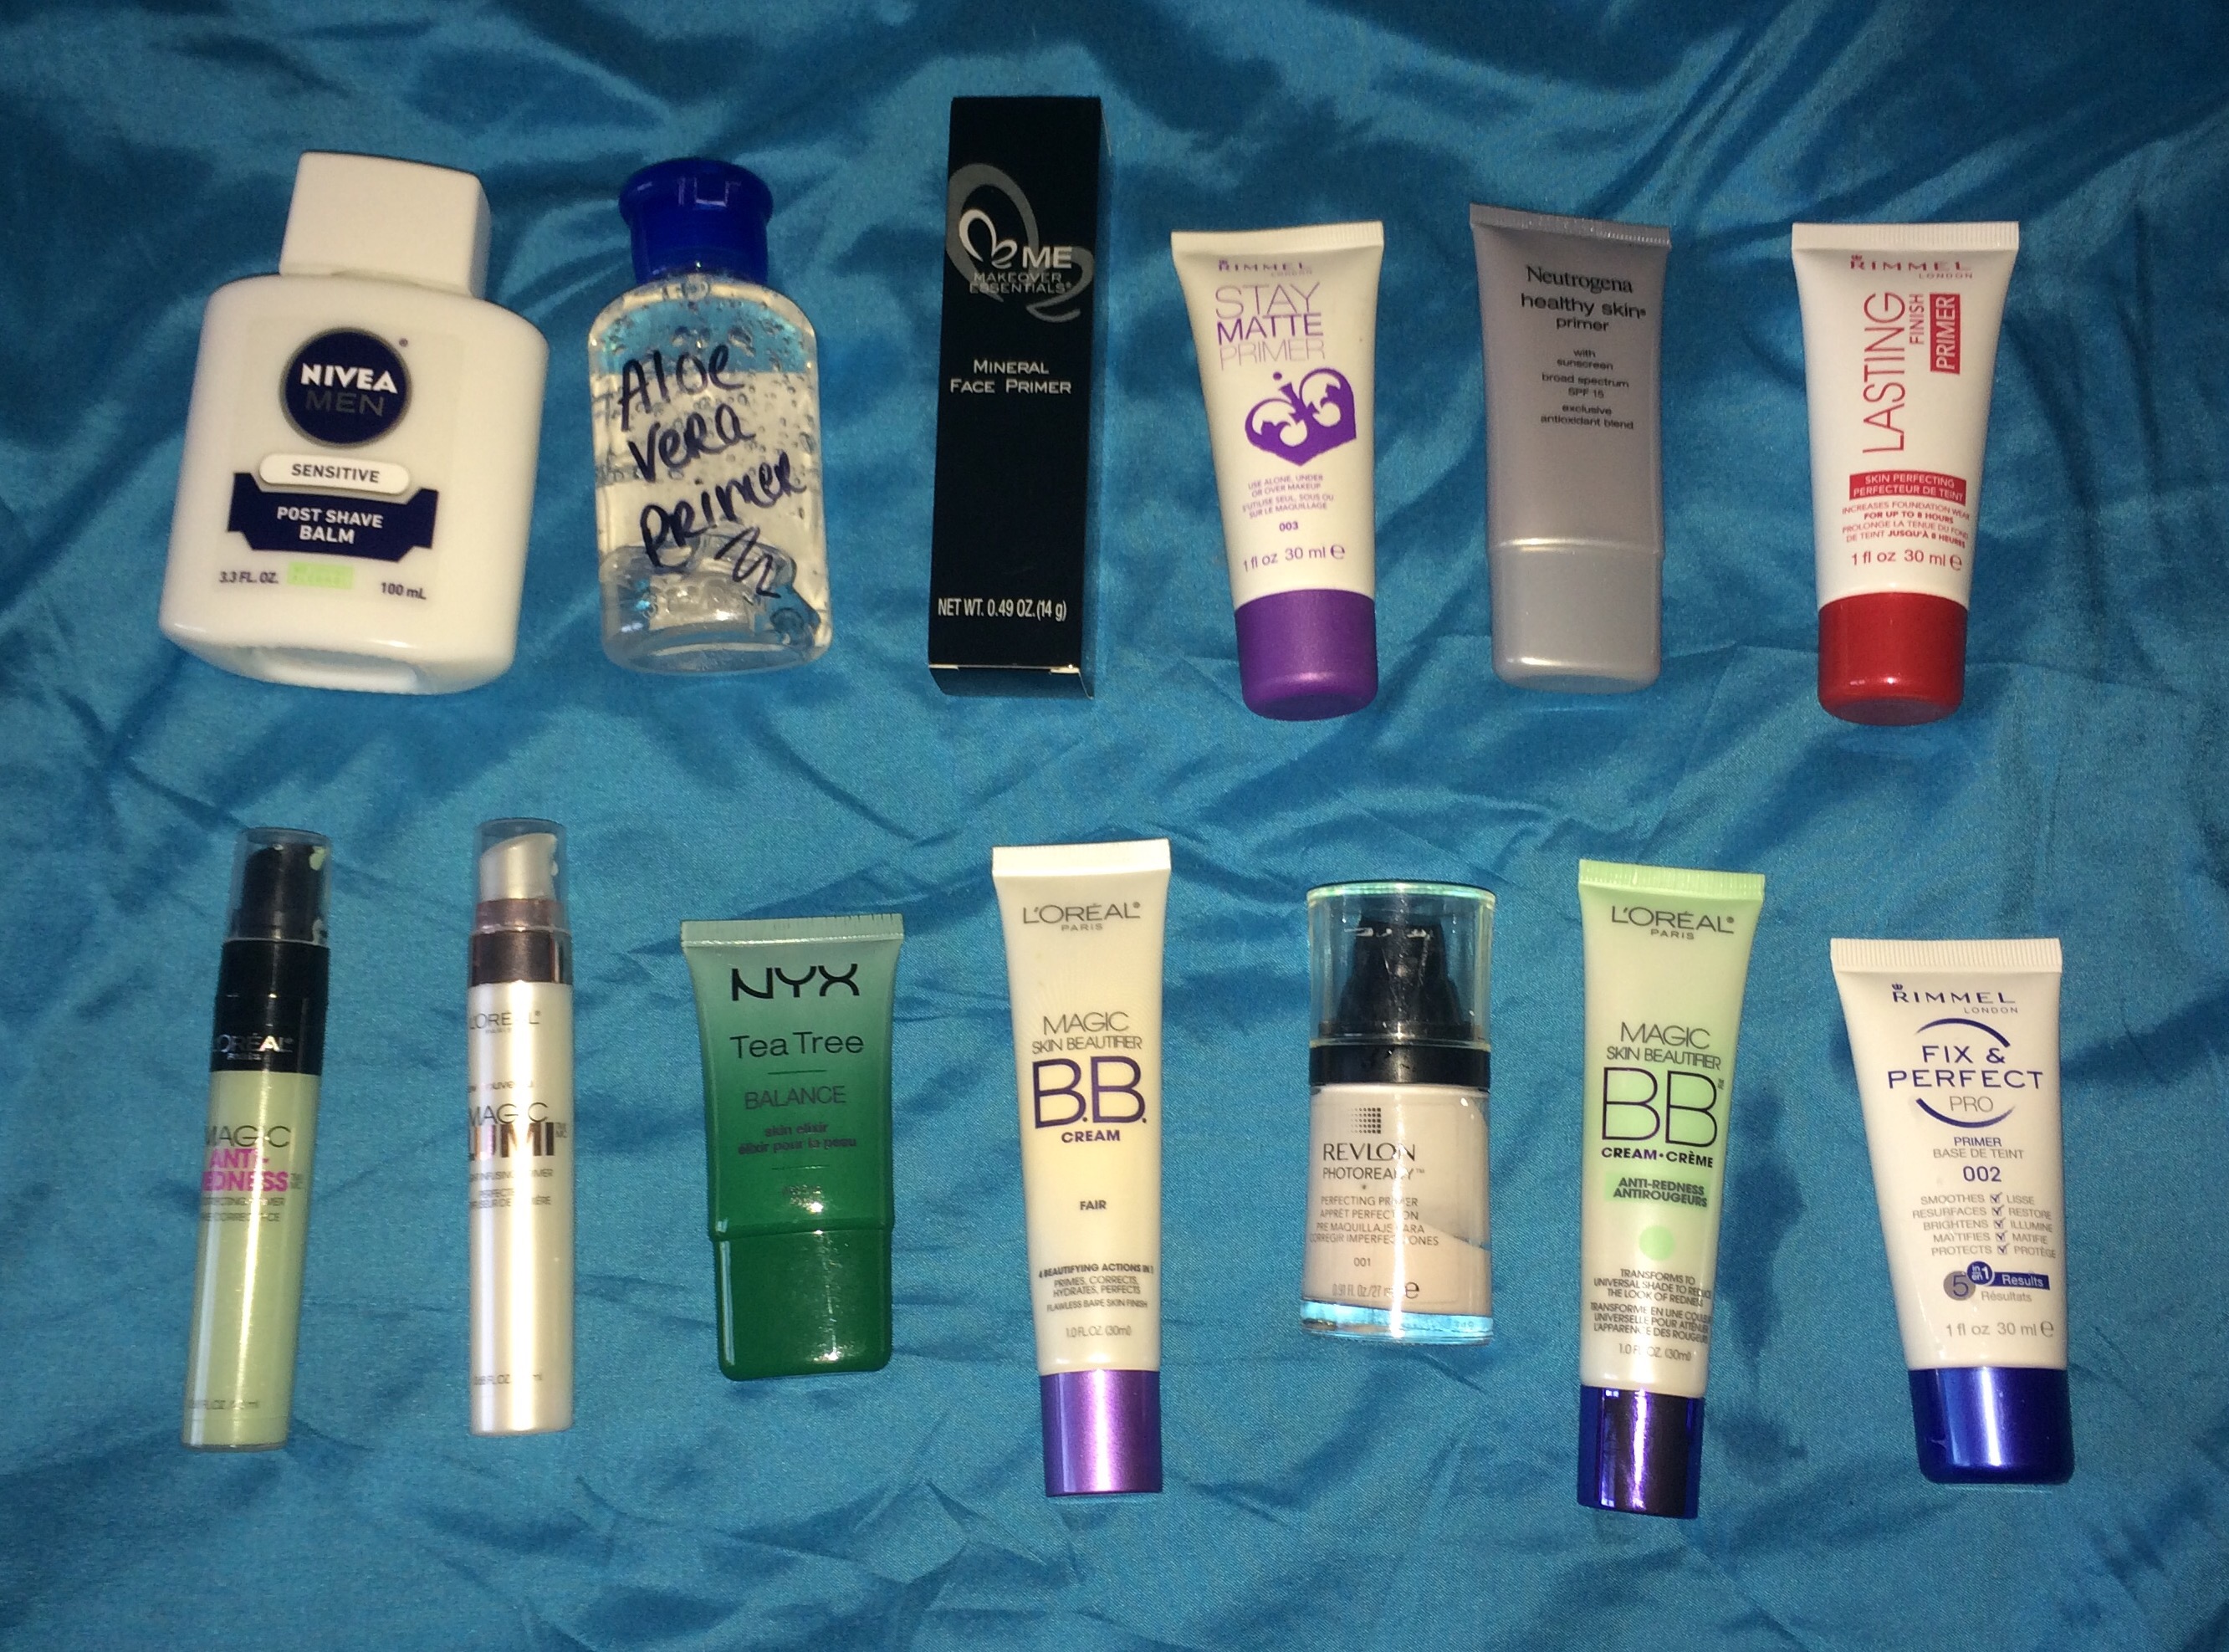
Ok, so personally, I think this is an excessive collection; and some of them just plain didn’t work for me. So let’s see what’s getting the boot!
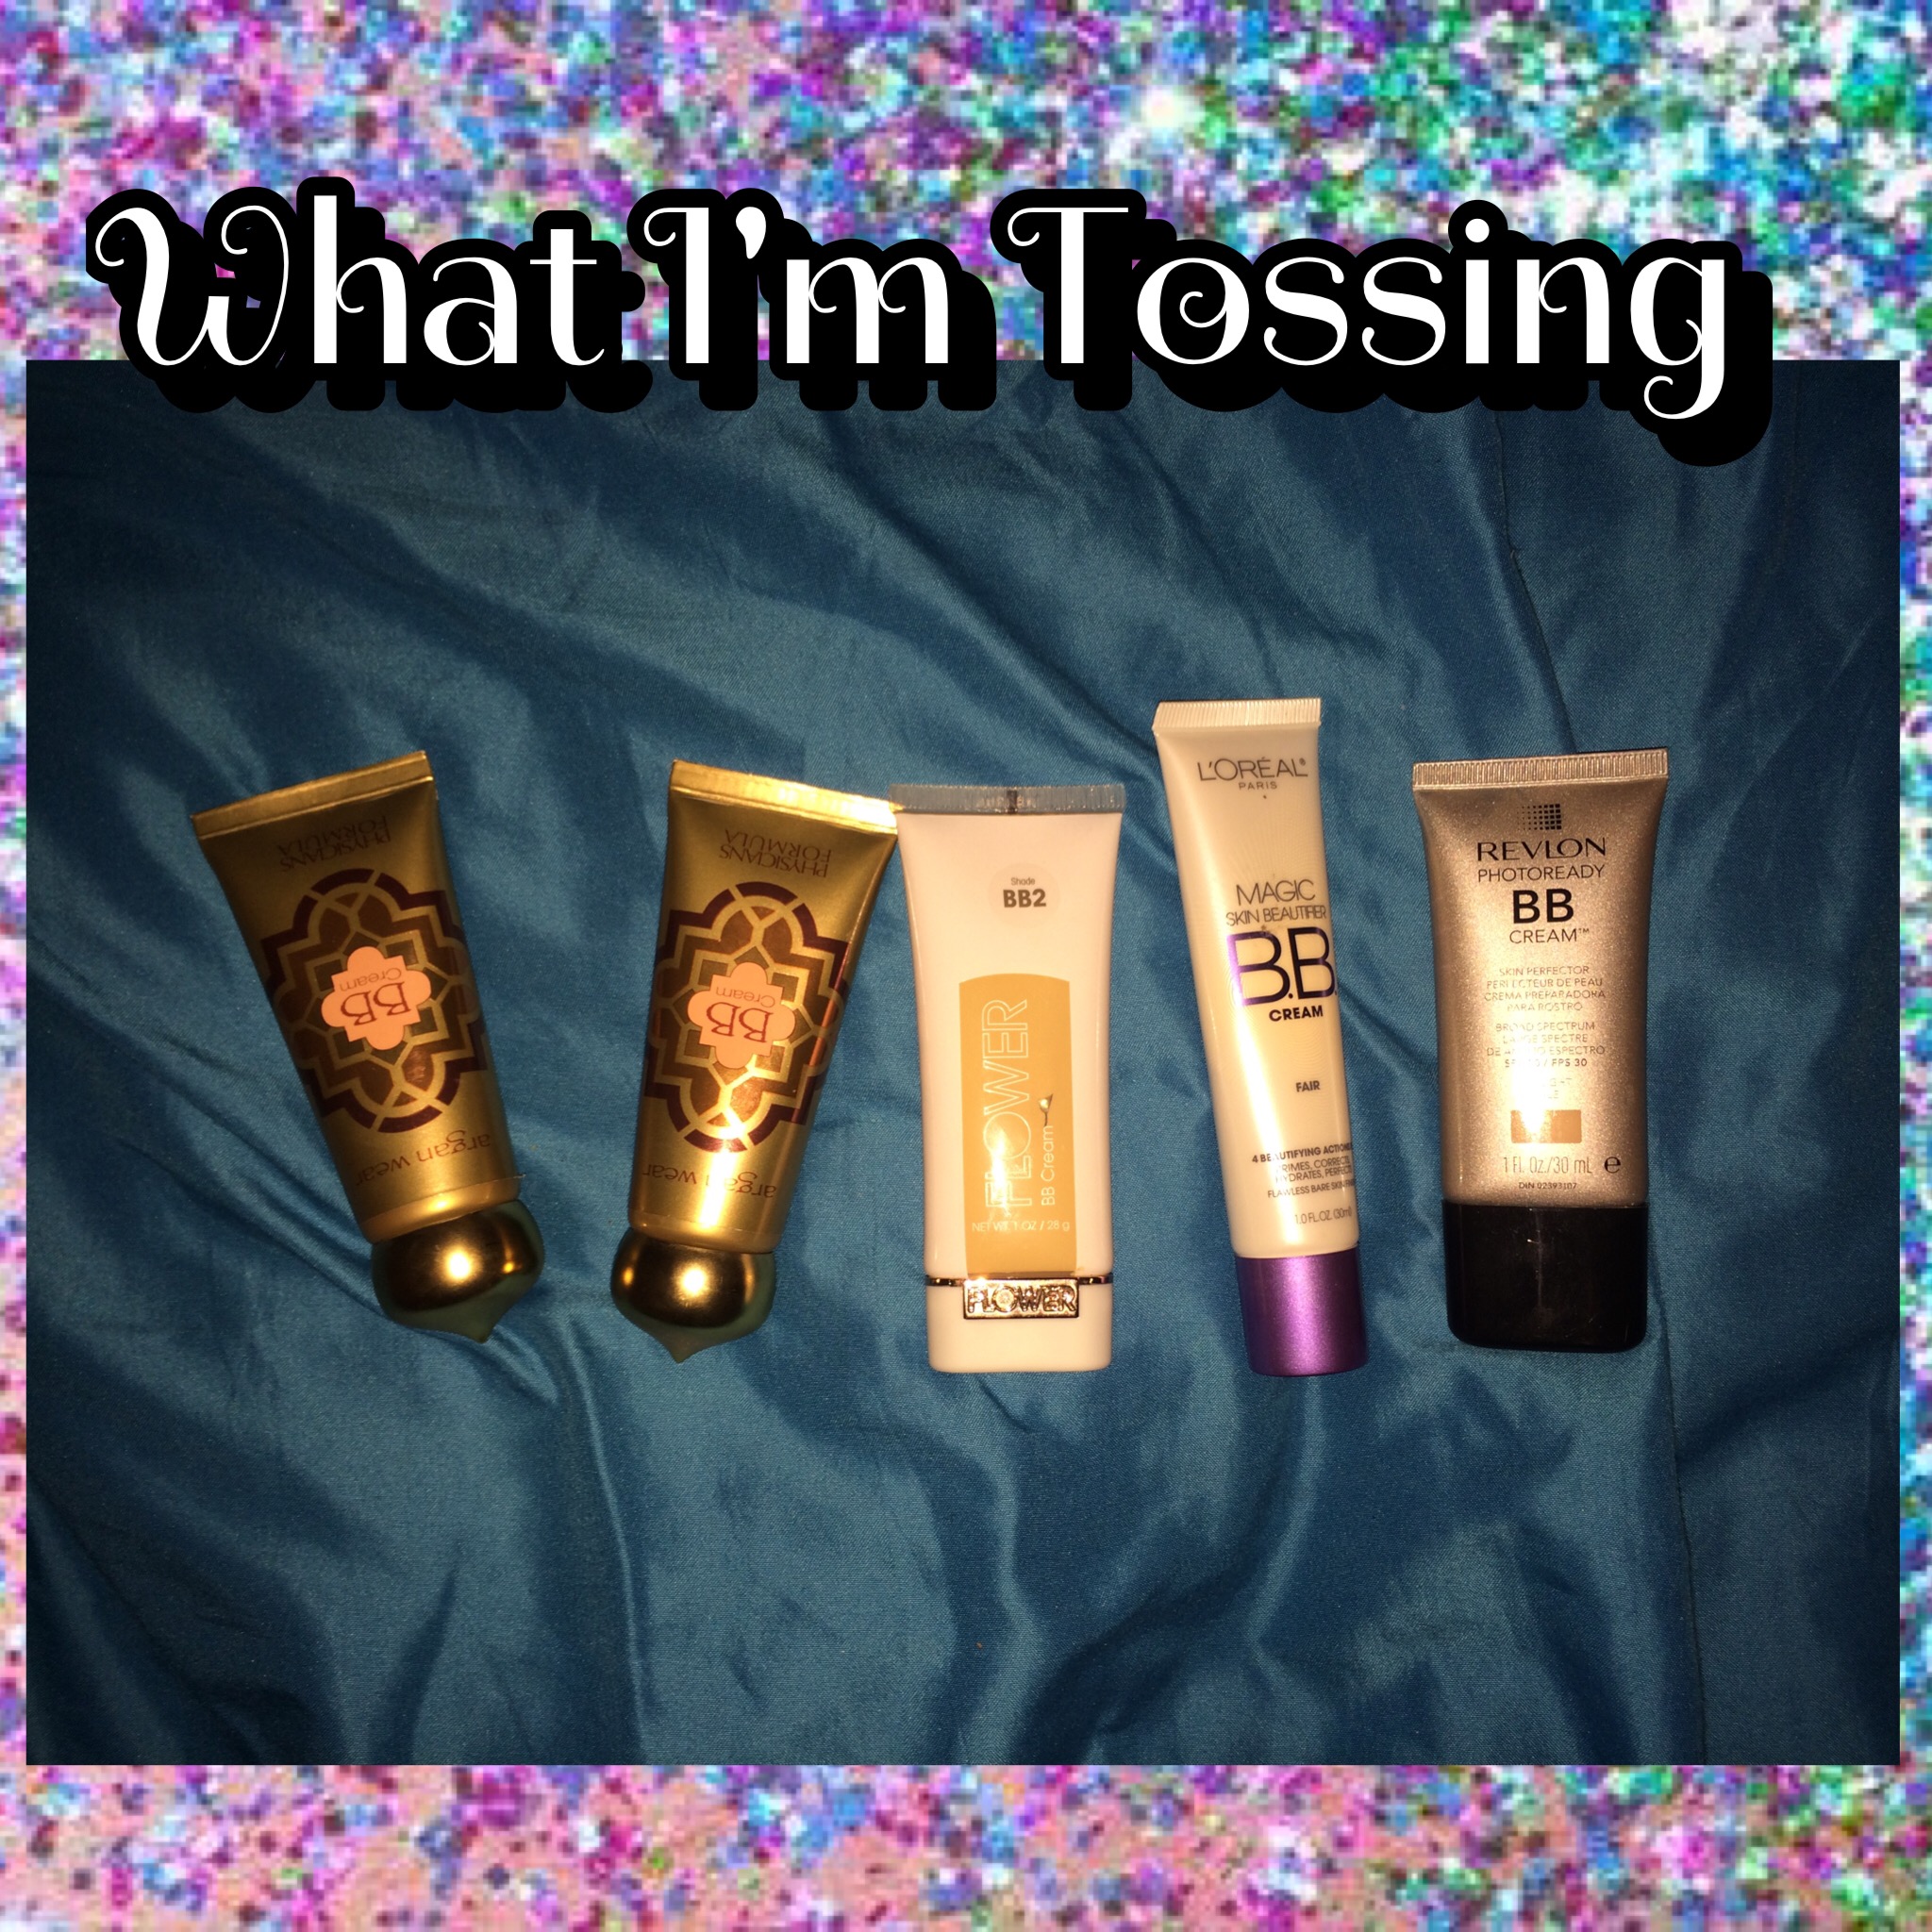
 

LEFT TO RIGHT :

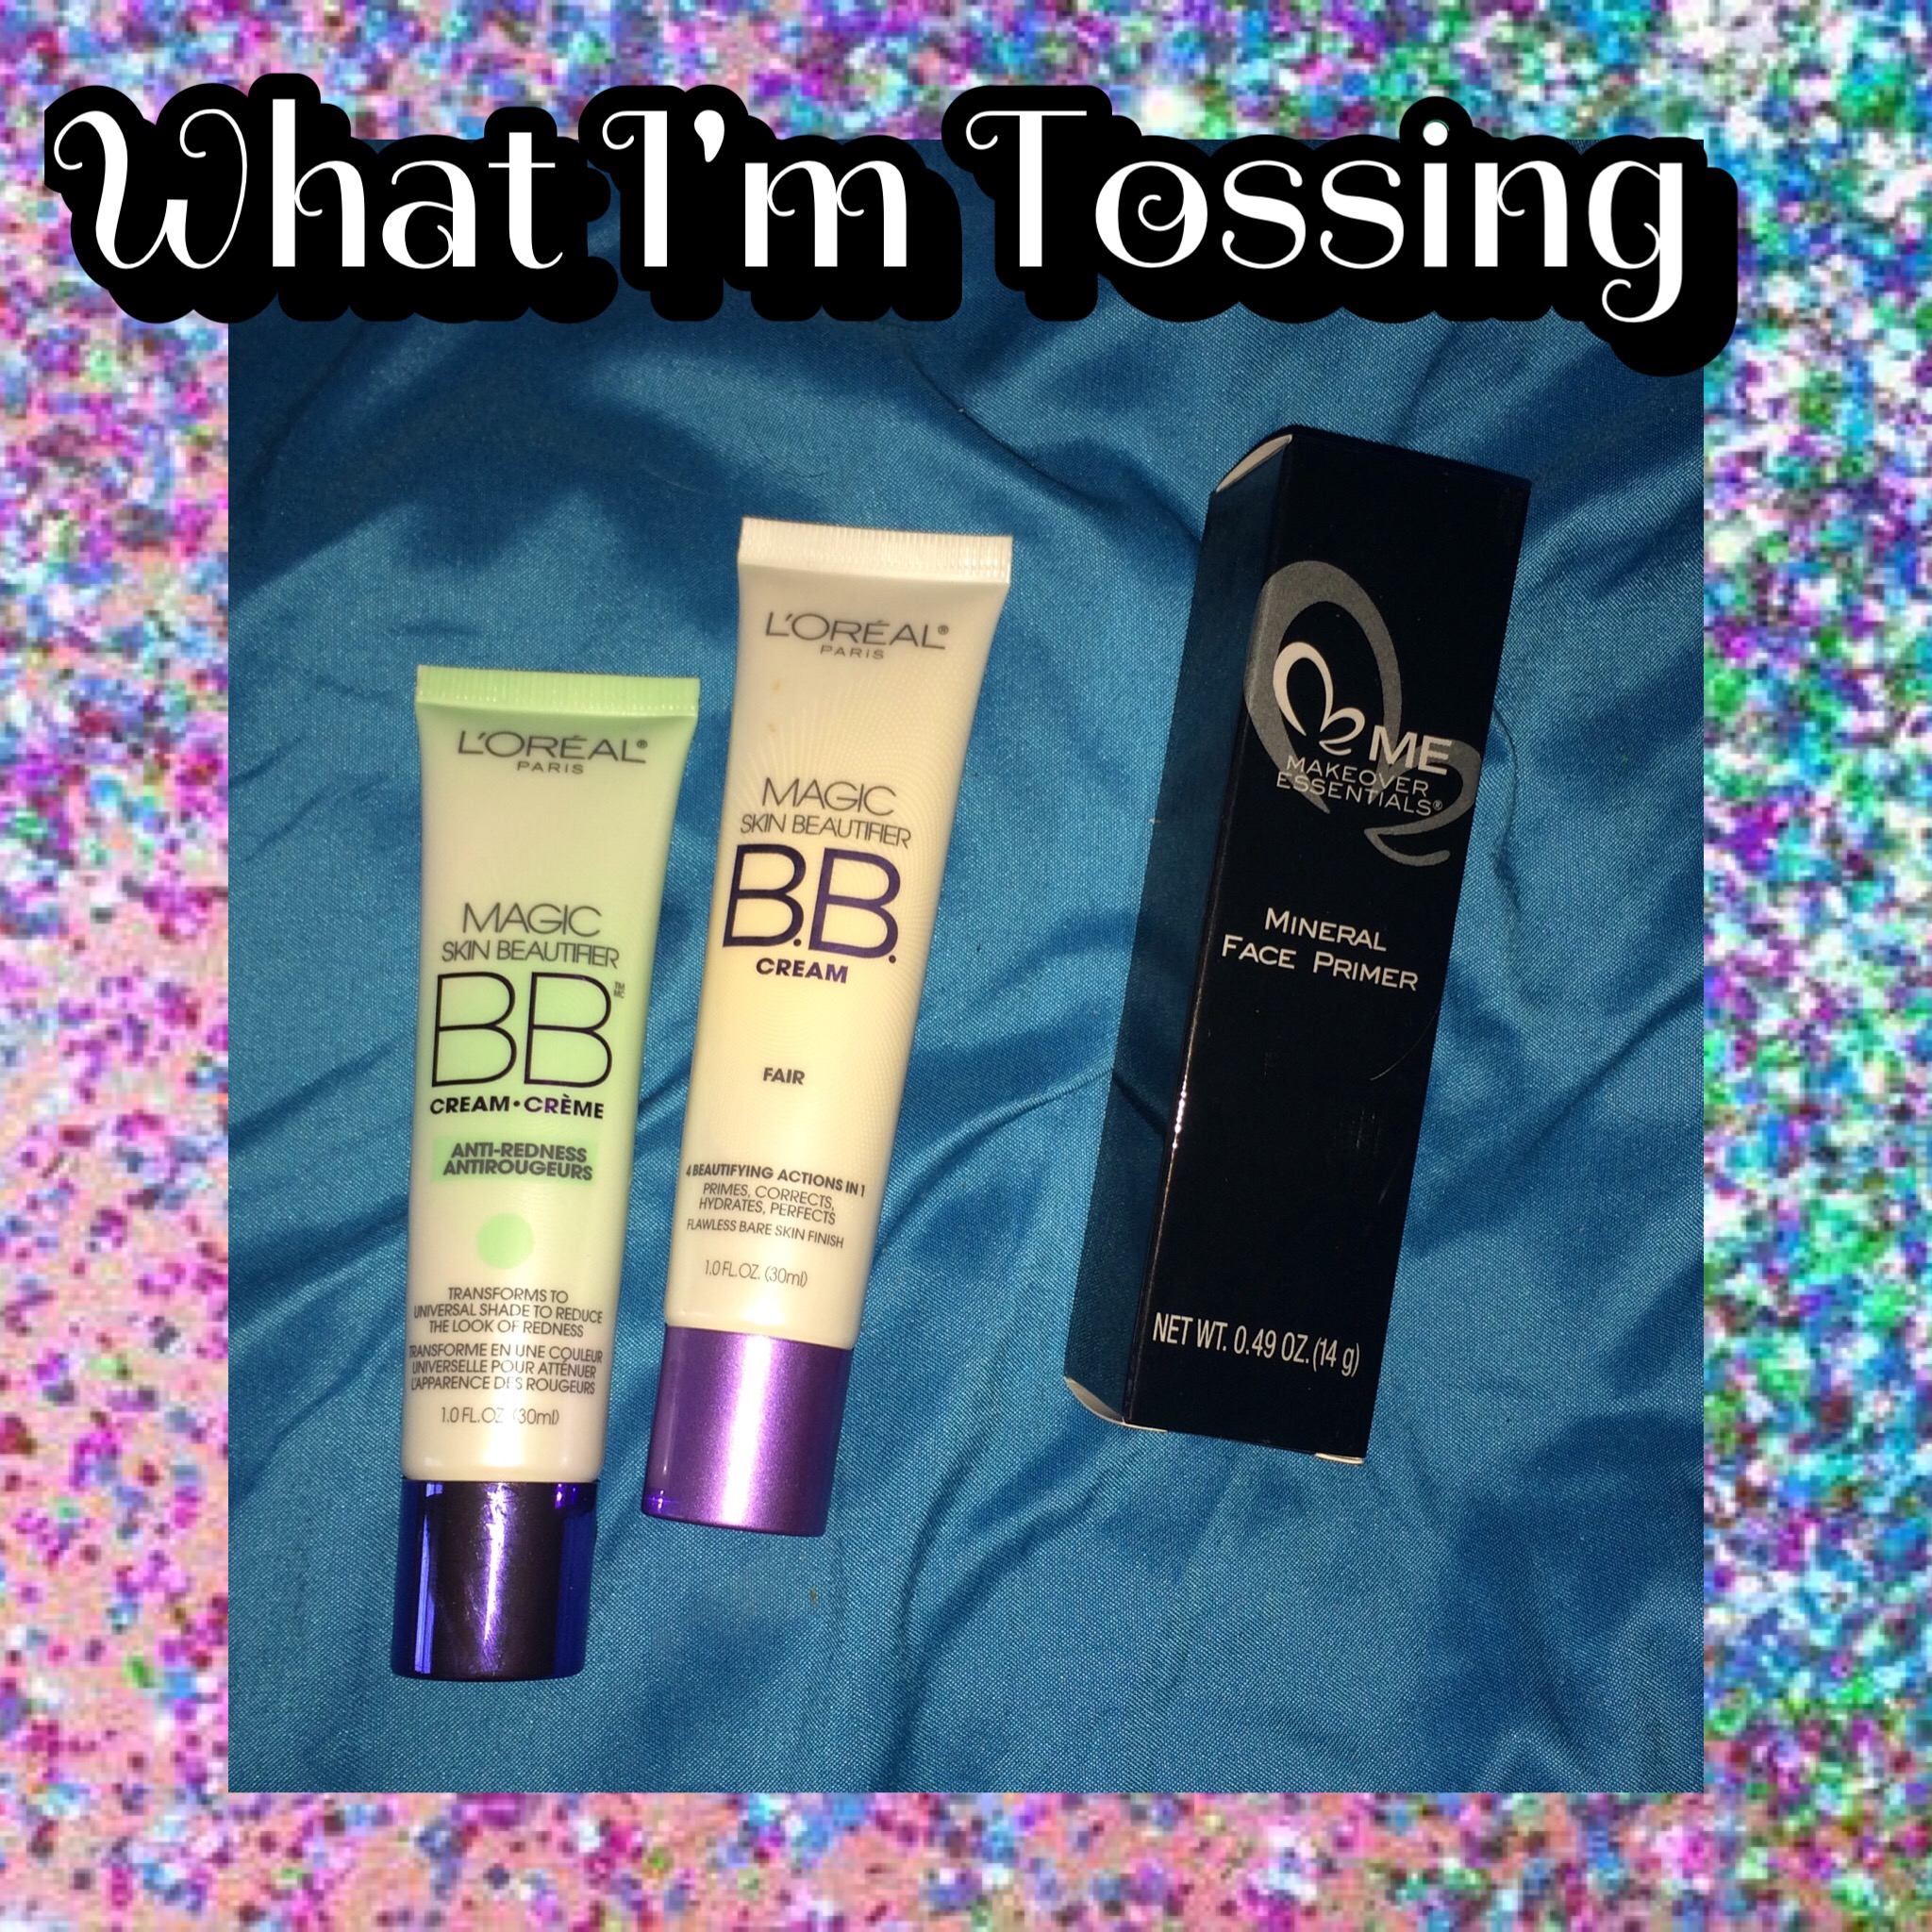
L’oreal Magic Skin Beautifier BB Cream in Anti-Redness (green) & Fair – Here’s the thing with these; in theory, they’re great. They have a matte finish, they have great coverage for BB creams, but they both turned an orange-y pink shade on my skin. Last week I tossed the ‘Fair’ shade, and then I found another one in my primer drawer. So out they both go!
Makeover Essentials Mineral Face Primer – It’s very silicone-y. Like clear, silicone, and it feels very greasy when it’s applied to the back of my hand, let alone my combination face. My sister brought it home for me, and I’ve only ever tried it on the back of my hand, and immediately my skin started to itch. Buh-bye! 

TOP ROW, LEFT TO RIGHT :

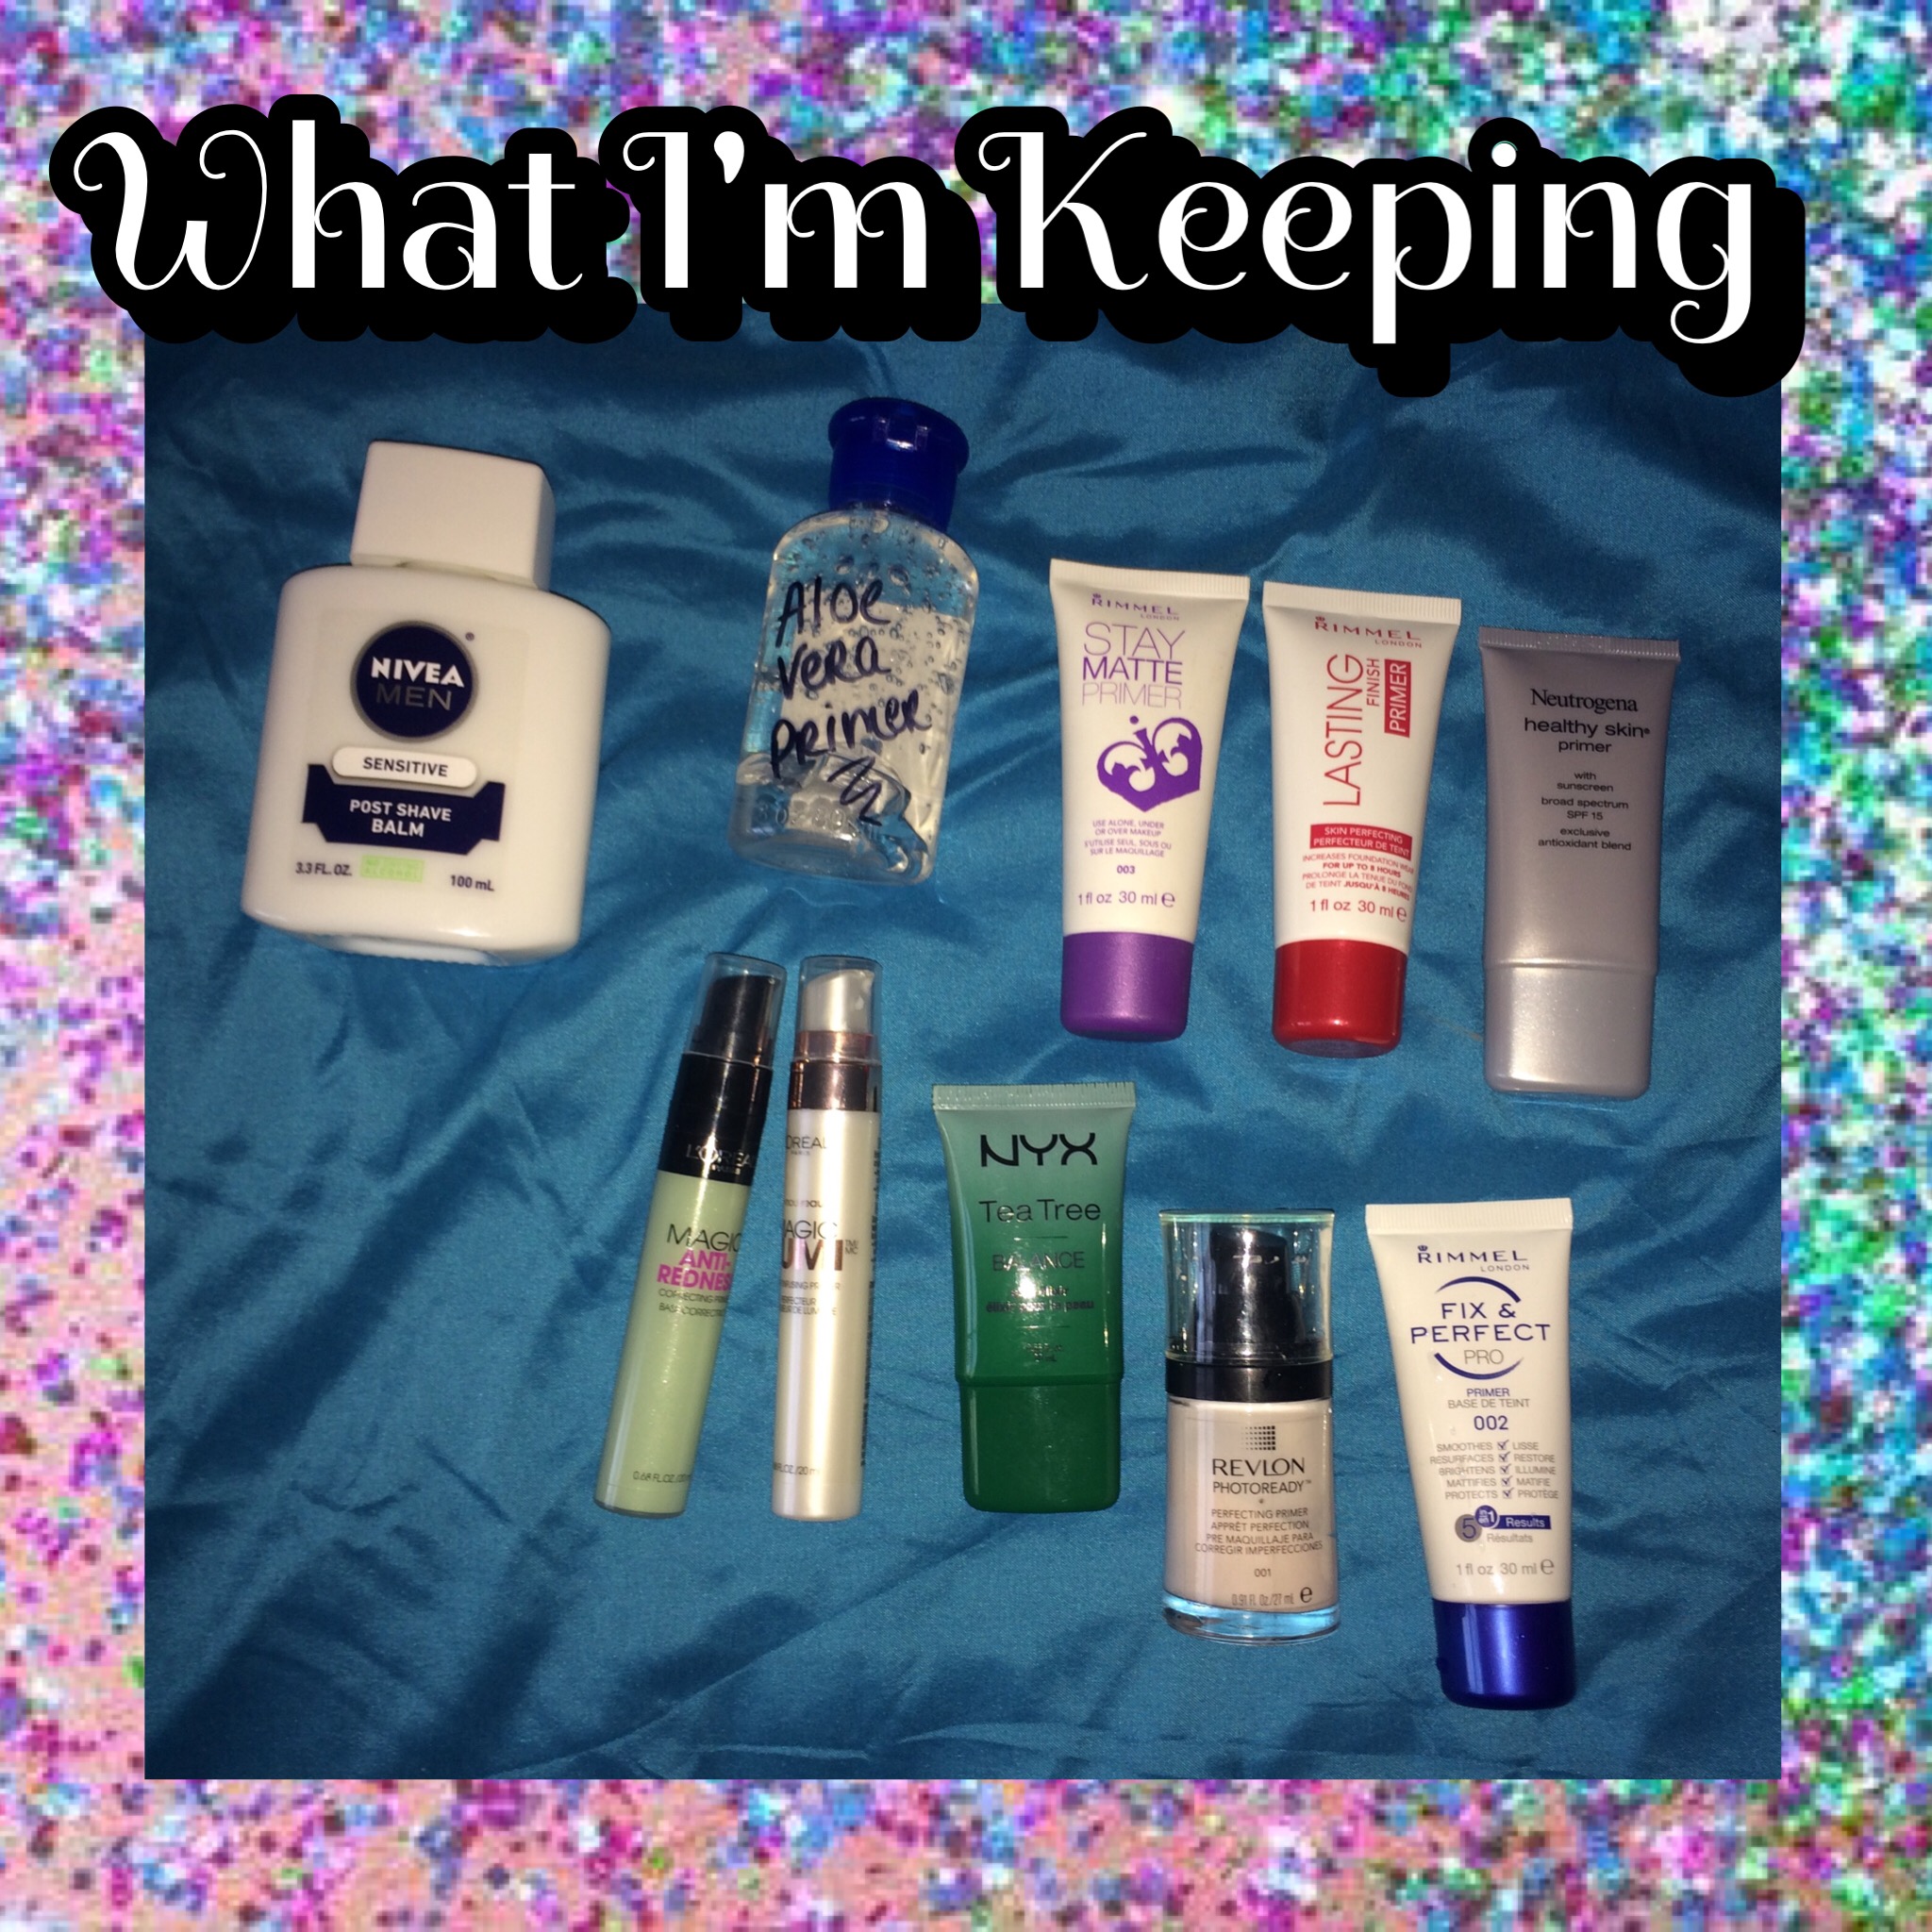
Nivea Men’s Post Shave Balm (Sensitive) – Obviously by now, you’ve heard of this product and how Nikkie from NikkieTutorials on YouTube put it on blast as one of the best primers ever; thanks to it’s high concentration of glycerin, which is basically foundation glue, it helps your makeup stay put all day! If you’re sensitive to fragrance or you have a jealous man, beware; you’ll smell like a dude for about 30 minutes, but it goes away!
Fruit of the Earth 100% Aloe Vera Gel – The actual bottle is so gigantic that I use a travel shampoo bottle to keep it in my vanity, but all the same, aloe vera gel is a fantastic primer! I did a whole post on why you should be using it as a makeup primer, which you can read about here!
Rimmel Stay Matte Primer, Rimmel Lasting Finish Primer, & Neutrogena Healthy Skin Primer – While I’ve owned these for awhile, I’ve yet to really give them a fair test run. I’ll keep them for the sake of trying them out.

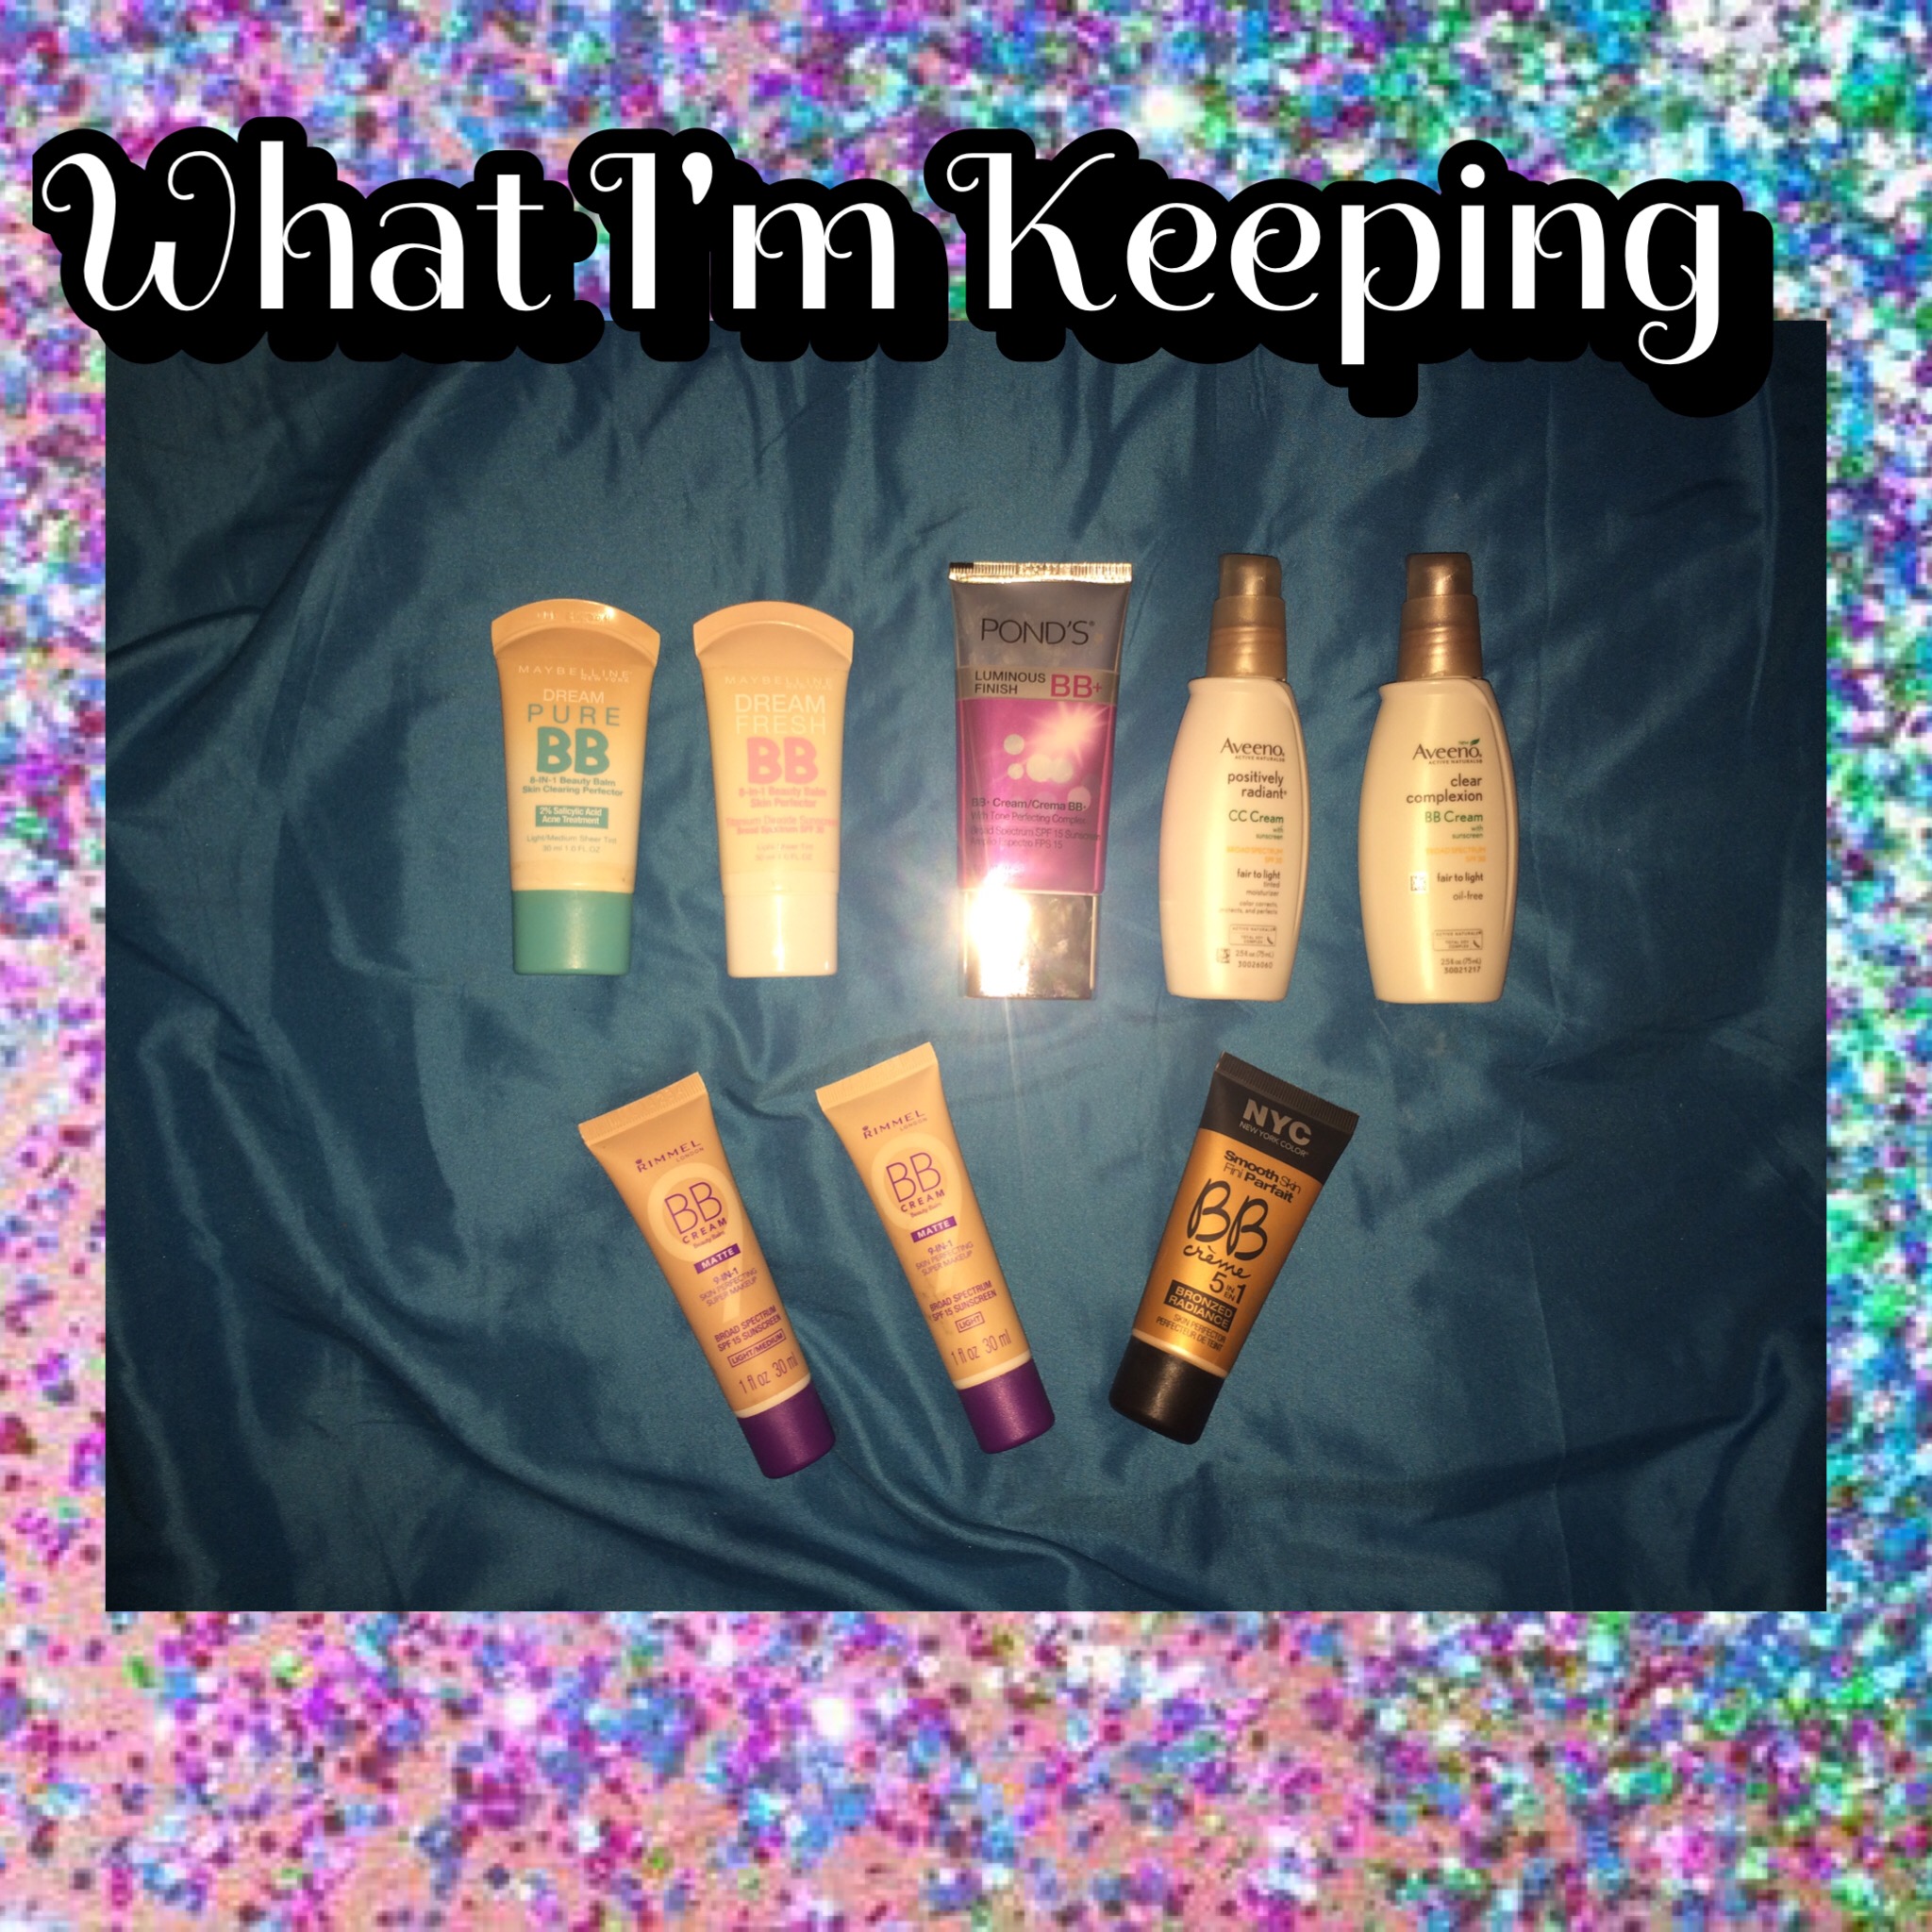
BOTTOM ROW, LEFT TO RIGHT :

L’oreal Magic Anti-Redness Primer – Another primer that I’ve had for awhile and only used a handful of times, I really do like how this neutralizes redness on my skin. This one doesn’t turn any sort of strange color like the L’Oreal one mentioned above. Keeping.
L’oreal Magic Lumi Light Infusing Primer – This is a ride or die primer for me. Just the right amount of healthy luminosity without looking like glitter or shimmer on the skin. You look like you’re literally glowing from within, like you’ve been eating your fruits and veggies, and taking your vitamins! Also a great dupe for the super pricey BECCA Backlight Priming Filter!
NYX Tea Tree Primer – I found this about a year ago or so, and as someone who still struggles with breakouts in her late 20’s, I was drawn to the fact that it contains tea tree oil. Do I think it ‘primes’ for makeup? Not really. But I do like the fact that while I’m laying down a barrier between my skin and my makeup, I’ve slathered on some skin-soothing and beneficial ingredients like tea tree.
Revlon PhotoReady Perfecting Primer – Another ride or die for me, this is a great primer for smoothing over fine lines and pores, and keeping you matte for the entire day! Something that I’ll definitely repurchase time and time again!
Rimmel Fix & Perfect Pro Primer – This is another primer that I feel I haven’t really given a fair chance, so I’ll hang onto it for now and see how it performs! 

TOSS TOTAL : 3
KEEP TOTAL : 10


Ok, so I didn’t toss as many as I expected, but at least I got rid of some that I just know I’ll never use again! And that’s the whole point of a de-clutter, right?!

Have you guys ever done a makeup de-clutter? What kind of things did you toss or keep? Have you tried any of these primers? Leave me a comment and let me know!

Come follow me around social media!
Twitter, Pinterest & Instagram : @dlynnesposito
Facebook : Affordable Gorgeous
Snapchat : dlynnesposito

And feel free to reblog this post and share my social media with your friends! Your support means so much!

LOTS OF LOVE!!
img_9363-2

MAKEUP DE-CLUTTER WEEK #3 : BB/CC CREAMS

Hey guys!

So, I missed last week’s installment of my ‘de-clutter series’ because my house was basically ripped apart by a cleaning crew (furnace issues, soot everywhere, couldn’t function or get to anything for weeks), but now that things are getting back to normal, I can finally get back on schedule. I’ll post another one on Friday for you!

So today, I’ve decided to declutter my BB and CC creams! Last summer, I was on a BB/CC cream kick; I wanted to try them all, find the best, so on and so forth. Naturally, I acquired a rather large number of them, and since they’re either old, or expired, or I just plain don’t use them, it’s time to get rid of some.

So let’s get started!

MY BB/CC CREAM COLLECTION

That’s definitely a lot. Too much. Let’s see what I’m getting rid of, what I’m keeping, and why!

LEFT TO RIGHT :

Physician’s Formula Argan Wear Ultra-Nourishing Argan Oil BB Cream in Light & Light/MediumThis was tough because I really love the formula, though some people complained about the scent (it didn’t bother me) but what drove me nuts is the limited shade selection. The light is more like a medium, and the light medium is more of a tan shade; oh, how I wish PF would cater more to the ‘pale faced club’!
Flower Beauty BB Cream in BB2Again, not an issue with the formula, but the shade; the formula itself has great coverage, stays in place, and keeps me matte, but I got the second lightest shade and it’s very yellow, and then oxidized to an unflattering pumpkin hue….no bueno, yo.
L’oreal Magic Skin Beautifier BB Cream in FairAgain, it’s a shade issue for me. This one turned pink on my fair but warm skin. Can’t do it. Just can’t.
Revlon PhotoReady BB Cream in MediumI picked this up in the summer for a few different reasons; I heard it was a great dupe for the Smashbox Camera Ready BB Cream (which I never got to try), and because I needed something with decent coverage and staying power to match my darker summer skin. This stayed really tacky though, which combined with heat and humidity was a total turn-off for me.


TOP ROW :

Maybelline Dream Pure BB Cream in Light/Medium Sheer TintI also have this in ‘Light Sheer Tint’ (not pictured), and I’m keeping that as well. It contains salicylic acid, keeps me matte, has really good coverage for a BB, and I just love it. 
Maybelline Dream BB Cream in Light Sheer TintThis is the original formula, prior to the release of the ‘Dream Pure’ one, and it’s great for my drier days; you know, when I want the lightweight coverage and hydration, but don’t want to be bother with a full face of heavy, suffocating foundation. It works.
Pond’s Luminous Finish BB+ CreamI actually think this one may be discontinued. I found a bunch on clearance, and bought as many as I could! Good coverage, neutral in tone, and so many skin benefits, including lightening of dark spots (buh-bye old acne scarring!). 
Aveeno Positively Radiant CC Cream in Fair/LightThis one offers sheer to light coverage, buildable (which I appreciate) to a light/medium, and leaves a beautiful finish on the skin. It’s also very comfortable to wear; a lot of BB creams can feel heavy despite their claims of being lightweight, and this one (and the next) are super light!
Aveeno Clear Complexion BB Cream in Fair/LightWhile I never used it exclusively enough to attest to it’s claims of a ‘clear complexion’, and to my knowledge it doesn’t contain anything like salicylic acid, but again, like it’s cousin mentioned above, it’s lightweight and really comfortable with decent coverage. Aveeno is known for it’s skin benefits, and since I’m not getting any younger (insert sad face here), perhaps it’s time to focus on products that incorporate more skin care ingredients. 

BOTTOM ROW : 

Rimmel BB Cream MatteI actually really like these, though the shades are a little deceiving, the ‘darker one’ seemingly lighter than the ‘lighter one’. But they have a great formula that keeps me matte without clinging to dry patches or settling into my pores and lines. 
NYC Smooth Skin BB Creme Bronzed Radiance in LightI love this for cream bronzing, or when my face doesn’t quite match the rest of my body. Believe it or not, for such an inexpensive product (I didn’t expect much in the way of performance or lasting power) this stuff stays on really well, doesn’t streak or get patchy, and if I remember correctly, the last time I used it, it stained my neck so it looked like a light coat of sunless tanner! I really do quite enjoy this stuff! I have the shade ‘Medium’ as well, but I keep that with my bronzers because it is darker. 

TOSS TOTAL : 5
KEEP TOTAL : 8


Ok, so usually when I do this, I end up getting rid of more products than I keep. But hey, there’s a first for everything!
Now I’ll be going through my ‘keep’ pile, and re-trying everything to see what I’ll toss from there! 

Have you guys ever done a makeup de-clutter? What kind of things did you toss or keep? Have you tried any of these BB or CC creams? Leave me a comment and let me know!

Come follow me around social media!
Twitter, Pinterest & Instagram : @dlynnesposito
Facebook : Affordable Gorgeous
Snapchat : dlynnesposito

And feel free to reblog this post and share my social media with your friends! Your support means so much!

LOTS OF LOVE!!
img_9363-2

UPDATED FOUNDATION ROUTINE – SPRING 2016

 If you’ve been with me here awhile now, most of you know that my skin isn’t specific to one type; it’s seasonally temperamental. No, it’s downright sassy.
In the winter, I’m dry and flakey; in the summer, I look like a greased chicken – and in the spring and fall, I tend to relate best to the combination category. I swear, there’s no happy medium!

With the fluctuating temperatures that accompany New England living in the late winter and early spring, my dry winter skin is starting to produce more oil by the day, specifically in the t-zone. So naturally, I’ve had to adjust my foundation routine to accommodate it, and that’s what I’ll be sharing with you today!

This tutorial is for those of you with skin similar to mine, or oilier even, that want a medium to full coverage, but still want a natural look and lightweight feel!

So if you want to know what I use and how I achieve this look, keep on reading!


First things first, as always, you want to start with freshly cleansed and moisturized skin. I have had to adjust my skin care routine, and if you want an updated skin care routine, don’t worry! It’s coming!
Once your skin is clean and hydrated, you’ll want to apply a primer. I have larger pores and some deep, pitted acne scarring to cover, so what I do is use Fruit of the Earth 100% Aloe Vera Gel ($4) all over my skin first, to hydrate more, control my oil, and tighten my pores, and also sooth any sort of redness I have going on. Once that’s sunken into my skin, I apply my trusty Revlon PhotoReady Perfecting Primer ($14) to any areas that I want to smooth, which is primarily the pores in my t-zone and immediately on either side of my nose. Let that absorb for a minute or two.


 Next I go in with my foundation, and lately I’ve been loving the L’Oreal Infallible Pro Matte Foundation ($13). It’s long wearing, medium to full coverage, and a nice, natural looking, demi matte finish. The best part is that it doesn’t break apart on me during the day, and any oil that makes it through my primer doesn’t make me look oily, just dewy and glowing (come back tomorrow for the full review!!). I fall in between shades 101 and 102 (Classic Ivory and Shell Beige) so I tend to mix 2 parts Classic Ivory to one part Shell Beige, and it matches me perfectly. I don’t self tan in the winter, and my neck is pretty pale, so I always match my foundation to my neck.
After mixing, I dot the foundation on my face starting in the center, where I tend to need the most coverage, and stipple it all over with a Sigma F80 Flat Top Kabuki Brush ($24) (dampened with a little spritz of the MUFE Mist & Fix ($30)) before buffing in circular motions and blending it out from the center of my face.


 Because the foundation is so high coverage, I find I need very minimal concealer. I do have a lot of darkness on the inner corners of my eyes, so for that I really love the NARS Radiant Creamy Concealer ($29) (I wear the shade Vanilla) because it’s brightening, light reflecting, and full coverage. I dab a little on the inner corners, drag it down the side of my nose, and feather it out in an upside down triangle shape under my eyes, making sure to extend it up towards my temples to give a lifted appearance to the face. Then I blend it out with a damp sponge like the Real Techniques Miracle Complexion Sponge ($7), making sure to tap it out really, really well. To balance the highlighted under eye area, I usually put a little in the center of my forehead, down the center of my nose, on either side of my nose, the cupids bow, and the chin, as well as any blemishes I may have to cover.


 Then I immediately set all of my concealer with a yellow powder and a Morphe M438 ($10) brush; I go back and forth between ‘Banana’ from the Anastasia Beverly Hills Contour Kit ($40) and ‘Lyric’ from the Kat Von D Shade + Light Contour Palette ($46). (If you’re looking for a good yellow powder but don’t want to (or can’t afford to) buy a whole kit, the ‘Banana’ shade is sold in refill pans here for just $14!) When I set my under eye area, I always make sure to tap the powder in back and forth motions to make sure I’m not setting any creases in my concealer. I mean, I’m turning 30 this year, so it happens.


 Now you can go ahead and set the rest of your face with any translucent setting powder (I use the Mary Kay Translucent Loose Powder ($16)) and a fluffy brush. Because you’re likely going to apply bronzer, blush, contour, and highlight, I find that all of those products (presuming you’re using powders like me) blend much more smoothly over powder. If you don’t set your foundation and go over it with your bronzer and blush, it can look very patchy.

Now that my foundation is on and set, it’s time for bronzer, because we need that warmth and dimension back to our skin. I’ve been reaching a lot for my Rimmel Natural Bronzer ($5) in ‘Sun Light’, which is a totally matte bronzer that has a little warmth, but nothing overwhelming on my pale skin, and applying it with a big, fluffy Morphe M140 ($13) brush – and when I say big, I mean big! This thing is literally the size of my face! I like to focus the bronzer on the perimeter of my face, and keep the center where I highlighted nice and bright.

And of course, the final touches – blush, contour, and highlight, because well….I can’t do anything minimally! For blush, I’ve been loving the L’Oreal True Match Blush ($9) in ‘Innocent Flush’ on the Real Techniques Blush Brush ($9), and applying it just behind the apples of my cheeks – I feel doing it this way makes my face look slimmer and more lifted.
For my contour, I’ve been crazy about the Makeup Geek Contour Powders ($10) in ‘Breakup’ and ‘Infidelity’ with a NARS ITA ($55) brush, mixing the two shades for the perfect natural ‘shadow’, and applied just under my cheekbones, the temples, the sides of the forehead, under the jawline, and a little tiny bit down either side of my nose.
And finally, taking my Morphe M501($8), I apply a little bit of the BECCA Shimmering Skin Perfector Pressed ($38) in ‘Opal’ to the tops of my cheekbones, the bridge and tip of my nose, and the cupids bow. Finally, I set everything with a light layer of Urban Decay Chill Makeup Setting Spray ($30).
And that’s it, all done!


From here you can literally take your look anywhere. This is just the base; you can add a smokey eye, a red lip, a bold winged liner, or a touch of mascara and some gloss, it’s all up to you! But this is my current, everyday, go-to foundation routine! I hope you enjoyed it!

What kind of products are you loving lately? Leave me a comment and let me know!

Come follow me around social media!
Twitter, Pinterest, & Instagram : @dlynnesposito
Facebook : Affordable Gorgeous
Snapchat : dlynnesposito

And feel free to reblog this post and share my social media with your friends! Your support means so much!

LOTS OF LOVE!!
img_9363-3

FAVORITE DRUGSTORE PRIMERS

I used to think using a primer was overrated. Then again, I’ve tried just about every drugstore primer there is on the market, and most of them irritated my skin to no end (I’m lookin’ at you, Maybelline Baby Skin!!).

But in true Affordable Gorgeous fashion, I refused to give up on my quest for finding a great, affordable primer that doesn’t break me out, and most importantly, makes my makeup last! And I’ve found several!
So I’m here today to share them with you, in hopes that if you’re anything like me, and you struggle to find something affordable that actually works, you’ll be able to take something away from this post!

So let’s get started!


REVLON PHOTOREADY PERFECTING PRIMER ($12)

IMG_8398-0I’m pretty sure I don’t have to go into crazy detail on this product, because if you’ve been here awhile, you’ll have see my full review (and if not, you can by clicking here). Basically this was the first line smoothing, pore blurring, drugstore primer that didn’t break me out! Most primers that perform that way contain large quantities of cheap silicone, which makes my skin break out in severe redness and cystic acne within minutes, but I took a chance on this stuff, mainly because of its more lotion-like texture, and I absolutely love it! It keeps me matte (when I’m oily, so I haven’t been using it much lately), it keeps my foundation in place, and it makes my skin look airbrushed! I definitely recommend this to everyone!

L’OREAL MAGIC LUMI LIGHT INFUSING PRIMER ($13)

img_9596Another one that you’ll recognize if you’ve been here awhile! And while I’m thinking about it, I wonder if this would be a good dupe for the BECCA Backlight Priming Filter?? Hmmm…. I love this especially because lately my skin has been so dry (thanks a lot, New England winter’s) and dull, and this primer makes you look so incredibly healthy and luminous, like you’re glowing from within! It’s lightweight, hydrating, and fluid enough that a little bit goes a long way (maybe a half of a pump?) – I’ve even mixed it in with my foundation, which is a breeze because of it’s consistency! If you’re oily, though, you’ll probably want to avoid this – it’s not mattifying in any way, and if you’re not careful you can end up looking like a greased chicken pretty quickly!

NIVEA MEN’S POST SHAVE BALM – SENSITIVE ($6)

img_9665Ok, so I haven’t been using this for terribly long, but I’m already in love! If you haven’t read the full review yet (click here to read), then I won’t spoil it too much for you! Basically, while this is a mens aftershave lotion, it creates the perfect tacky surface for your foundation and/or concealer to stick to, while soothing the skin and helping to ward off redness and irritation. Will you smell like a sexy man at first? Yes. Will it wear off after awhile? Yes. Should you warn your guy that it’s just your primer and no one’s been brushing up on you? Definitely. And finally, should you try it for yourself? Oh hell yeah!

L’OREAL STUDIO SECRETS ANTI-REDNESS PRIMER ($13)


 If you suffer from redness, rosacea, or the occasional (or even frequent!) breakouts, you know the importance of color correcting with a green base. What I love about this is that while it appears to be super intimidating with its green hue, it sheers out so much that once you’ve got your foundation on, you don’t even know it’s there! And because it contains glycerin as it’s third ingredient, it’s really going to help your makeup stay put all day! If you’re struggling with redness of any sort, give this a try!

FRUIT OF THE EARTH 100% ALOE VERA GEL ($4)

IMG_8468
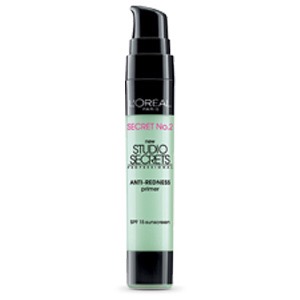
“Wait, what?!” Yup!! Aloe! But it has to be the clear kind, and this brand in particular is the closest to 100% natural that I’ve found versus rubbing a gashed open Aloe leaf all over your face (which works too, by the way!). The way it works is by filling your pores in, reducing redness, and creating a nice tacky surface that your makeup can adhere to, you get probably the most natural primer with the least amount of irritants around! And as an added bonus, Aloe is loaded with vitamins C, A, B, and E, and it’s naturally anti-aging! It’s super hydrating, great for sensitive skin, and if you’re acne prone or even mid-breakout, it can help to prevent and clear up blemishes! Pretty amazing stuff, huh?


Have you guys tried any of these? What are some of your favorite drugstore primers? Or even your favorite ‘unconventional’ primers? Leave me a comment and let me know!

And please take a moment to go follow me on Twitter, Instagram, and Pinterest @dlynnesposito, and go like the Affordable Gorgeous page on Facebook! Your support means so much!

LOTS OF LOVE!!

img_9363-2

REVIEW – REVLON PHOTOREADY AIRBRUSH EFFECT MAKEUP

 Hey guys! I’ve been on a ‘foundation kick’ lately, trying to find something that minimizes my pores, but doesn’t cling to the newfound dryness that’s become an issue for my skin, thanks to the extremely dry and frigid air we’re experiencing here in New England.

Since I’ve loved Revlon cosmetics in general for such a long time – especially their foundations – and have had such a super duper love affair with their PhotoReady Perfecting Primer, I was curious to try out the Revlon PhotoReady Airbrush Effect foundation. It’s a little bit on the pricey side for a drugstore foundation, averaging right around the $14 mark at most retailers, but I’ll be totally honest, I was really drawn in by their pretty spectacular claims, as follows:

Revolutionary formula with Light-Filtering Technology delivers a poreless, airbrushed look. Soft-focus pigments create a luminous finish. your skin has never looked so flawless.

• High Resolution Shades
• SPF 20
• Medium to Full Coverage

Now, I was a little iffy about the whole SPF thing, because as most of us know, SPF can tend to cause flashback in photos, especially the higher it is. It struck me a little odd that they would put SPF in a foundation that is clearly meant to make you look flawless in photographs, but hey, I decided to roll with it – I’m no chemist. Also, there’s only 8 shades to choose from – which seems extremely limited, in my opinion, as opposed to their ‘ColorStay’ line, which has 12.


 So is it as great as it seems? Let’s find out!


PACKAGING


 This product comes in the same style glass bottle as both the ‘Perfecting Primer’ and the ‘Color Correcting Primer’, which means it has…..A PUMP!! If you’ve been a longtime drugstore foundation user, you know that this is hard to find (though I hear Revlon will be putting a pump on their new ‘ColorStay’ packaging, so queue the happy dance, folks!). It’s a clear glass bottle with a black, plastic pump, and a smokey clear/black plastic cap.

FORMULA


 This has about the same consistency of their primer, which is similar to a thick lotion, which helps is provide that medium to full coverage they say you’ll get. It’s creamy as you can see by the photo on the right, and blends out nicely. Again though, they only offer 8 shades, which is a bit off-putting to me. But it didn’t stop me from trying it out.

APPLICATION & WEAR

Ok, so I applied this in three ways – with my fingers, with a brush, and with a damp sponge. All three ways applied nicely, however I found I got the most natural application with the sponge. I would definitely call this a medium coverage, as it suggests. As long as it’s done carefully, it could easily build to full coverage without looking too cakey.
The shade I selected was ‘Vanilla’, because my trusty findation.com suggested that and well, it hasn’t done me wrong yet! The shade match was alright, but I probably should have gone one shade lighter, because ‘Vanilla’ had the slightest warm undertone, almost orangey, and well, mama likes her neutrals!
So here’s where things went from ‘ok’ to ‘oh hell no!’….this foundation has glitter. GLITTER. Not shimmer, not sheen, freakin’ glitter. In regular, indoor lighting it was pretty prominent, but when I stepped out into natural daylight, it was like BAM! I looked like I came from a casting call for the next ‘Twilight’ movie….uh uh. Nope. Not happening.
Additionally, I suspect that the glitter may have had something to do with the fact that within minutes, my skin was itchy and tingly – I couldn’t even keep it on long enough to get a photo for you guys – and when I removed it, I was red and blotchy, and the next morning had some serious texture going on around my eyes, nose, mouth, and just under my chin, as well as a nice big cyst that popped up overnight on my chin. Yuck.


I really, really, really wanted to love this product – I’ve seen it get some really great reviews – but unfortunately it just wasn’t for me. The glitter, the reaction my skin had, I just can’t get on board with this stuff. Which is a shame, because as I said (and you know if you’re a loyal blog follower) I absolutely L-O-V-E the ‘PhotoReady Perfecting Primer’ – it’s one of the only drugstore primers that doesn’t break me out or irritate my skin in the slightest.

Have you guys tried this? What are your thoughts? Leave me a comment and let me know! I love to hear from you!!

And please take a moment to go follow me on Twitter, Instagram, and Pinterest @dlynnesposito, and go like the Affordable Gorgeous page on Facebook! Your support means so much to me!

LOTS OF LOVE!! 

img_9363-3

ONE-BRAND FAVES: REVLON

It’s been awhile since I’ve done a post focusing on one specific brand! Today we’ll be talking about Revlon, which is probably one of my favorite drugstore makeup lines!

Now I did do one of these before, a one-brand favorites post about L’Oreal Paris (click here to read that post), and that particular one included products for just about every area of the face. This one, however, will not be that way, because well, I’m not necessarily fond on Revlon’s mascara or brow products, etc. But if you want to see what I do love from them, keep on reading!


REVLON PHOTOREADY PERFECTING PRIMER

IMG_8398-0
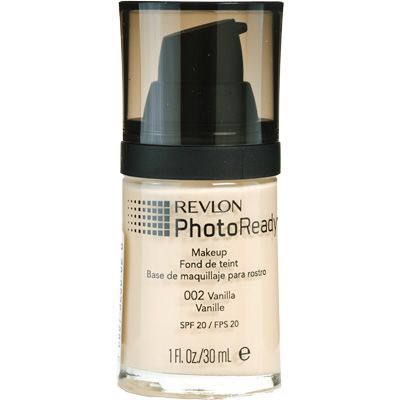
I can honestly say that this is probably my number one most reached for Revlon product. I did a full review on this primer (which you can read here) but basically this stuff fills in any pores and fine lines, it feels more lotion-y than silicone-y (silicone primers irritate me) and it doesn’t break me out! It keeps me matte all day long, which is unheard of for my skin, and it keeps my makeup in place all day long. I have a lot of drugstore primers, and honestly I don’t really love them. But this one is my go-to!

REVLON COLORSTAY WHIPPED CREME MAKEUP

IMG_9301-0I’ve got a full review on this stuff too (click here) – I don’t know what it is about this foundation, but the longer I wear it, the better it looks! Most foundations break up on me by the end of the day, at least in the most common places – the sides of the nose, the smile lines, the chin and the center of my forehead – this stays put, and looks more and more natural as the day goes on! It’s got more of a satin matte finish, which I like, and while it seems like it would feel heavy judging by the consistency, it’s actually quite lightweight, which I love; nothing is worse than makeup that feels like a mask – it’s just so uncomfortable. Pick some up and try it for yourself – you won’t be sorry!

REVLON COLORSTAY MAKEUP FOR COMBO/OILY SKIN

IMG_9260You guessed it, there’s another post about it already (click here) – and this is actually a great dupe for a much more expensive liquid makeup – but you’ll have to go read the post to find out which one! This is one that, unlike the formula above, is quite mattifying, and something that I rely on for like a summer wedding or something like that – where I know I want good medium to full coverage, but something lightweight that keeps me totally matte. We all have that one trusty, tried and true standby makeup that we can always rely on, and this one is mine, hands down! If you’re not oily but still want great long-wearing coverage, they do make this in a formula for normal to dry skin as well, so they’ve got everyone covered (ha ha!).

REVLON PHOTOREADY SKINLIGHTS FACE ILLUMINATOR


 I think these are a highly underrated product! They’re liquid highlighters, and they come in four shades – Bare Lights, Pink Lights, Peach Lights, and Bronze Lights – to suit every skin tone. These are a-m-a-z-i-n-g not just on the face (great for strobing!)  but on the body as well, using a little on the collarbone, chest, shoulders, even down your shins in the summer for a gorgeous glow! I feel like they just don’t get the love they deserve! I haven’t seen them in stores in awhile though, so I’m wondering if they’ve been discontinued. You can click the link above which is a link to Amazon and I’ve found them for you, if you want to try them for yourself – and you should!!

REVLON HIGHLIGHTING PALETTE


 I love these. They’re also great dupes for the Bobbi Brown Shimmer Bricks *wink wink* and they come in three shades; a pink, a peach, and a bronze. There are five individual shades within each palette that can be used as singles, which is great for adding a gorgeous glowy highlight or some sheen on the lids or brow bone, or you can swirl them all together for an all over gleam! This is another of their items that I just can’t understand why hardly anyone talks about them, they’re wonderful!

REVLON PHOTOREADY CREAM BLUSHES

IMG_8884This is an item that I do believe is being discontinued, as I’ve been seeing them with the orange clearance tags at my local Walgreens, so now is the time to go snap them up! I’ve done a full review on these too, surprise surprise (click here) and I absolutely love them! I feel like they just look more natural and wear far longer than any of my powder blushes! I like to apply these with a stippling brush underneath my foundation for the most natural effect. If you want to try them and have trouble finding them locally, you can click on the link above and order them there!

REVLON SUPER LUSTROUS LIPSTICK


 I think I can honestly say that as far as drugstore lipstick goes, this is the best of the best. Seven decades – that’s 70 years! – and 82 shades to choose from in 4 different finishes! The Revlon lipstick game is strong! With everything from nudes to reds to my personal favorite shade, Black Cherry, if I could only ever again recommend one brand of lipstick, this would be the one! They’re comfortable, they have amazing color payoff, they wear very well, they’re just all around incredible! And they won the “Allure Magazine Reader’s Choice Award” in both 2014 and 2015!! Guys, million of people can’t be wrong, can they?!

REVLON COLORBURST LIP BUTTER


 I’ve lost count on how many of these I own. I feel like every trip to the drugstore yields at least 2 of them to make sure I always have them on hand! They’re a gorgeous, hydrating gel formula, with great color payoff, and a great shade selection! Some of my favorites are Pink Truffle, which is like, the perfect MLBB (my lips but better) shade, Peach Parfait, a shimmery, summery peach, and Fig Jam, which looks intimidatingly brown but sheers out over the lips for the perfect deepened version of your natural lip color – Fig Jam is also a great dupe for Clinique’s Almost Lipstick in Black Honey! Some shades have been discontinued already and some are on the list to be next so get them while you can!!


What do you guys think of Revlon cosmetics? What different ones have you tried? Leave me a comment and let me know! Additionally, if there’s a specific brand you’d like me to focus on for a future post like this, leave me a comment on that as well!

And please go follow me on Twitter and Instagram @dlynnesposito, and go like the Affordable Gorgeous page on Facebook!

LOTS OF LOVE!!

img_9363-3

MOTD 12/2/15 – WEARABLE ‘KYLIE JENNER’ INSPIRED MAKEUP LOOK

I actually posted this look on Instagram and Twitter this morning – @dlynnesposito if you’re not following me, which you should be! 🙂 – and thought ‘well, I’ve never done a MOTD (makeup of the day) post’ – so here’s my first one! Let me know what you think in the comments! Let’s get started!


 FACE

Revlon PhotoReady Perfecting Primer $14 – ULTA

Maybelline Dream Lumi Touch Highlighting Concealer in Buff $8 – ULTA

Hard Candy Glamoflague Heavy Duty Concealer in Medium Light $6 – Walmart

NYX HD Blush in Nude’Tude $7 – ULTA

NYX HD Blush in Taupe $7 – ULTA

Wet N Wild Color Icon Bronzer in Reserve Your Cabana $4 – Walgreens

NYX Powder Blush in Peach $5 – nyxcosmetics.com

Estee Lauder Double Wear Stay-in-Place Powder Makeup in 1N2 Ecru $40 – Macy’s

NYX Dewy Finish Makeup Setting Spray $8 – ULTA

EYES

L’Oreal Color Riche La Palette Nude 1 $20 – ULTA

Rimmel Lash Accelerator Mascara in Black $8 – Walmart

Maybelline The Falsies Mascara in Very Black $6 – Walmart

BROWS

NYX Micro Brow Pencil in Taupe $10 – ULTA

Anastasia Beverly Hills Clear Brow Gel $22 – ULTA

LIPS

NYX Slim Lip Pencil in Mauve $3.49 – ULTA

Gerard Cosmetics Lipstick in 1995 $19 – gerardcosmetics.com


What do you guys like to wear on a daily basis? This definitely isn’t an every day look for me, but I was actually inspired by the lipstick itself and kinda built my look around that!

Leave me comments and let me know if you’d like to see more MOTD posts!

And don’t forget to go follow me on Twitter and Instagram @dlynnesposito, and like the Affordable Gorgeous page on Facebook!

HAVE A GORGEOUS DAY!

IMG_8772-8

REVIEW : REVLON PHOTOREADY CREAM BLUSHES

 It’s no secret by now that I have a profound love of Revlon products. Let’s face it, they put out some pretty great stuff. In fact they’re the only brand that has a primer that keeps me matte and doesn’t break me out (read that review here).

Awhile back I had picked up the Revlon PhotoReady Cream Blushes , but since it was spring/summer and I was an oily monster, I set them aside and almost forgot about them – until now.

I pulled them out the other day as I was starting to declutter, and realized I hadn’t really given them a fair chance. So I began playing around. And let me tell you, I wish I had dug into these sooner!

I have 4 shades, I’m not sure if there are more, as when I searched for links for you guys, I was only able to come up with 2 or 3 at a time from various retailers. I picked mine up at Walmart for about $13, but I’m not sure if they’re still available there. I have found individual links on eBay and Amazon if you guys are interested in picking these up for yourselves. Like I said, these aren’t new – I’m just late to the party! But I realized I never really gave them the attention they deserved. Here we go!


FORMULA

These have a slightly drier texture, similar to say, the Maybelline Color Tattoo Cream Shadows. They are pretty pigmented, so I prefer to apply them with a small stippling brush for the most natural look. From there I find I can build up the intensity to my liking. They look very natural, blend well despite being on the dry side, and photograph incredibly well (hence the ‘PhotoReady’ moniker, of course). I find them to be quite long wearing when applied properly.

TIP * I’ve found through much trial and error, that the best way to apply a cream blush is to first lay down your primer, then take a small duo fiber stippling brush, like the e.l.f. Studio Small Stippling Brush ($3) and swirl it around in the product, and apply lightly to the cheeks. The duo fiber brush allows for just the right amount of pigment to be laid down without being too intense. Think how you apply foundation or BB Cream with a stippling brush because you want a more sheer to light coverage, right? Same concept. After that, I like to apply my foundation OVER the cream blush, blending carefully around the blush, and I find that this allows for the most natural looking flush. Seriously, it’s so seamless, it’s undetectable.

PACKAGING

These little blushes come in a clear plastic pot with a black plastic lid, and contain .44 oz of product. That’s not too bad, considering how pigmented they are and how little you really need to use, they’ll last for quite some time if cared for properly (i.e. cleaning your brushes between uses as to not cross contaminate). It’s a thin, acrylic-y kind of plastic though, so if you were planning to travel with these, I would advise to do so cautiously – they could easily crack in your luggage.

COLORS

As I said above, I’ve found them in 4 colors; Coral Reef, Pinched, Flushed, and Charmed Enchantment. They appear super pigmented in the pots, and they can be if applied with say, your fingers. Like I said, I prefer to blend these out with a stippling brush so they sheer out a little bit.


 Coral Reef is a bright, orangey pink shade. Great for spring and summer, and most flattering on someone with natural warmth to their skin tone.


 Pinched is a light peach, with just a hint of shimmer (the rest are matte) which I find to accent fair skin tones beautifully.


 Flushed is a hot fuchsia pink shade, that can look intimidating but sheers out beautifully. This really gives you that ‘just finished a hike on a beautiful fall day’ glow.


 Charmed Enchantment is a rosey shade with the slightest hints of brown undertones. This is my favorite shade, as it seems the most wearable for everyday.


Overall, I would have to say that these are some of the best cream blushes that I have every used – and I’ve tried A LOT of them. They’re pigmented but blendable, they look natural, and they last just about all day. What I love most about them though, is that as part of the PhotoReady line, they truly photograph beautifully! There’s nothing worse (while being photographed, anyway) than looking washed out and DEAD.

Have you guys tried any of these? Do you have a favorite cream blush that maybe I haven’t found yet? Let me know in the comments below!

And don’t forget to follow me on Twitter and Instagram @dlynnesposito, and go like the new Affordable Gorgeous page on Facebook!

LOTS OF LOVE!