
 Most people think of highlighting and contouring and think they automatically have to use powder products to achieve the look – not the case!
Today we’ll be using cream products to highlight and contour! And believe it or not, it’s even easier to do, and far more natural looking for every day!
This practice is used to do just as it sounds – it sculpts the face, creates shadows to help conceal or slim some features while bringing light to others, defining them and bringing more attention.
Powder H&C can be a little harsh for daytime – and it requires a pretty decent amount of product to achieve the look which can subsequently feel on the heavier side. Powders also can be less-than-ideal for people with dry skin, and this is because powder can tend to cling to dry patches, making it harder to blend, and appearing dirty and well, patchy!
But creams can be applied lightly, blended easily, and can look incredibly natural if done properly! And depending on the formula of the products you use, this is a great technique for ALL skin types!
Here’s what you’ll need :
- your favorite concealer, 1-2 shades lighter than your skin tone
- your favorite concealer, 4-5 shades darker than your skin tone
- a cream blush
- a damp makeup sponge
- a stippling brush
- a translucent setting powder
- a powder brush
So without further ado, let’s get started!
*If you choose to wear foundation underneath this, you’ll want to make sure that you have the THINNEST possible layer of foundation on. Or BB cream. Whatever you choose to use. I say thin because in a minute we’ll be adding more cream products, and when you over-apply them, it can start to walk the line between natural looking and cake face. And no one likes cake face. Now, that’s not saying you HAVE to use foundation or BB cream – we will be using concealers for this tutorial, and since they’re basically going all over the face, foundation isn’t really necessary. But I would DEFINITELY recommend using your favorite primer before anything else, so your H&C doesn’t slide around or break down on you during the day. Oh, and if you have any dark circles to color correct, you’ll want to do that now.*

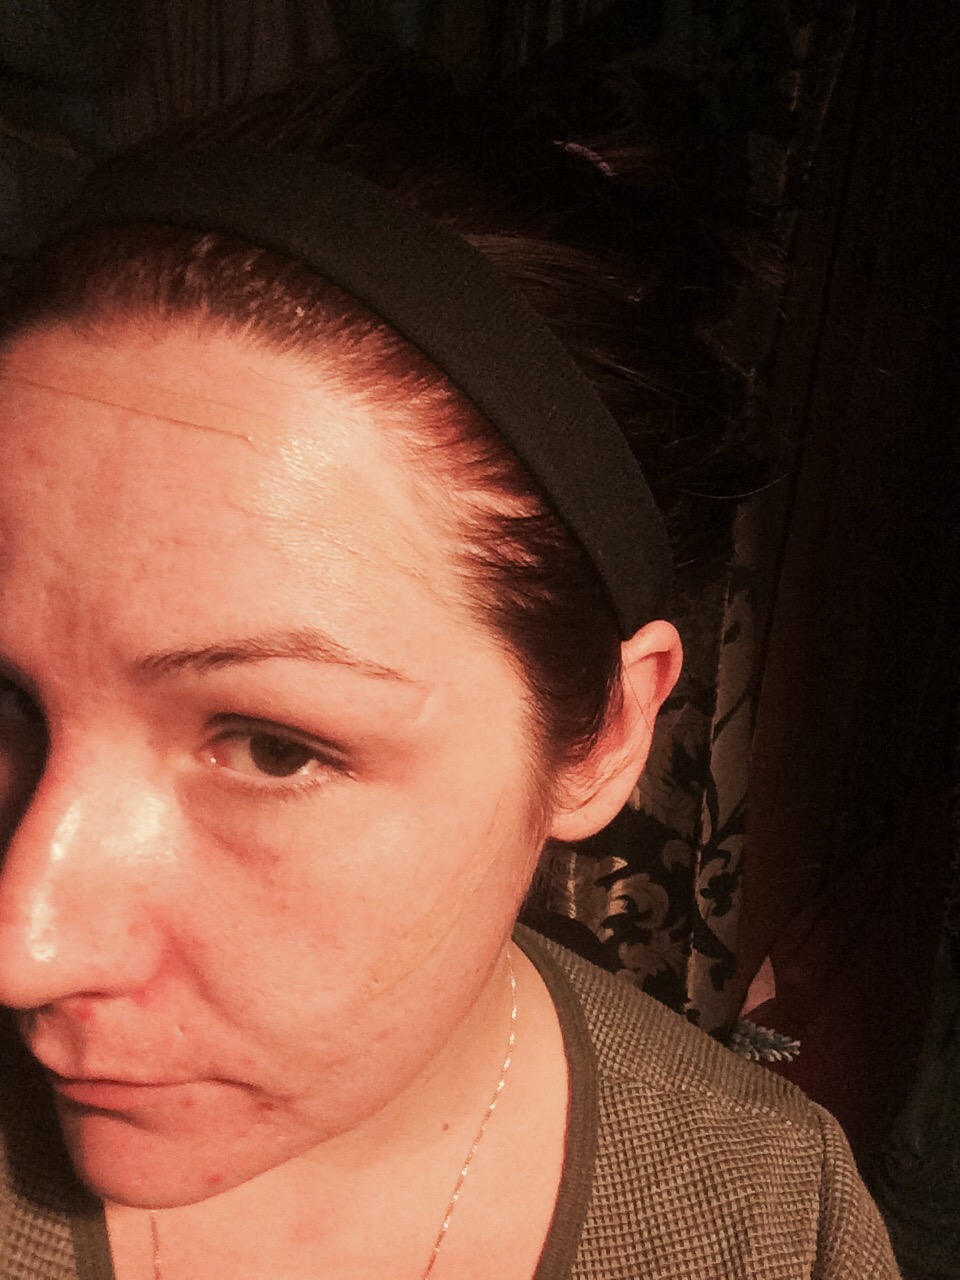
If you look closely you can see the line of dark concealer on my cheek – I know, horrible lighting, I’m so sorry!
First we’ll go in and contour, and for that I’ll be using the Maybelline Fit Me Concealer in Deep ($7/ULTA). Starting with the cheeks, it’s pretty much the same idea as powder contouring – start from the top of your ear, and angle downward towards the corner of your mouth, but don’t go any further than the outer corner of your eye. And it’s best to keep the line a little bit higher, because you never want your contour too low – this can drag down all of your features and make you look sallow and droopy. Repeat on the other side.
Next trace the top of your forehead along the hairline with your contour shade, and then on either side, draw a few small lines right above the outer corner of each brow. You can add more or less depending on how large or small your forehead is. If you have a small forehead, add less. If you have a higher forehead and you want to make it look smaller, add a little more.
If you want to add some definition to your chin, you can apply a tiny amount just under the jawline – I typically don’t do this but it’s a great trick to hide a double chin.

And I always, always contour my nose. It’s just personal preference, like the jawline – you don’t have to do this – but if you feel like you have a slightly wider nose, this is a great way to make it look slimmer, and additionally, if you have a less-than-straight nose, it can make it look straighter. If you feel like your nose is long, you can also add some of that contour shade in a V shape to the tip of your nose, making it look shorter.

It’s possible I had entirely too much fun drawing lines of concealer all over my face!
Now we can move on to highlighting! Taking my Maybelline Fit Me concealer in Fair ($7/ULTA), I’m going to apply that to all the places I want to bring light to – under the eyes in a V shape, between the brows, down the center of the nose, the cupids bow, either side of my nose to conceal redness, around the sides of my mouth, the smile lines, and the chin. You can also apply a thin line immediately under the contour line on the cheeks to make sure it stays defined and doesn’t get lost on the sides of the face, or fall too low.

Next we’re gonna take our damp sponge, and I’m using the Real Techniques Miracle Complexion Sponge ($7/ULTA), and begin to blend everything out. I like to start with my contour, and blend that out first, and then flip the sponge over and blend out my highlight, that way if the contour looks a little dark, you can blend your highlight over it without dragging your colors together too much and making your face look muddy and dirty. And of course if you feel like you need more, you can add more. It’s always easier to add a little at a time than it is to take it away! Whatever you do make sure you blend away any trace of lines from where we initially applied the product – you want this totally blended, you don’t want to see any harsh lines!

In sticking with the theme of cream products, I’m going to apply a cream blush like Revlon PhotoReady Cream Blush in Charmed ($14/ULTA), and I’m using the e.l.f. Studio Small Stipple Brush ($3/Target) for this, to make it look the most natural.
From here on out I just like to set all my makeup with a translucent powder, and I’ve recently been loving this Mary Kay Translucent Loose Powder ($16/marykay.com) that I got as a hostess gift for throwing a Mary Kay party for a friend, but you can use any translucent powder you have on hand. I just apply that with a Real Techniques Powder Brush ($10/ULTA) to lock everything in place, and then go on to finish the rest of my makeup.
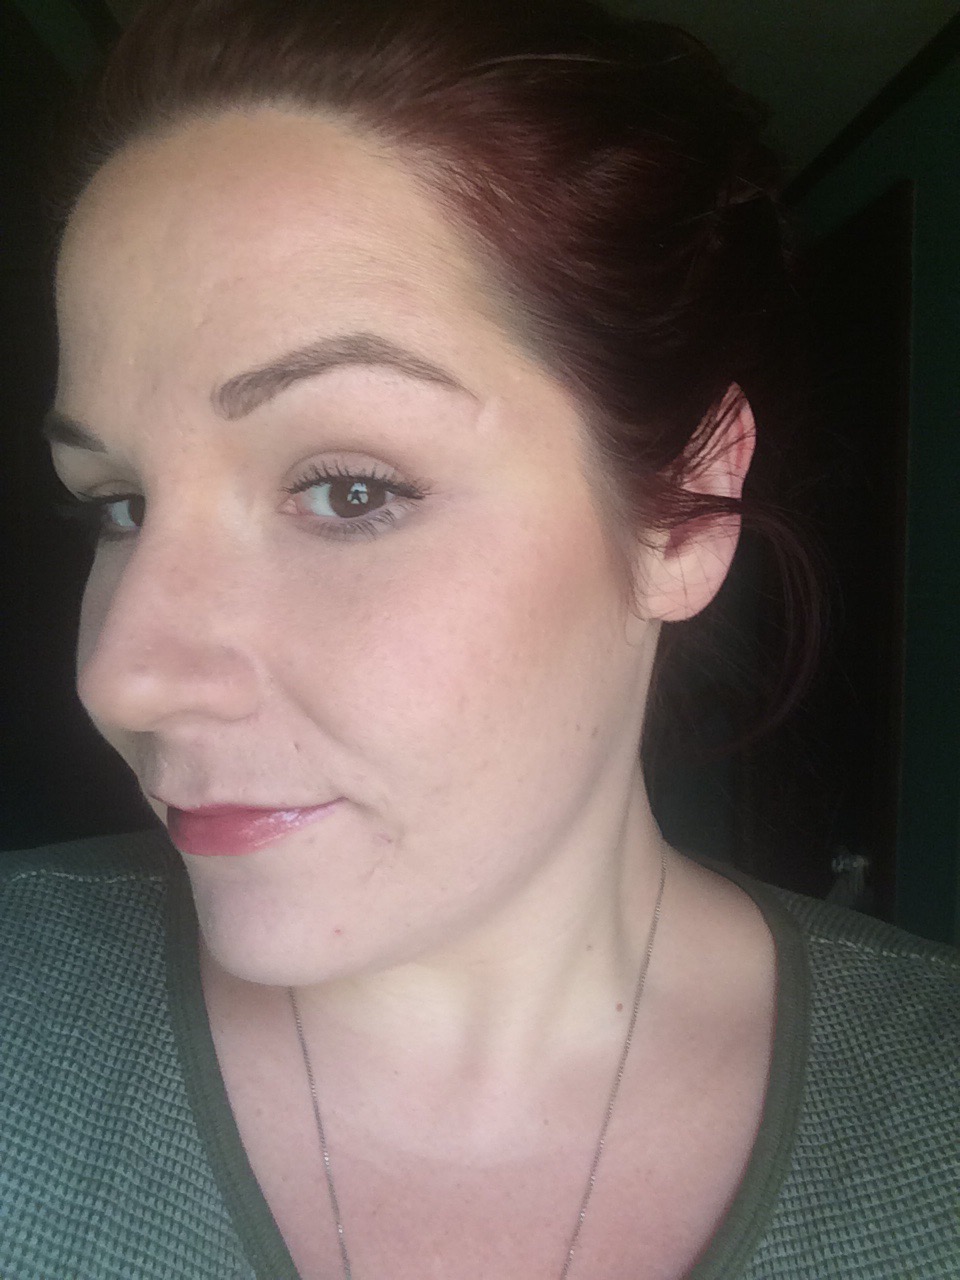
You guys, thank you for bearing with me through my atrocious vanity lighting! I should start coming out to shoot in the hallway where I took the picture above – this is in front of a window with lots of natural light. Additionally, I used no foundation for this tutorial – I wanted you guys to see just how much coverage you could get with just a little bit of product and the right amount of blending!!
You did it! Personally, I love this technique more for everyday – I just think it looks so much more natural. And like I said, if you’re someone with dry skin, you’ll love this because it won’t cling to dry spots, and it won’t feel chalky and uncomfortable. But if you’re someone with oily skin, that’s fine too – just use long wearing concealers or even different shades of foundation (Revlon Colorstay Foundations would work great here!) to achieve this look!
I hope you guys picked up some useful tips and tricks from this tutorial! Leave me comments below and let me know if you’ve tried cream highlighting and contouring and what your favorite products are! I love to hear from you guys!
And don’t forget to go follow me on Twitter and Instagram @dlynnesposito, and go like the Affordable Gorgeous page on Facebook!
LOTS OF LOVE!

