ST. PATTY’S DAY MAKEUP TUTORIAL #2

Hey guys!

So while, I have another St. Patty’s Day makeup tutorial coming your way, I thought to myself “why not share the slightly different look that I wore to the parade yesterday?!”

Yesterday, my husband, my son, and myself went to the annual St. Patricks Day parade in New Haven (Connecticut) and had a great time! But the couple days leading up to the parade, I knew I wasn’t the type of person to wear the funny hats, and dress in head-to-toe green; but I knew I would try to create a killer green smokey eye!
Hey, some people dress their body, I dress my face – it is what it is!

In any event, I was actually really impressed with how the look turned out (despite being crazy rushed in the morning – I’m a mom before all else, and well, baby needs to be ready first!) and I wanted to share with you how I achieved my parade-ready look!
SIDE NOTE * It was quite warm out for March, with a touch of humidity, and my makeup did…not…budge!*

If you want to see how I created this look, then just keep reading!


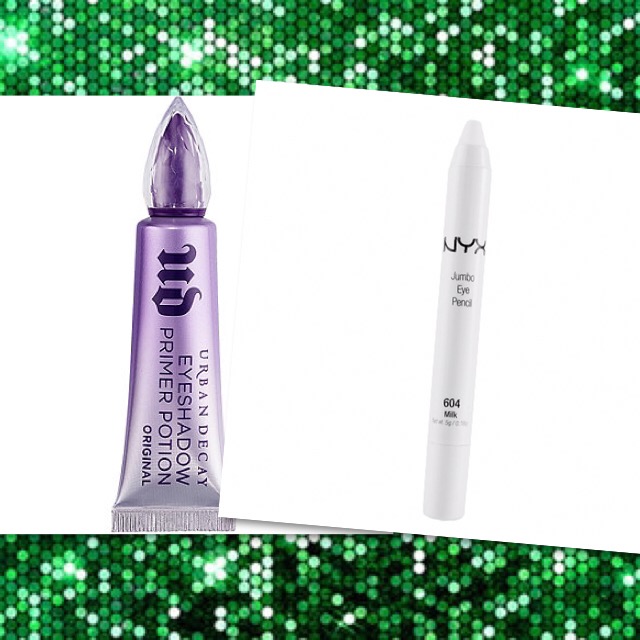
 Working with more pigmented, shimmery shadows than usual, I knew I wanted to do my eyes first. So I started by priming my eyes using the Urban Decay Primer Potion (still working off my little Sephora VIB sample), and then went over my lids and slightly into my crease with my NYX Jumbo Eye Pencil in ‘Milk’, and blended that out with my finger.


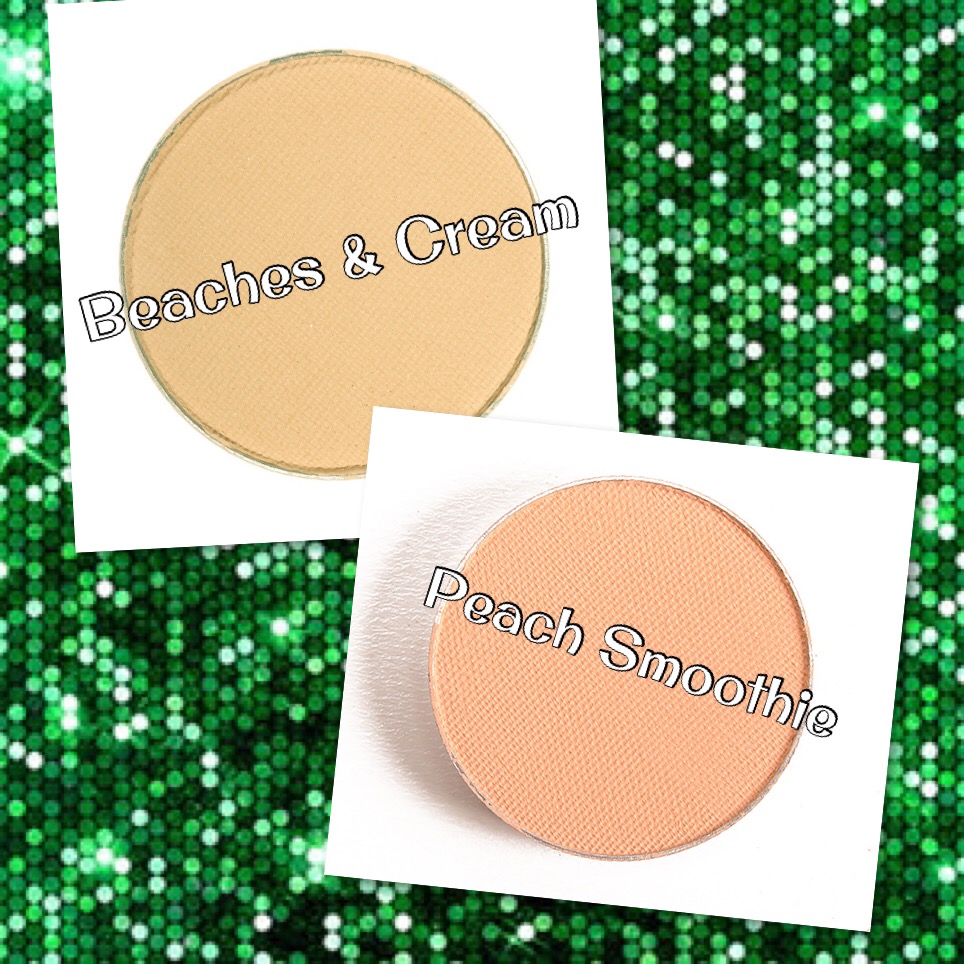
 First, I wanted a warm transition shade, so I mixed ‘Beaches and Cream‘ and ‘Peach Smoothie‘, both by Makeup Geek, and dusted that back and forth sloppily into my crease using a Morphe M441 brush.


 They shadows I’m using are samples of Urban Decay singles, I believe, that I received with an ULTA order sometime last year, and never really got around to playing with. So, I started with the shade ‘Mildew‘, which is a shimmery, mossy green shade with the slightest gold reflect. I tried using a Morphe M167 dampened with some MUFE Mist & Fix, but because they’re carded samples, I was having trouble picking up enough pigment, so I ended up packing it on with my finger, from the inner corner, to about halfway across my lid.

Next, I used my Morphe M433 brush to pick up some of the shade ‘YDK‘, which is a shimmery, golden/champagne-y/brown shade, and dusted that lightly over my crease where I laid down my transition shade, and running it just over the edge of the green shadow to soften the line. Then, using a Morphe M169 brush, I carefully started working in the shade ‘Blackout‘ into the outer V, and blending it out with a tapered Morphe M330 brush. You can build on that black color as much or as little as you want – I didn’t want it too dark, but I didn’t want it too light, either. Once I had almost no product left on my brush, I started to very, very lightly drag it over the green in the crease, keeping it very low – #hoodedeyeproblems.

img_9421

Maybelline EyeStudio Gel Liner in Blackest Black

Taking a baby wipe (I ran out of makeup remover wipes), I removed any fallout from under my eyes (and fair warning, there’s gonna be A LOT!) and also sharpen up the edges of the shadow, and then apply some winged liner using my Maybelline EyeStudio Gel Liner in ‘Blackest Black’ (yes, I finally replaced it!) and a Morphe M160 1/8 brush. Click here for my winged liner tutorial!


 Next I applied my foundation. I mixed Revlon ColorStay Foundation for Oily/Combo skin in the shade ‘Nude’ with a pump of the L’Oreal Magic Lumi Light Infusing Primer on the back of  my hand, and applied it with a Sigma F80 brush spritzed with MUFE Mist & Fix.


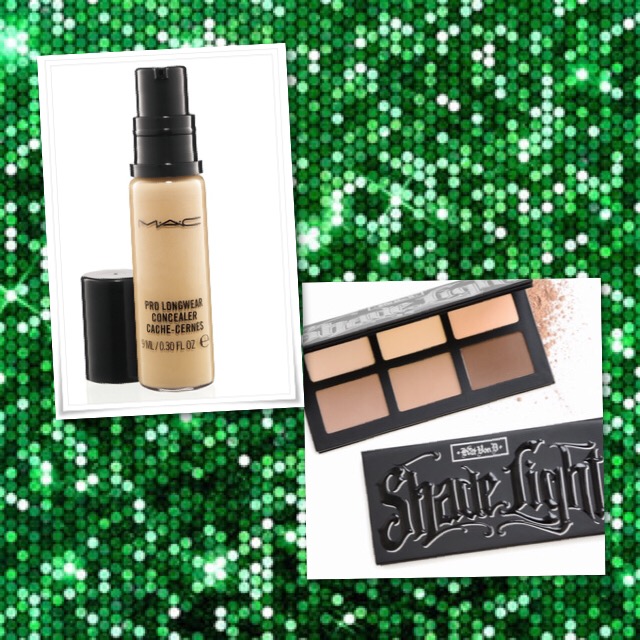
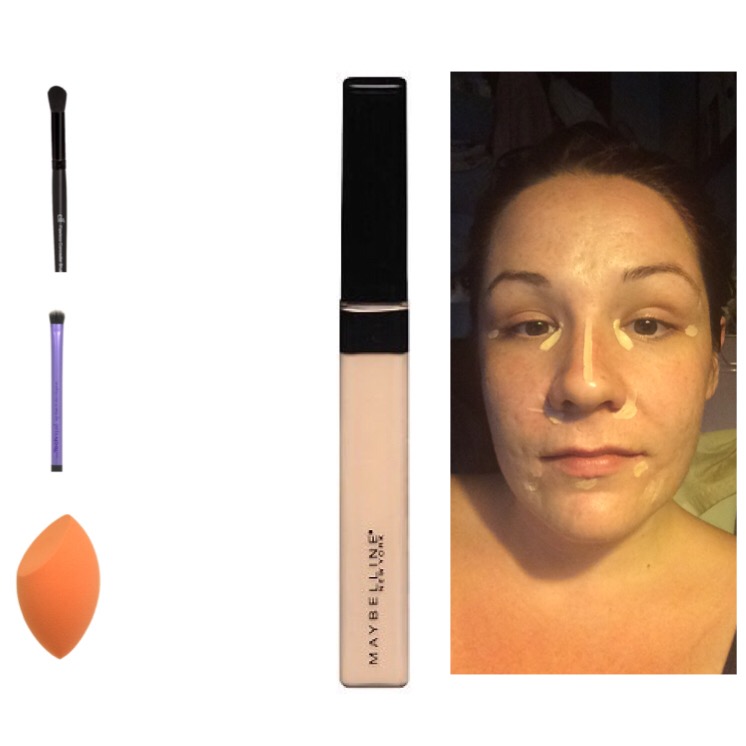
 For concealer, I’ve been trying out a sample of the MAC Pro Longwear Concealer in NW15, which I applied with my ring finger in a V shape, and blended out with a damp Real Techniques Miracle Complexion Sponge. Then, using ‘Lyric’ from the Kat Von D Shade + Light Contour Palette, I set the concealer under my eyes, and in the center of my face (forehead, nose, chin, etc) with a Morphe M438 brush.


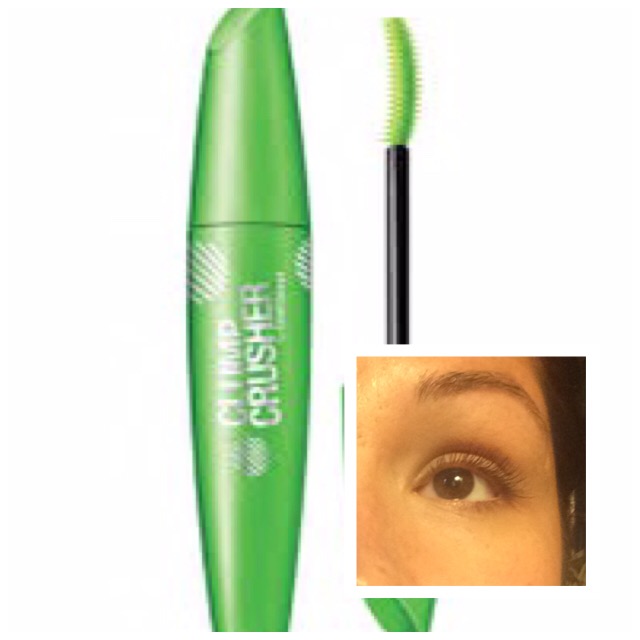
 Back to the eyes – taking a Morphe M432 flat definer brush, I picked up a little bit of ‘Blackout’ and worked that really tightly up against my bottom lashes, matching it up to my winged liner and stopping about halfway. Then, using that M169 pencil brush again, I smoked it out using ‘Mildew’, all along the lower lash line. Finally, I just applied some Rimmel Lash Accelerator Mascara in ‘Black’ to my top and bottom lashes, and popped on some Kiss Blooming Lashes in the style ‘Tulip’.

img_9564I filled in my brows using the NYX Micro Brow Pencil in ‘Ash Brown’, and set them in place with my Anastasia of Beverly Hills Clear Brow Gel.


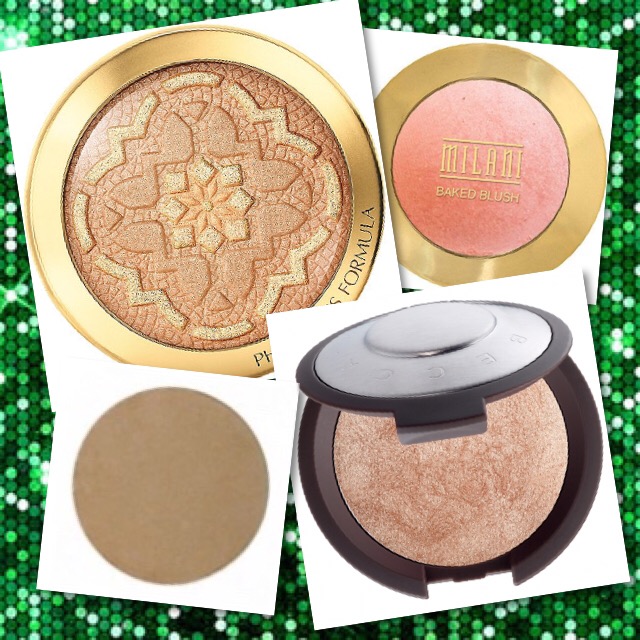
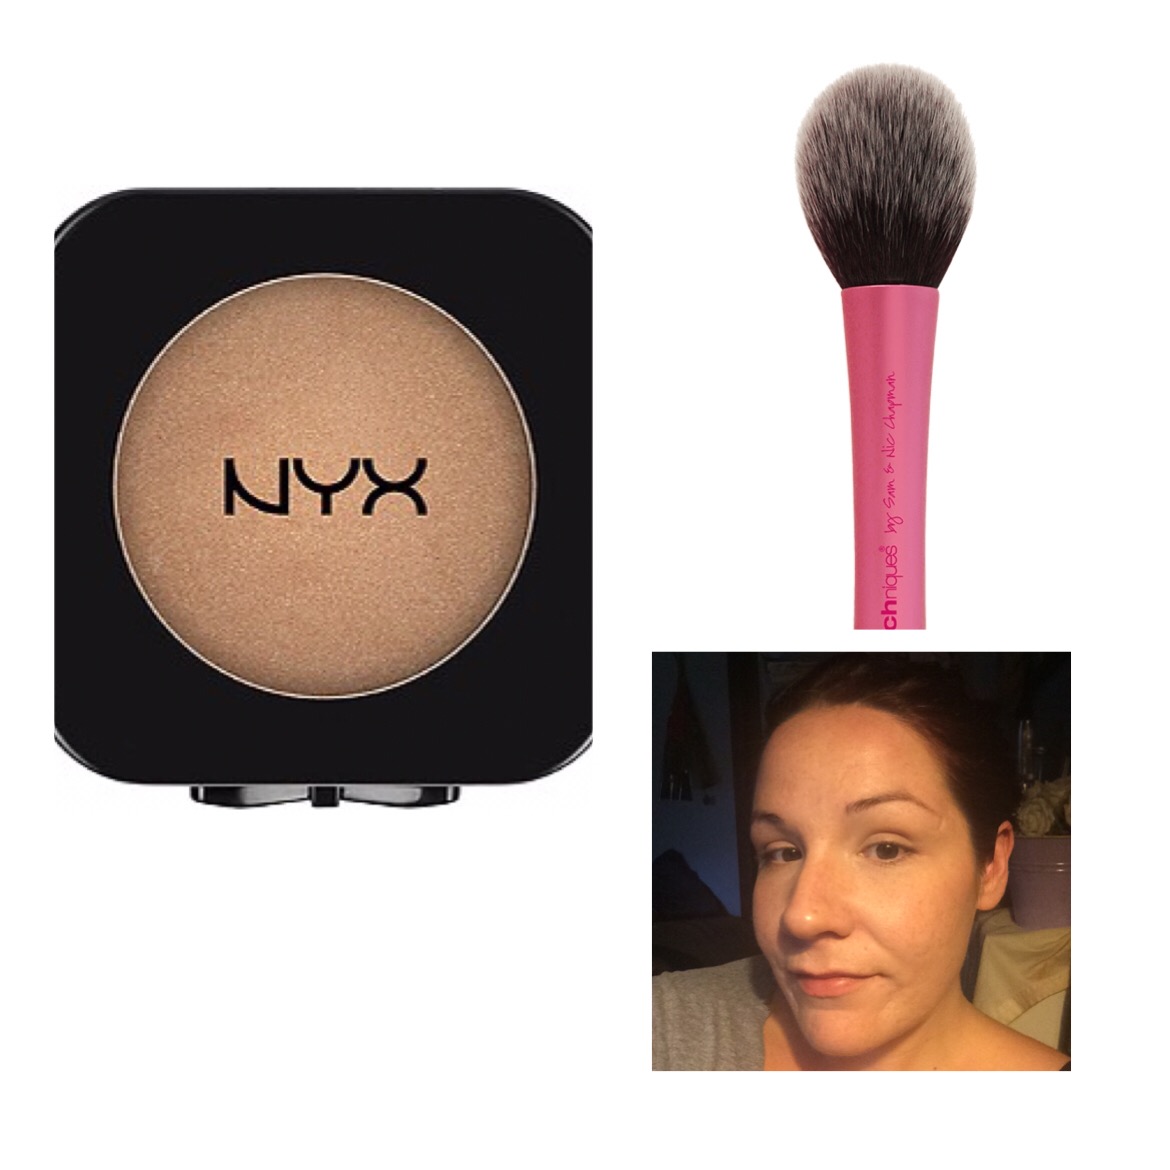
 I used Physician’s Formula Argan Wear Bronzer and a Morphe M527 brush to warm up the skin, and then applied a light contour to my cheekbones, forehead, nose, and jawline using Makeup Geek Contour Powder in ‘Breakup’ and a NARS ITA brush. For blush, I wanted to keep it kind of low key, so as not to compete with the eyes and make myself look too overdone, so I chose Milani Baked Blush in ‘Luminoso’ on an angled blush brush (mine is from Walgreens) and used my Morphe M501 to apply BECCA Shimmering Skin Perfector in ‘Opal’ to my cheekbones, cupids bow, and the tip of my nose.


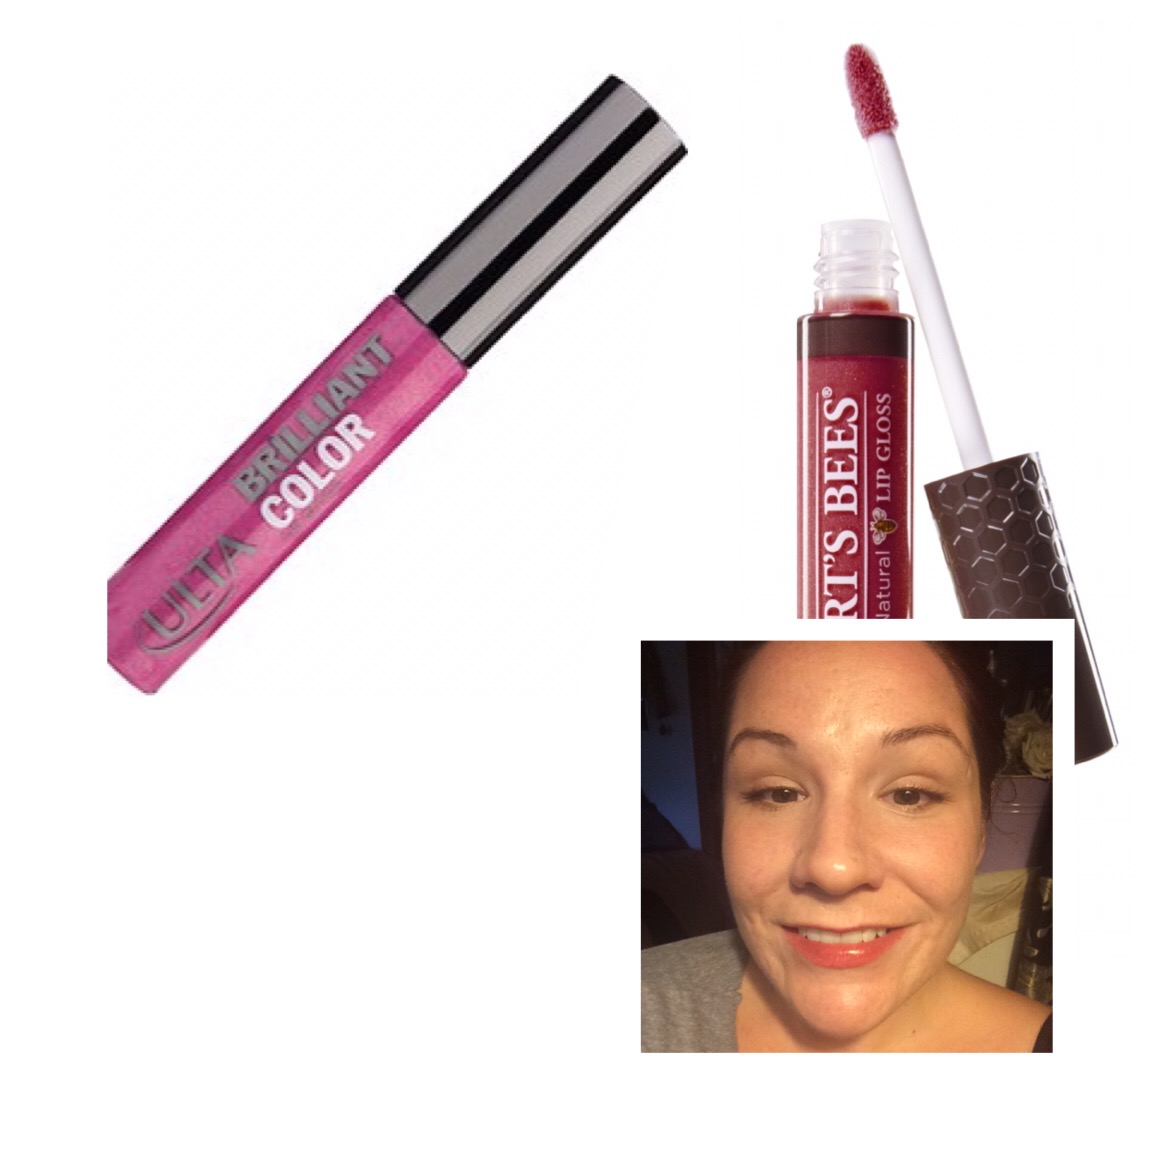
 Finally, for the lips, I chose Almay Smart Shade Butter Kiss Lipstick in ‘Nude Light/Medium’, and gave myself a bath in MUFE Mist & Fix. And voila! All done!


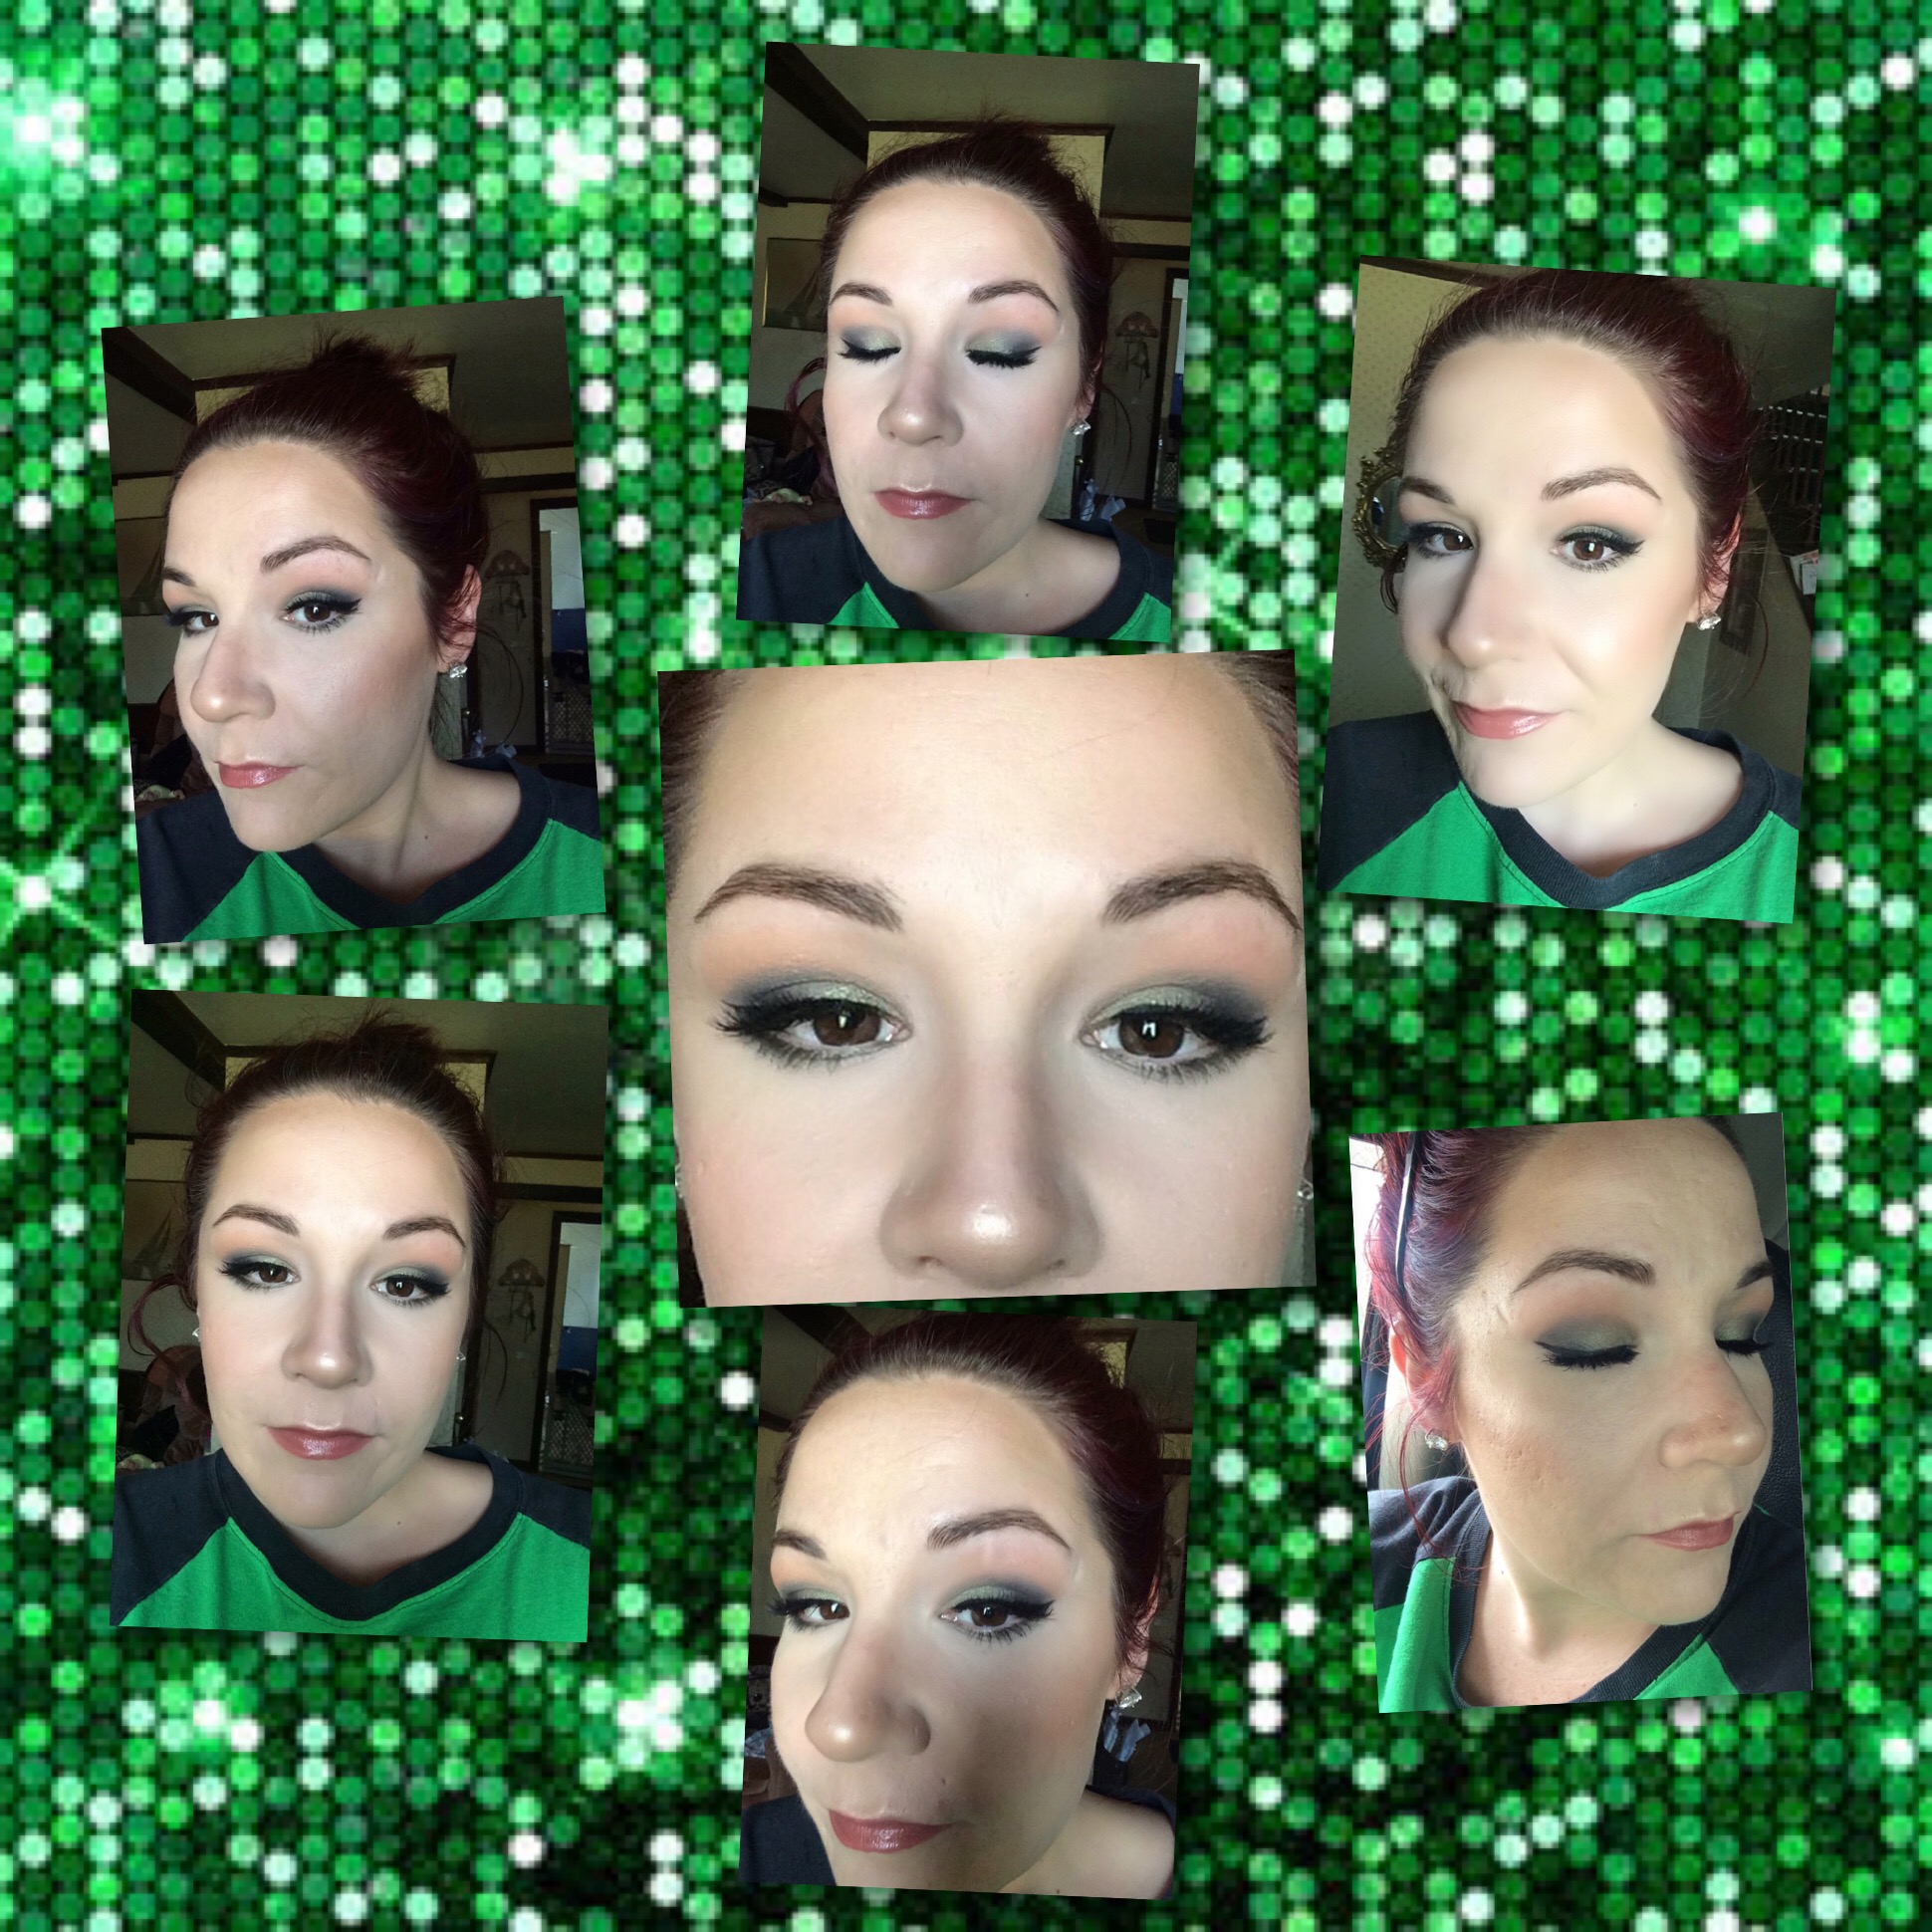
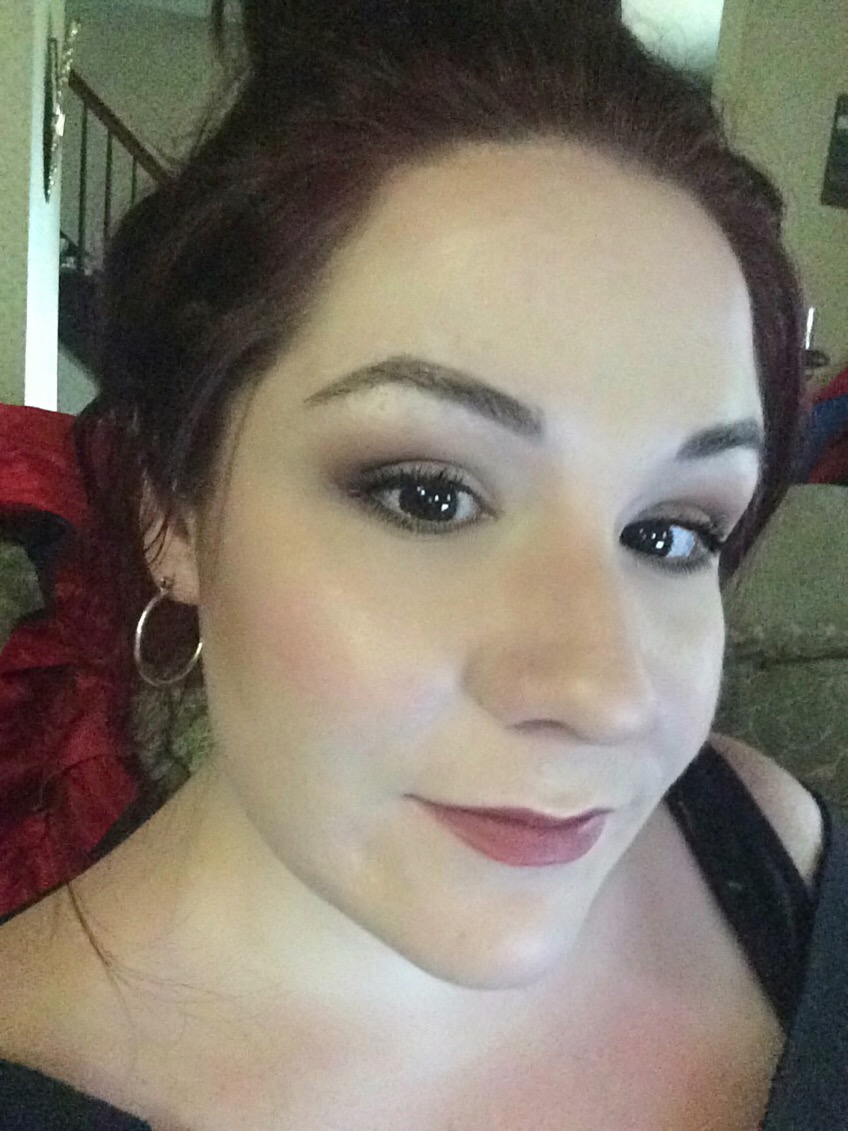
 And there you have it! My completed St. Patty’s Day parade look!
Sure, I could have just slapped on some green eyeshadow and walked out the door, but what kind of fun would that have been?! This look would be great if you’re headed out with your friends to a local pub (if you’re old enough!) or if you just feel like being a little extra festive that day!

Most importantly, have fun with it – make it your own! Makeup is supposed to be fun!! And if you recreate this look, tag me on Instagram (@dlynnesposito) so I can see it, too!

Come follow me around social media!
Twitter, Pinterest & Instagram : @dlynnesposito
Facebook : Affordable Gorgeous
Snapchat : dlynnesposito

And feel free to reblog this post and share my social media with your friends! Your support means so much!

LOTS OF LOVE!!
img_9363-3

MOTD 12/2/15 – WEARABLE ‘KYLIE JENNER’ INSPIRED MAKEUP LOOK

I actually posted this look on Instagram and Twitter this morning – @dlynnesposito if you’re not following me, which you should be! 🙂 – and thought ‘well, I’ve never done a MOTD (makeup of the day) post’ – so here’s my first one! Let me know what you think in the comments! Let’s get started!


 FACE

Revlon PhotoReady Perfecting Primer $14 – ULTA

Maybelline Dream Lumi Touch Highlighting Concealer in Buff $8 – ULTA

Hard Candy Glamoflague Heavy Duty Concealer in Medium Light $6 – Walmart

NYX HD Blush in Nude’Tude $7 – ULTA

NYX HD Blush in Taupe $7 – ULTA

Wet N Wild Color Icon Bronzer in Reserve Your Cabana $4 – Walgreens

NYX Powder Blush in Peach $5 – nyxcosmetics.com

Estee Lauder Double Wear Stay-in-Place Powder Makeup in 1N2 Ecru $40 – Macy’s

NYX Dewy Finish Makeup Setting Spray $8 – ULTA

EYES

L’Oreal Color Riche La Palette Nude 1 $20 – ULTA

Rimmel Lash Accelerator Mascara in Black $8 – Walmart

Maybelline The Falsies Mascara in Very Black $6 – Walmart

BROWS

NYX Micro Brow Pencil in Taupe $10 – ULTA

Anastasia Beverly Hills Clear Brow Gel $22 – ULTA

LIPS

NYX Slim Lip Pencil in Mauve $3.49 – ULTA

Gerard Cosmetics Lipstick in 1995 $19 – gerardcosmetics.com


What do you guys like to wear on a daily basis? This definitely isn’t an every day look for me, but I was actually inspired by the lipstick itself and kinda built my look around that!

Leave me comments and let me know if you’d like to see more MOTD posts!

And don’t forget to go follow me on Twitter and Instagram @dlynnesposito, and like the Affordable Gorgeous page on Facebook!

HAVE A GORGEOUS DAY!

IMG_8772-8

5 PRODUCTS FOR A 5 MINUTE FACE

Most days when I’m not going anywhere, I don’t bother to put on makeup. I like to let my skin breathe as much as possible. Yesterday was one of those days. But later in the evening I had to run out briefly to pick up my husband from work and run to the grocery store. Usually I’ll go out without a drop of makeup on and not think twice. But for whatever reason, my brain said ‘just put on a little‘, so to the vanity  I went.

As I sat down, I knew I wouldn’t have much time, so I figured I would make a game of it. A challenge. I wanted to use as few products as possible, as quickly as possible, and get out the door looking polished and pulled together. So I got to work.

This is a look that you can do in 5 minutes or less, with 5 products and 3 tools – fantastic for busy mornings or just a minimal makeup day, this will have you out the door in no time at all!

Let’s get started!


CONCEALER – 1 min 16 sec


 Naturally this is the first step after your skin care. If you feel the need to use a primer, that’s fine. But for the sake of keeping time and products to a minimum, I skip primer and foundation and go straight for the concealer. My Holy Grail concealer at the moment is my Maybelline Fit Me Concealer ($7), and I have mine in the shade ‘fair’. I apply it only to the areas that need the most attention – the very inner corner of the eye, the outer corner of the eye (I sometimes get a little bit of redness in that area), on the sides of my nose (another place of great redness, but almost all women get redness here, it’s just hormonal), a stripe down the center of my nose (gets a little red here too) and of course any blemishes. Then I like to blend it out with the e.l.f. Studio Flawless Concealer Brush ($3), or for more pinpointed areas like blemishes, the Real Techniques Shading Brush ($7), keeping it pretty much in the areas I need the coverage, but I will take whatever is leftover on the brush and use it on my eyelids, because they can get pretty veiny. You could also use a damp beauty sponge, the choice is yours. I recommend the Real Techniques Miracle Complexion Sponge ($7), and between you and me – I like it BETTER than a Beauty Blender! SSSHHHHH!

BRONZER – 16 sec


 After all that concealer (even though it wasn’t really that much) it’s time to bring some color back to the face. I found myself reaching for a blush and thought “well if you do that, you’ll look like a porcelain doll and not like a HUMAN”, so instead I grabbed a bronzer. Well, kind of. The NYX HD Blush in ‘Nude’Tude’ ($7) is technically a blush, but it’s a pretty, not too warm honey shade that just brings you back to LIFE! I lightly dust that on the outside of my face and a little tiny bit on either side of my nose with a Real Techniques Blush Brush ($9).

BROWS – 37 sec


 Brows make your look. When they look more polished, even if it’s just basic grooming with a little clear brow gel, you feel like you can take on the world. Yup, brows are pretty powerful like that! So I like to use the Anastasia Beverly Hills Clear Brow Gel ($22) for this step. I know, it’s not drugstore. It’s a little on the pricey side for a clear brow gel, or ANY brow gel – but this stuff is SUPER GLUE on your brows – and I actually got mine for $11 when ULTA ran their ‘21 Days of Beauty‘ promotion back in September – and I’m such a believer that my cheap butt WILL be purchasing more when I run out! If you’re someone who absolutely needs a some color to their brows, the ULTA Brow Tint ($10) is a great option, and it has that teeny tiny brush reminiscent of the Benefit Gimme Brow ($24), but for way less!

EYES – 1 min 36 sec


 I kept it simple here – just curling my lashes (any old lash curler will do, mine came from TJ Maxx) and applying 2-3 coats of CoverGirl Lash Blast Clump Crusher Mascara ($8) in Brown. A brown mascara looks more natural, so you don’t feel like the rest of your face has to compete with your lashes. I did both my top and bottom lashes, because the curved brush fits perfectly and I don’t have to reach for something totally different for those pesky little bottom ones.

LIPS – 18 sec


 Here you can do whatever you want. But back in August I discovered the ULTA Brilliant Color Lip Glosses ($8), and fell in love. My favorite shade is Guava, and I think I have a few stashed away as backups too, in case they go and discontinue the shade! It’s a pretty, very glossy but not too sticky, natural pink shade that just looks fresh and girly. If you like something a little richer in pigmentation, you could always use the Burt’s Bees Lip Gloss in Evening Glow ($7), which is a little on the redder side, and not too sheer or too opaque, it’s pretty much right in the middle. When I’m doing minimal makeup, I just feel like I need a glossy lip. A lot of the ULTA brand cosmetics I feel are very underrated, and I don’t hear them mentioned often, but I really love them. There are some great quality items, but I’ll save that for another time!


There you have it! Now all you need is a messy bun or some cute earrings and you’re ready for your day! This is a go-to look for me most days because, like many moms of toddlers, I treasure any extra moments of sleep I can salvage!


How do you get ready on busy mornings? What are your HG products to achieve an effortless, put together look? Leave me a comment below!

And don’t forget to follow me on Twitter and Instagram @dlynnesposito, and go like the new Affordable Gorgeous page on Facebook!

LOTS OF LOVE AND EXTRA ZZZ’S!!