Strobing was the latest trend on the red carpet and runways for spring and summer of 2015. It has been said that strobing will replace contouring. Yeah, ok. Personally I’ll ALWAYS contour to some degree, even if it’s just my nose – I have to contour my nose, no matter what.
‘Strobing’ is just a fancy way of saying ‘highlighting’, and highlighting pretty much everywhere. Its basically the absence of contouring. So when one might normally contour, then apply their blush and shimmery highlight shade, you’re simply omitting the ‘contour’ part of the routine.
How many of you breathed a huge sigh of relief that you don’t have to contour?!
This isn’t generally isn’t a routine for the oily-skinned girls like myself, but that doesn’t mean you can’t do it! It just requires an additional step, which I’ll share below! So let’s get started!
*OILY TIP – After you’ve cleansed your skin and applied your regular moisturizer, take a stippling brush and a little bit of Milk of Magnesia (see the detailed article here) and lightly apply it to your oiliest areas only – not the entire face! This will be your oil control element AND your primer all in one! Apply your regular foundation or a BB cream over the Milk of Magnesia once it’s completely dry (it will look powdery, don’t wipe that away!) and proceed with the rest of the group!*
STEP ONE
 If you’re NOT cursed (or blessed, depending on how you look at it!) with oily skin, then don’t use the MoM mentioned above – your skin will feel horribly tight and dry all day and you’ll be uncomfortable! Use an illuminating primer like L’oreal Magic Lumi Light Infusing Primer ($13), mix that with your favorite foundation or BB cream, and apply it with a foundation brush like the Morphe M439 Deluxe Buffer ($14) or a Real Techniques Expert Face Brush ($9), really buffing it into the skin and blending well. Not only will the primer help you’re makeup last, but it will give you that additional glow factor before you really start packing on the highlight!
STEP TWO
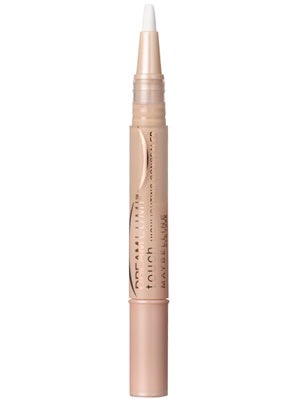
Grab your favorite concealer in a lighter shade, I used my Maybelline Dream Lumi Touch Highlighting Concealer in Ivory ($8), and conceal under the eye in a V shape, the center of the forehead, down the bridge of the nose and along either side of the nose, the center of the chin, and any other imperfections that weren’t covered by your foundation or BB cream, and blend it out with a damp sponge like the Real Techniques Miracle Complexion Sponge ($7) – the damp sponge will soak up any excess concealer so you get the flawless coverage, but no ‘cake face’.
STEP THREE
 Taking a liquid or cream highlighter, I used the Revlon PhotoReady Skinlights Face Illuminator in Bare Light ($12), which is a beautiful universal highlight shade, and dot that on the high points of the face; the cheekbones, around the sides of the eye, under the highest point of the brow, the center of the forehead, down the bridge of the nose, the cupids bow, and a little on the chin. I found that after applying, it wasn’t really doing it for me, so I layered a little ‘Pink Light’ over the top of that. Blend that out with your damp sponge again. Now set your under eyes with a brightening powder, I used the e.l.f. High Definition Undereye Setting Powder ($3), or you can use a translucent powder like the Rimmel Stay Matte Translucent Pressed Powder ($4) and a small tapered brush like the Real Techniques Setting Brush ($8). Then set your entire face LIGHTLY with a translucent powder and a big fluffy brush – don’t worry, you’re not undoing all your hard work – just wait for the next step!
STEP FOUR
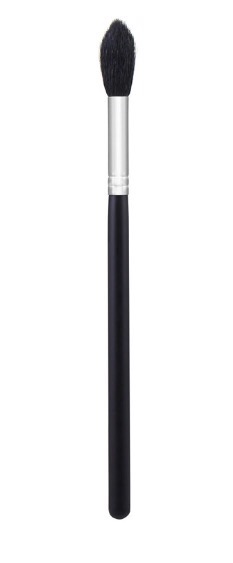
 Now grab your favorite powder highlight – I’m using theBalm Mary-Lou Manizer ($12 on ebay!)! Taking a brush like the Morphe M501 Pro Pointed Blender ($8) apply your powder highlight to all the places you applied your liquid highlight. You always want to apply your creams and liquids first, then your powders, so they don’t break apart and look gross. Dust your powder highlight every where you applied the cream highlight, and even apply some to the inner corner of the eye, and a little on the center of the eye lid to really make your peepers pop! Next just apply your favorite blush! I used the Milani Baked Blush in Luminoso ($8) but you can use whatever you love!
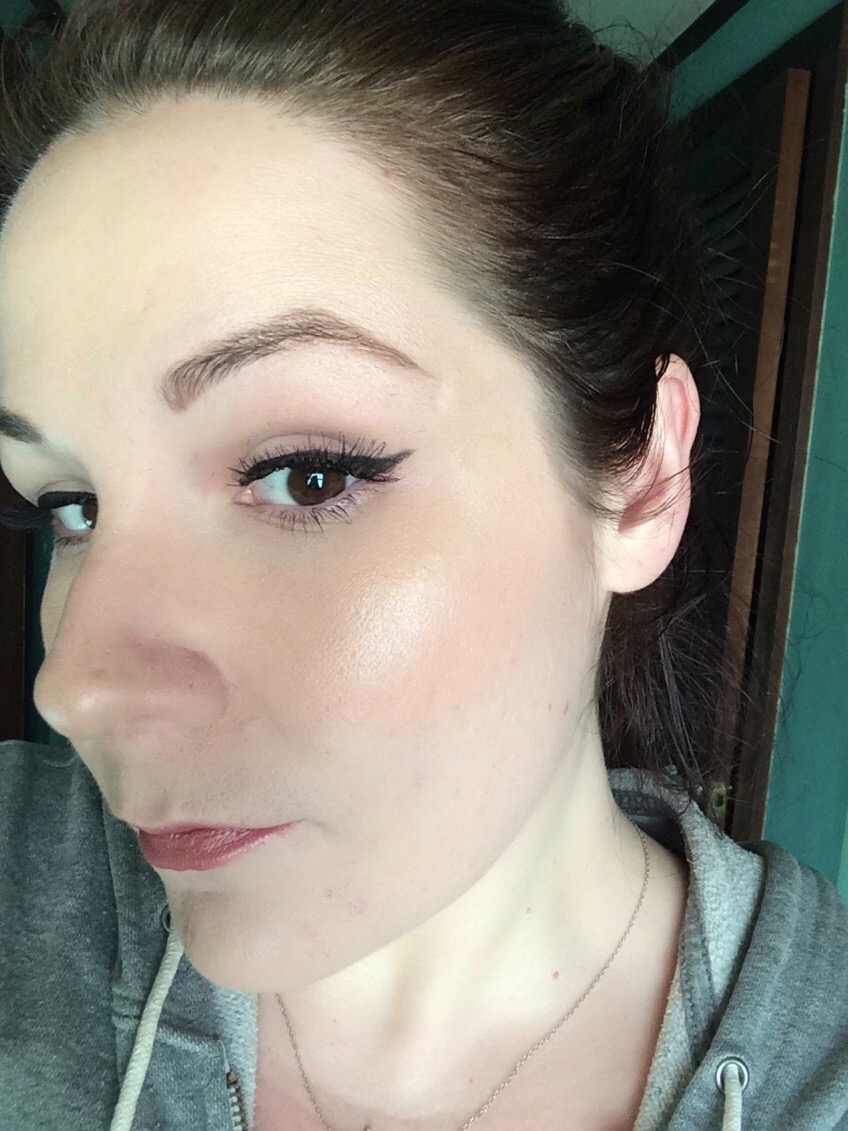
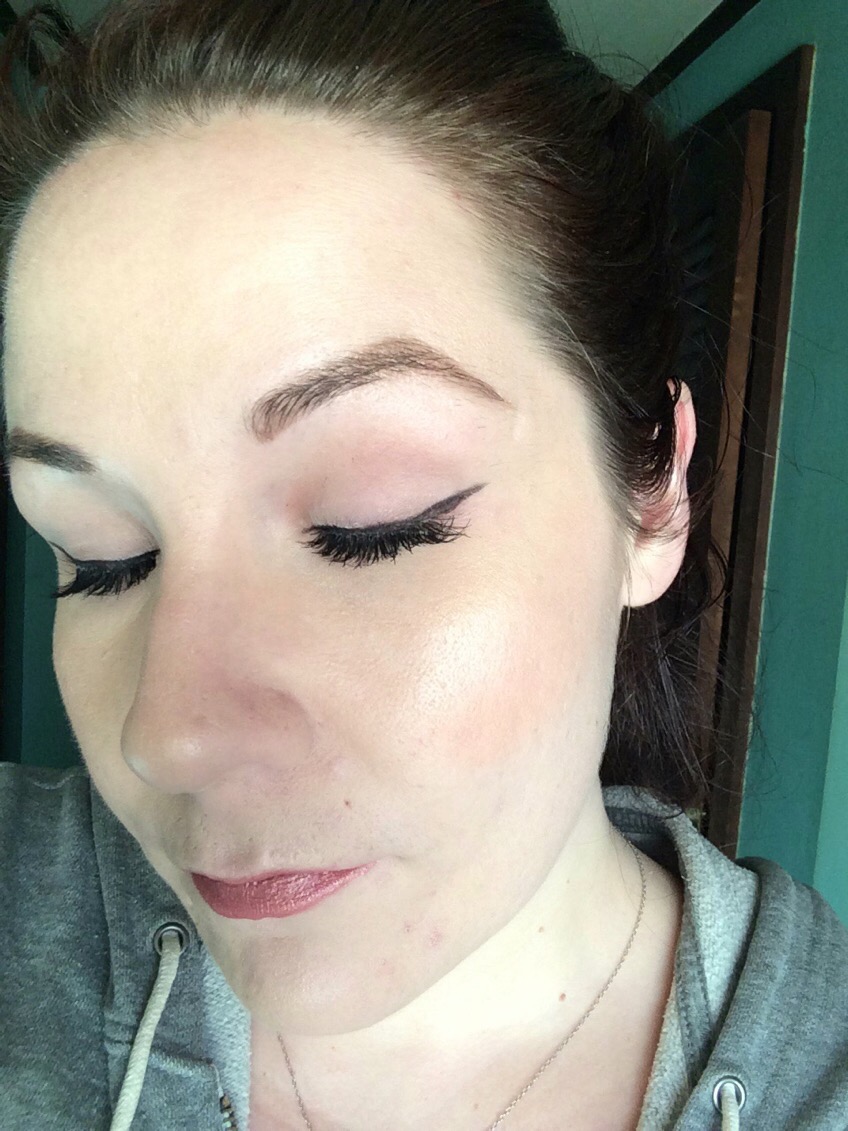

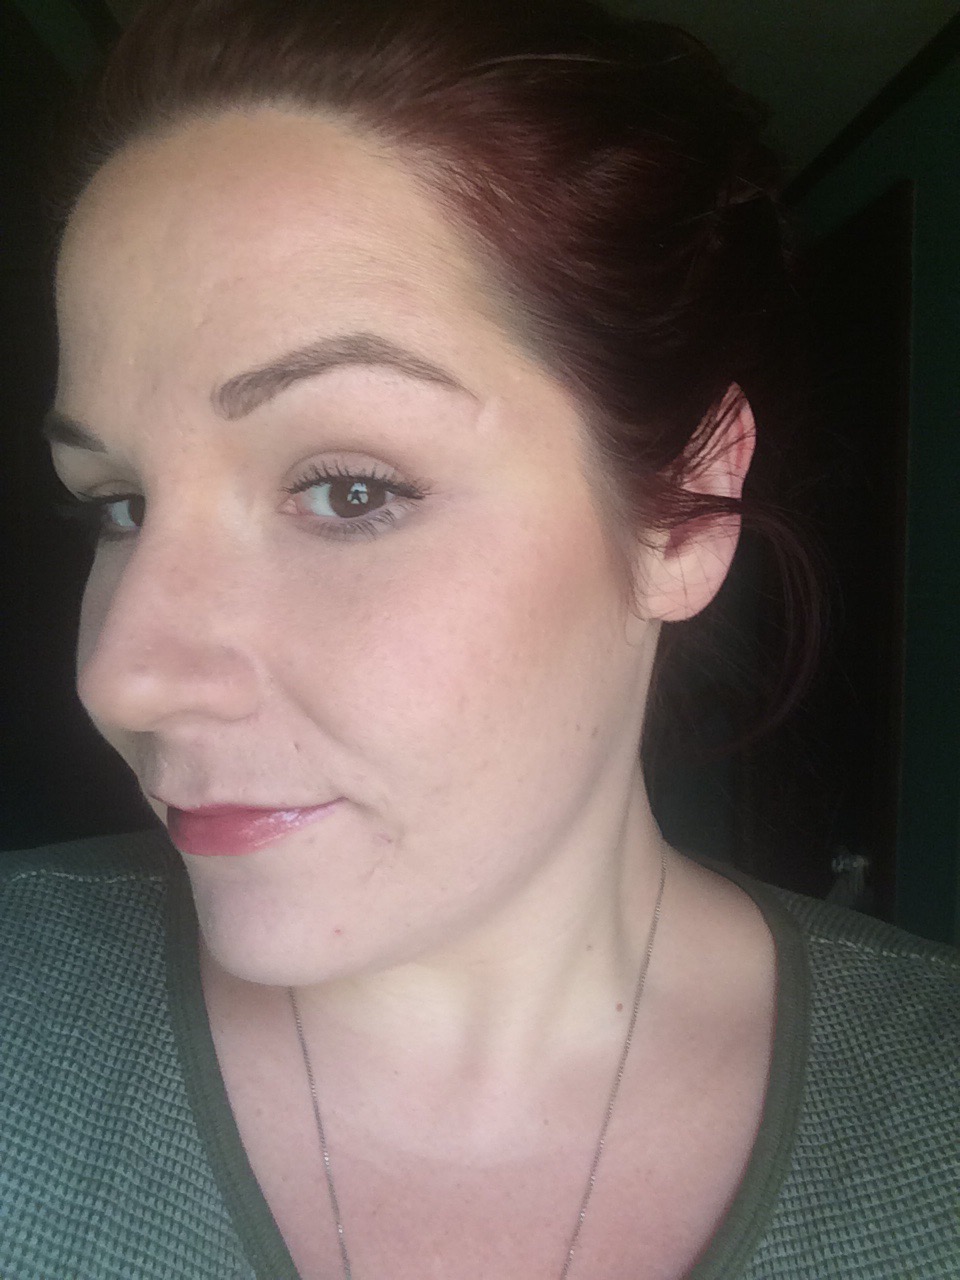
All you have left is to finish your makeup like usual, though I would recommend keeping the eyes and lips a little understated – the focus of this look is really on the skin. Some mascara or even a fluttery, fluffy pair of falsies, and a pretty neutral pink glossy lip and you’re good to go! Oh, wait! Don’t forget the brows, of course!
This trend really gained momentum in the spring and summer months, but that doesn’t mean you can’t wear it throughout the year! You could pair it with a soft neutral brown-toned eye, or a light berry lip, really anything goes! It’s especially great for those of you with dry skin (like myself right now!) that want to look dewy and fresh and glowing all year round!
I hope you guys picked up a few tips and tricks, or maybe even discovered some products you want to try! Let me know in the comments below if you’ve tried strobing, if you love it or hate it, and what you use to achieve this look!
And as always, go follow me on Twitter and Instagram @dlynnesposito, and go like the Affordable Gorgeous page on Facebook! And please feel free to share this article with all of your friends on social media!
LOTS OF LOVE!

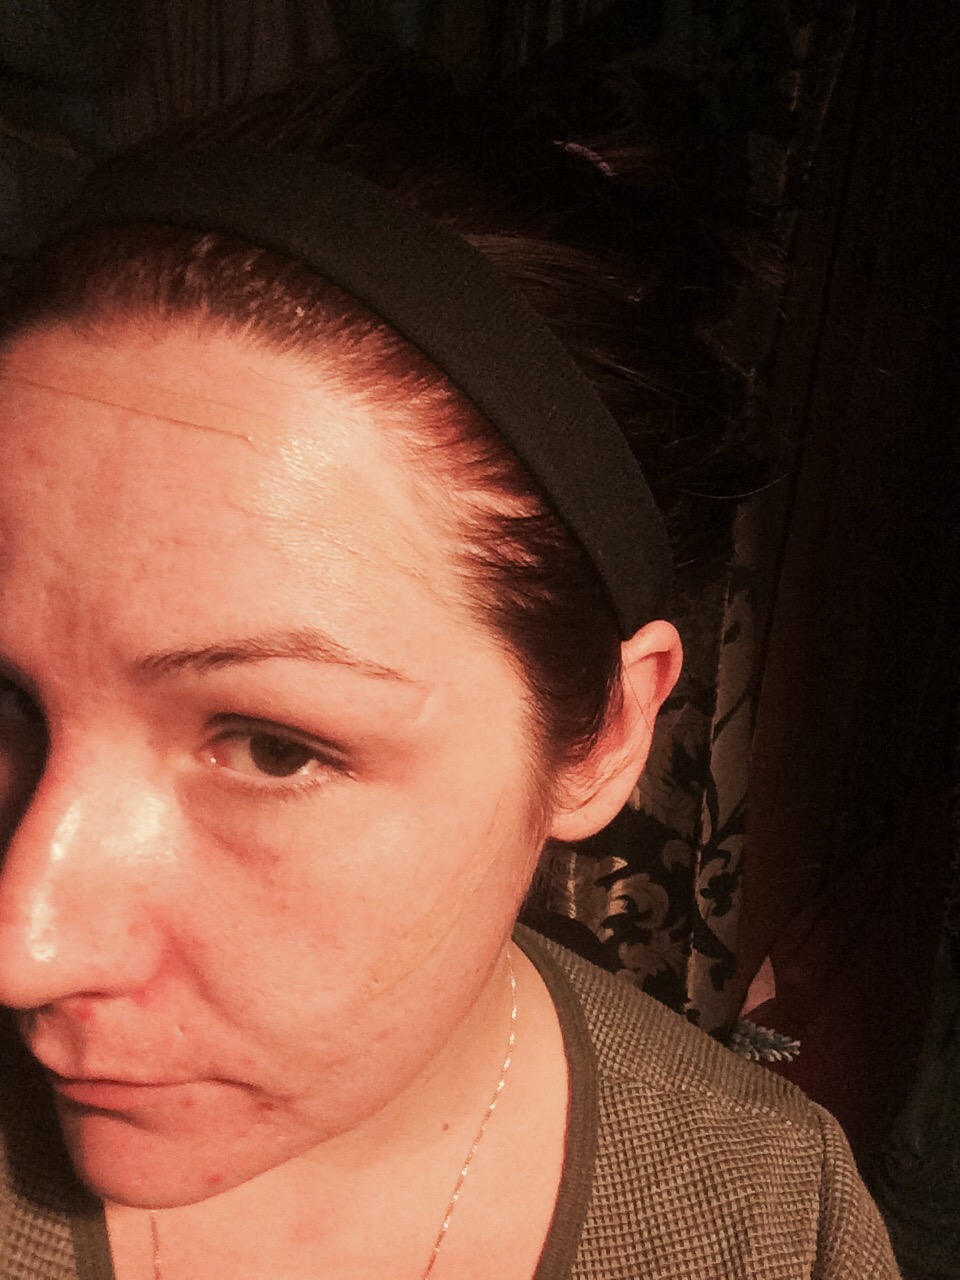
 I noticed the other day that I have a pretty sizable patch of broken lashes in the center of my right eye. Don’t ask me how, but they’re there. So I broke out my trusty L’Oreal Double Extend Beauty Tubes Mascara – the primer side helps to add length before the mascara side seals it in, creating the illusion of thicker, longer lashes that last all day! Seriously, all day – getting this stuff off can be tricky (and damaging if you’re not careful!) but I use coconut oil, which breaks down the product and nourishes my lashes at the same time.
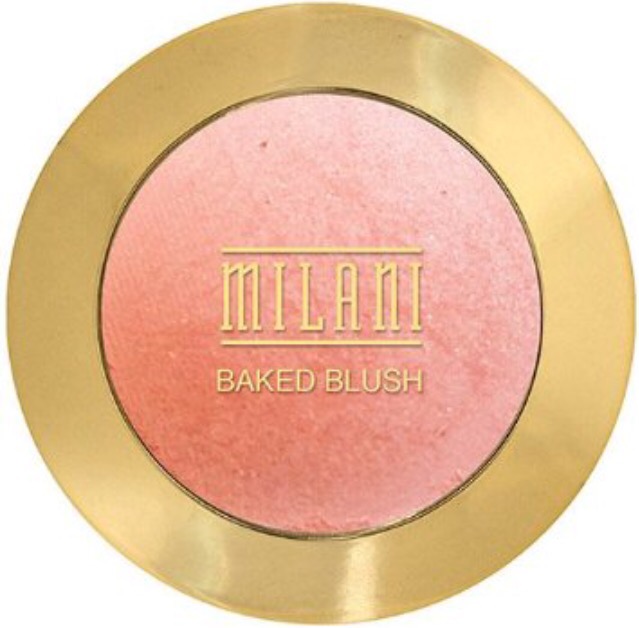
 If you guys are looking for great quality, inexpensive eyeshadows, look no further than the Morphe palettes. If you average out this particular palette, you’re actually paying 57 cents per shadow! You can’t get a deal like that at any drugstore! This palette is entirely matte, with a mix of warm, neutral, and cool tones ranging from lighter skin toned colors all the way to browns and blacks, and even a couple pinks, oranges, and purples. If you want to build your own palette, Morphe also sells individual shadow pans for $2.29, which you can put in a Z palette or even the Morphe brand magnetic palette. I’ll be doing a full review with swatches soon!
 While we’re showing some love to Morphe, I’m sure many of you saw my recent post about the Morphe Monthly Brush Club – basically the premise is that like any other monthly subscription box – Morphe picks a variety of brushes that value $30+ in total each month, and automatically ships them directly to your door for just $19.99!! Unfortunately it is currently sold out *sad face* but they are accepting people on a wait list! What I absolutely love about this versus other monthly subscriptions boxes is that you know you’re getting full size, quality products that you can use over and over again, rather than a box full of tiny samples and unheard of deluxe samples that you can only use a few times before having to purchase a full sized product. Personally I’m a brush junkie, and already knowing the quality of these brushes made me stalk the website waiting for this deal to drop like a crazy ex-girlfriend! Totally worth it! If you haven’t seen my ‘unboxing’ of the first month, click on over to the HAULS tab at the top of the page and check it out!
 I don’t know what sort of hissy-fit my skin has been having lately, but my ordinarily oily skin has been super duper dry. Like flaky dry. Dull dry. This primer gives such a beautiful luminosity to the skin – however, if you’re oily you may want to avoid this unless you use it under a more mattifying foundation. I love this in the winter because I do tend to lean more on the dry side this time of year, but I hate my skin looking matte. I like to glow!! A trick I like to use is to mix a pump of this primer and a pump of my foundation on the back of my hand like a little cocktail, and then apply it – it shears out the foundation just enough so that you don’t get cake face, while the primer still helps it adhere to the skin.
 One of the places I’ve been the most dry, oddly enough, is under my eyes. Which has made blending out concealer with my preferred method of the e.l.f. Studio Flawless Concealer brush impossible. So lately I’ve been reaching for my RT sponge, and it’s been a lifesaver. The dampness adds back just enough hydration, and picks up just enough excess concealer (because I can get a little heavy-handed with concealer, I’ll admit it) to blend it out flawlessly. It’s also a great tool if you’ve been struggling with (or afraid to try) cream contouring and highlighting! This is said to be the best dupe around town for the $20 Original Beauty Blender too – don’t worry, mine is coming in the mail soon because naturally, I have to see what all the hype is about, and I will let you know if its an acceptable dupe! I promise!